Portrait photography isn’t something you should be scared off. You don’t need any expensive camera and gear to make it work. Yes, there are some tips and trick that you can use to make your portraits look better, but it all comes down to practice. Very few amateurs start with portrait photography. Senior portraits are a common first paid gig, and if you are weighing the look, see our comparison of yearbook photos vs senior photos.
One of the main reasons is that they think it is hard and that it needs too much effort. You can do all the things the pros do to make your portraits look magical. To better understand portrait photography you need to master some of the elements and principles of photography, but we talk about that later.
Now let’s talk about some simple things you need to know about portrait photography.
Table of Content
Portrait Photography Tutorial

Most of the beginner photographers think that they need an expensive DSLR camera or a fancy studio to become a portrait photographer. This is not true at all. Don’t get me wrong these things can help but in order to take good pictures you only need to practice as much as you can.
-
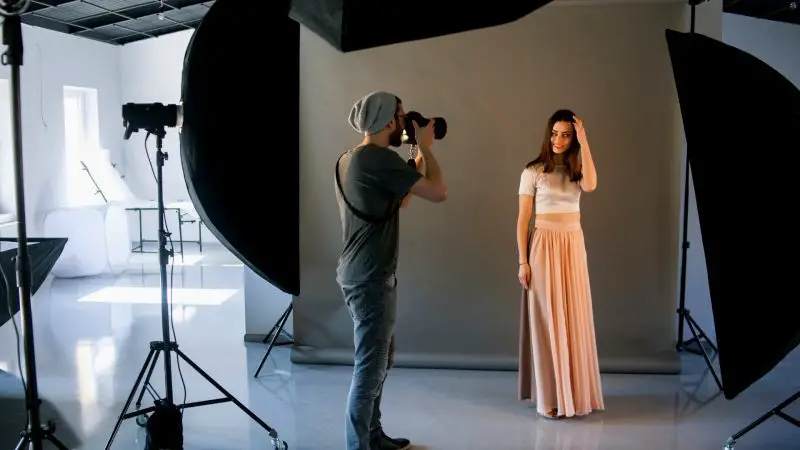
Photography Studio
A simple room with no window, with a lot of lights, plain white walls, and a single chair. Everyone’s vision of a studio when they think of the word. The truth is, you don’t need a studio to take portraits. Yes, of course, all professionals work in a studio. That does not mean that you need one.
Make your city a studio. Start by taking pictures of strangers and your friends. Of course, if it is a stranger, be sure to ask for permission to use the pictures. Take pictures of your neighbor or a close family. Make the whole world your studio. It is much more inspiring than sitting in a room with four plain walls.
If you still decide to go with photography studio I would suggest taking a look at our portrait camera settings.
-
Better Equipment?
Have you ever seen a professional photographer working? If yes, you should have also noticed a black suitcase next to him which holds all of his equipment. Hundreds and hundreds of dollars were spent on it, and you were probably admiring it. But don’t be jealous. As a beginner probably have nowhere close the money that he or she has to buy all of that.

Don’t be mad about it. They didn’t buy it all at once as well. It requires years and years of gathering all of the equipment they needed and that works for them. And while it might seem that you can’t make any pictures without having expensive equipment with at least four assistants. This is really not the case. You can make it work without all of that. Just believe more in yourself as a creative person and in your camera.
Related: How To Choose The Best Camera For Your Needs – 7 Step Guide
-
Time is Money
You should remember this statement. While photoshooting with people you know, you usually lose track of time. You get carried away catching up with them, talking about past experiences and just in general chatting. In this atmosphere, you can’t get at a photoshoot with strangers.
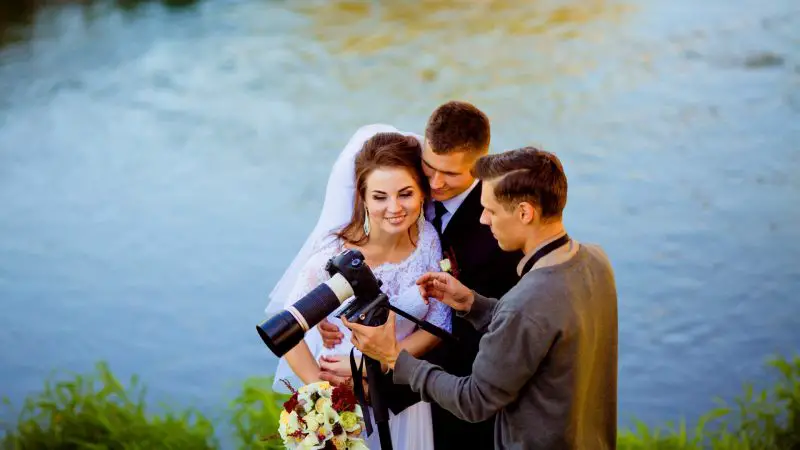
Yes, of course, you will talk to them, but not as casually and not that much as you would do with friends. This, of course, does not mean that you shouldn’t talk at all with your client. Talking helps them relax in front of the camera. But don’t talk too much or you will give off a dominant personality that might scare them away.
-
Ask questions
You should be informed about the photoshoot you are doing. Few questions that you need to clear before you even start with the shoot are:
- Who is the person?
- What is the person like?
- What characteristics does he or she have?
- What features are unique for the person?
- What does he or she want to use and see in the photos?
- What emotion does he or she want to represent?
- Maybe if they are always serious, they want a photo of them smiling, or maybe they don’t want any smiling photo at all?
- What does he or she want to see in the end result?
If you don’t know the answer to this question, ask them ahead before starting the photoshoot. This way you will know on what to focus. What to leave out and what to put in the right light.
Related: Using Positive Language to Communicate With Your Subjects
-
Smile and Laugh
A smile is probably one of the most challenging things to do naturally. There is a trick of making it appear natural: tell the model to close their eyes and open then when you say, “laugh now,” it should seem more natural because the change of reason was fast.
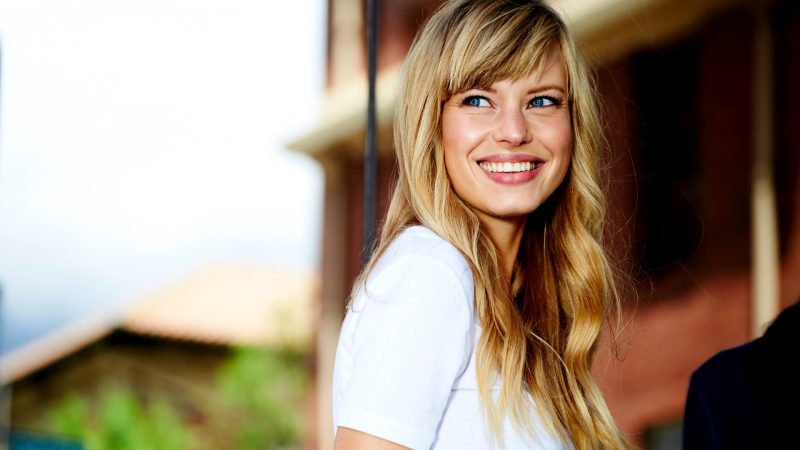
Don’t put your model through the pain of holding a smile for too long. This is the main thing why it can appear unnatural. This way the laugh will be a lot more relaxed, and you don’t have to risk the eyes being closed at the moment of shooting the picture.
Now just adjust the smile depending on the situation and what the model wants. A slight smile and a full on smile has a different appeal, and they look different in the picture.
Related: 5 Tips for Romantic Portraits
-
It’s More Than Just a Portrait
Never just think that you are taking a portrait only. You need to keep in mind that you have a living person behind it that is the inspiration to the portrait. Every person is different. They have a unique personality and character. Different features that define him or her. Of course, try it out with a close friend first and then go over to take pictures of random people. Try to have fun while doing it.
-
Rights?
Of course, you need to be informed about the rights of who owns the picture but also of what you can and can’t be taking pictures off. In the world that we live in, the media is taking over everything. It is logical to say that without pictures there would be no media.

A picture can express so many things, but it can fool you if you don’t know the real message behind it. The media uses this to its advantage, usually bringing over a wrong message or impression.
Who has the rights to use other person photos?
Legally saying it is hard to tell who has the right to use who’s picture. Since we live in a media world where everyone has Facebook and is already putting out their pictures for everyone to see and therefore use them. But as for taking pictures of people keep in mind that you need the approval of the person before posting the picture anywhere.
Practice Makes Everything Perfect – Train Your Eye
Practicing your photography eye will get you much further than just taking pictures randomly around. I’ll give you some ways of training your eye to see the beauty in every shoot:
1 – Above the Eye Level

Why don’t you try something else except always taking pictures on your eye level?
What I mean by that is trying to find another level than just the eye that you get from standing on your feet. Try lying on the floor or climbing up two floors to get a different perspective to the picture. It might seem stupid and might seem like a lot of exercises but believe me it’s worth it. You might even be surprised by the end result.
Every height will give off a different feel to the picture and a unique message. Use that to your advantage. Next time you go out to take pictures, try the birds-eye perspective and or the frog’s perspective. See what suits you model the best. Move around and try to see your model for all these different perspectives.
2 – Your Lens
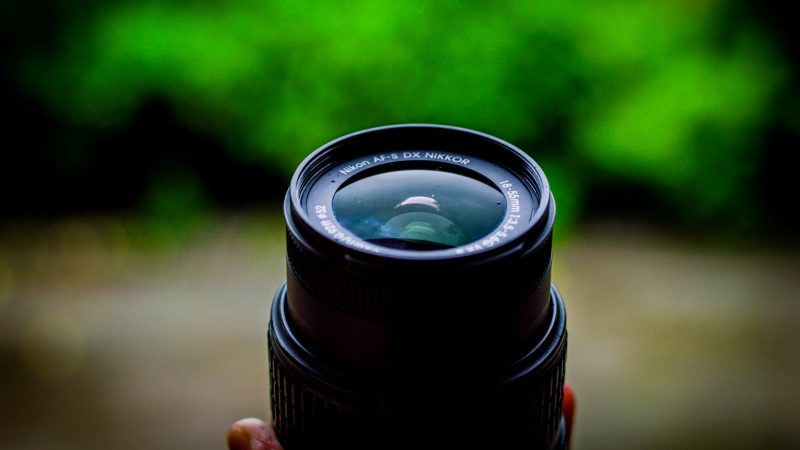
Chose one lens that you love working with and that suits you. Get to know it and train only with it. Don’t switch between lenses while training your eye. It might get confusing since all lenses are not the same.
Also, don’t use any zoom while practicing picture composition. Move around a little more and see what angle suits you. This will allow you to think more about picture composition than just zooming out stuff.
Related: 8 Reasons Why A 50mm Lens Is All You Need For Amazing Photography
3 – Empty Space
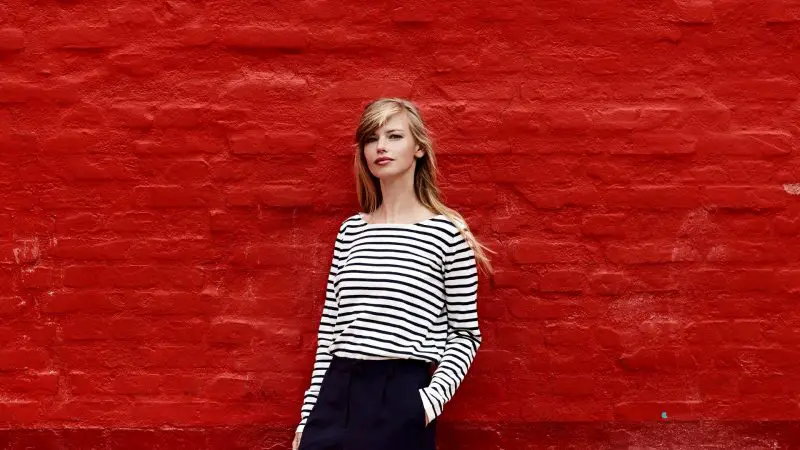
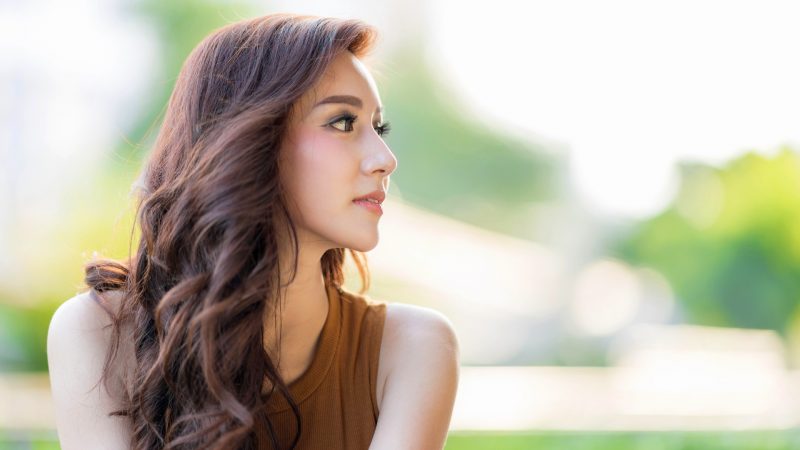
This is simply the empty space next to the subject that you are taking a picture off. Now, it’s not completely empty. It has a background of course. But the background is so simple that we just call it plain or empty. This can be the sky, a wall in one color or design, the floor, grass and so on. You get what I mean?
You should start off practicing your eye by putting your model in front of these backgrounds. It will allow your eye to immediately focus only on the model/subject since the background is almost “plane” or no existent compared to the colorful and lively subject.
Using this for a time period will make your eye ignore any kind of background and only focus on the model itself. You will get a feeling that it is just right to do so, as you go. So, practice!
4 – Black and White?
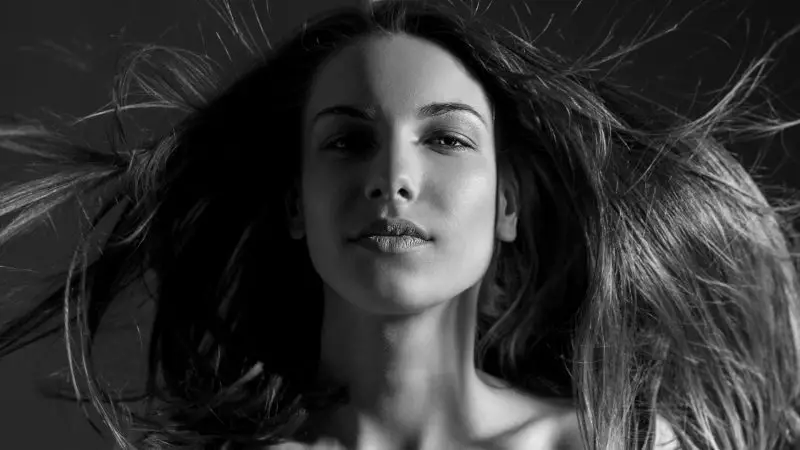
Putting the picture in black and white will eliminate the distraction of colors all around you. This will help your eye focus on the composition way more. Since everything is almost the same color, colors don’t matter. This will put you in a position where you don’t have an option but to think about the positioning of everything.
Since there are no harsh colors, your attention will not be all over the place. This way your motives have structure. And also, a black and white picture brings out so much more emotion than a normal picture. The reason for this is exactly because the time was put towards getting a better composition.
5 – Details

I am talking lines, patterns, different structures that stand out. These things stand out in black and white and in color pictures. This will give you something special to play around with your picture. Repeating patterns usually looks ten times better on the camera and in pictures than in real life.
Isn’t that strange?
There is a simple reason for this. You show the pattern and cut it where you want it. You never give the full pattern. This type of patterns can be found anywhere. We usually go over them and not even notice that it was a pattern. So, open your eyes more and look around.
6 – Lines

Vertical lines, horizontal lines, and diagonal lines. Following these lines or keeping a subject in these lines can also be a good way of composing a photo. As we said earlier always look at the horizontal lines and line your horizon with it. This will give off a much more professional look to the picture.
Following horizontal lines will give the picture a calming effect and peace. Diagonal lines will give off a more interesting look since they are not used that much. Curved lines will loosen up the picture more.
And now after mastering these types of lines maybe try combining them?
Why not?
This will give your picture the perfect balance and kick. Every camera needs to have some option of putting horizontal lines and vertical lines on the screen. This will allow you to find them and line them up with ease. Change the perspective, combine more lines, look what goes well together. Have fun.
Get better in Portrait Photography by Mastering Basic Elements and Principles in Photography

From our childhood, we are used to the fact that science is about numbers, rules, and figures. Well, art is all about creativity and ideas, this makes photography indeed a form of art.
So, what elements, and principles are we talking about?
The truth is that even art has to follow some basic rules. After all, with the help of sculpture, paintings or photography, we are trying to express an idea.
What are the elements and principles of photography?
Basically, these are the things that will help you master your technical skill (any type of art surely is a skill, right?). Moreover, you will be able to make your works more pleasing to the eye. With the right choice of elements, your pictures will be able to deliver to the audience everything that you want to say.
No matter what type of photography you want to specialize in, you have to know the basic principles and elements of art to succeed.
The Rule of Thirds
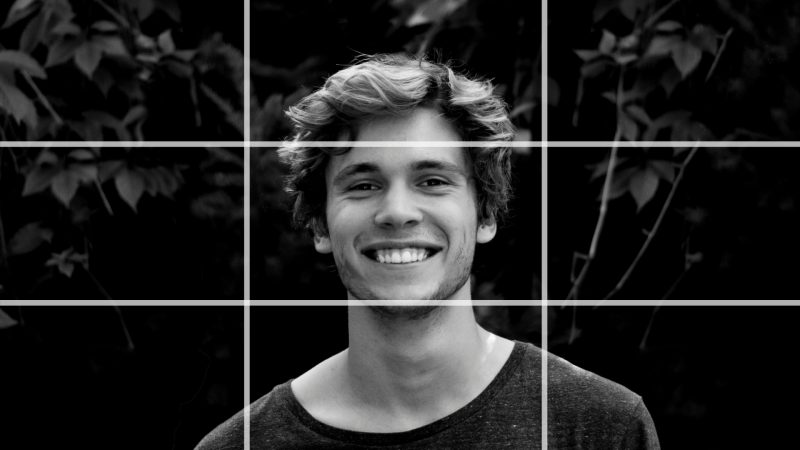
This must be the most well-known ‘rule’ in photography when it comes to composition. This principle is based on breaking the image down into nine parts. Usually, this is the first thing about composition that you learn during photography courses or in school.
The main aim of the rule of thirds is to help the photographer make sure that the image is well-balanced. It is a great guideline if you are only at the beginning of your career.
However, it does not mean that you have to always follow this principle. After all, rules are made to be broken. But before neglecting the rule of thirds make sure that you are able to take a better picture without the help of it.
-
How does the whole thing work?
While taking the shot, you have to imagine as if you are breaking it into thirds. Do this both horizontally and vertically. In the end, you have to end up with nine parts. You can always do this manipulation in your imagination, but the majority of cameras have the option to draw a nine-part ‘net’ on the screen. It can be beneficial.
In photography, it is extremely important to identify the points of interest.
What is the most important part of your shot? An animal/person/structure?
You might be thinking that you would have to place the point of interest right in the middle of your frame (after all, one out of the nine pieces is exactly in the middle), but that’s not how the rule of thirds works.
Rather than taking into consideration the centers of the nine squares, you have to be using the lines and the intersections. Instead of placing the person that you’re taking a picture of right in the middle, try placing the subject along one of the lines (horizontal or vertical – that does not matter).

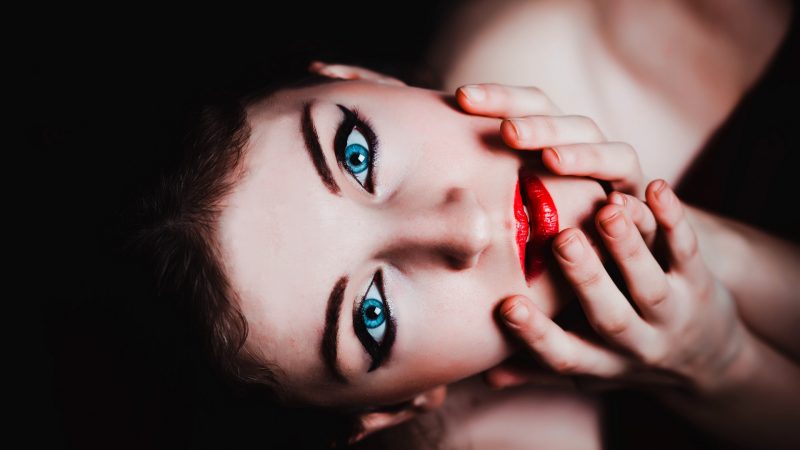
If you want to focus the attention of the viewers on the eyes, for example, then make sure to use the places where the lines cross to place the eyes right in the center of the intersection.
All you have to do to be able to use the rule of thirds is to define your points of interest and then figure out where exactly you want to place them.
Certainly, you can create amazing shots even if you neglect the rule. But if you are a beginner, then this technique can be extremely helpful. Moreover, as the rule of thirds will help you create more appealing pictures, it might seem like a great idea to use this technique when you are working with clients that pay you for a well-balanced and concordant image.
By the way, you can apply this rule not only while taking the actual shot but also during the editing process.
The Leading Lines Principle
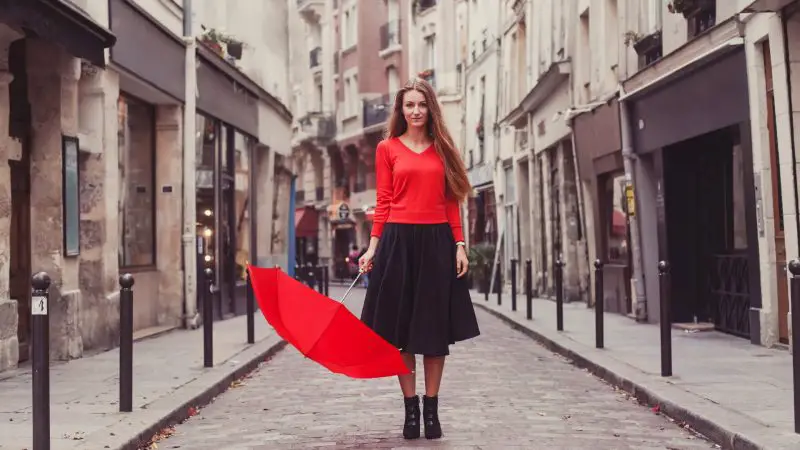
You, as a photographer, can use leading lines as a compositional tool to help the viewer see what you want him to see. Naturally, we want to follow straight lines, when looking at something. You can easily use lines to draw attention to a specific part of your work.
What do we exactly mean by these lines?
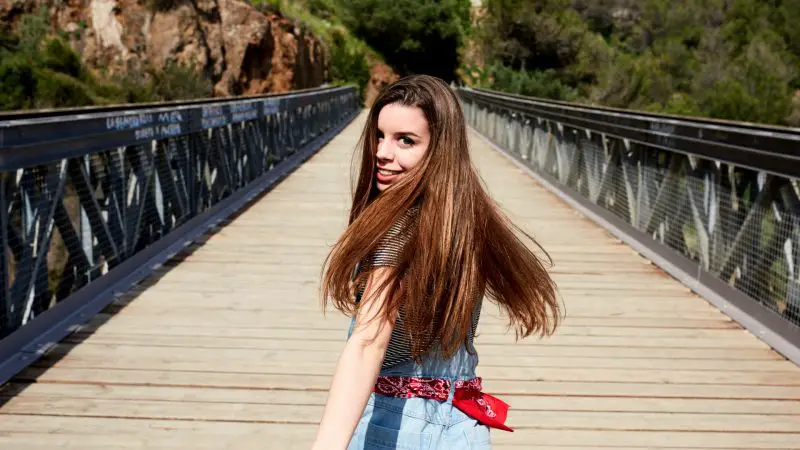
It certainly doesn’t have to be an actual horizontal or vertical line. Buildings, bridges, paths, and roads are perfect ‘natural’ lines that you can incorporate into your picture.
For example, there is a specific scene in your photo that you want to highlight. If the object is literally at the end of a path or a road, then the viewer’s sight will naturally travel from the beginning of it to the actual subject. Such a ‘journey’ is a powerful visual and psychological tool.
Moreover, the paths, rails, and bridges in your pictures can be leading nowhere. Instead of a specific subject, the road might end somewhere out of the frame. That is a strong message as well if you want to make the viewer use his imagination.
By the way, leading lines can also help create the illusion that the viewer is part of the scene. With the help of a wide angle lens, you can define the leading lines even more. Make sure to place the beginning of the road, escalator, rails (whatever you are taking a shot of) right in front of the viewer. Now, whenever someone looks at your picture, he will feel like he is literally standing at the beginning of this road.
8 Basic Elements of Photography
We have mentioned a couple of the main principles of photography above. But there surely are so many other elements that you can take into consideration to bring your photography skills to the next level.
1. Lines
Let’s talk a little more about lines. You already know what a powerful tool the leading lines can be in photography. But you can put so much more meaning into every single line that you decide to put into the frame.
Certainly, your lines don’t have to be actual strings or stripes. Even such things as the horizon, mountains, and buildings are perceived by humans as lines that their eyes want to follow. That’s how we like to embrace art.
You can lead the eye of your viewers with the help of lines. But, most importantly, you can also show emotions with the help of this simple tool.
For example, vertical lines give the viewer a feeling of power. Horizontal lines can evoke a sense of calmness, relaxation, and peace (think about the sea, for example). Diagonal lines symbolize the movement. If your picture has these kinds of lines, your shot will certainly feel more dynamic.
Lines can also be curved and soft. A human body is a perfect example. If the lines are acute and ‘broke’ then the viewer will have a feeling of chaos, maybe even nervousness.
One of the best ways to use lines in photography?
Combine them! Certainly, it’s great when your shot can make people feel emotion. But it is ten times better if the viewer will experience different feelings at the same time.
2. Composition and Space
In photography, composition means the arrangement of objects in the frame. The rule of thirds that we have talked about earlier can help you a lot. Remember to place the main subject of the picture along the line or right in one of the intersections.
Space is extremely important and a little more complex. It involves perspective, the proportions of the objects in the frame and the actual distance between these objects.
Sounds like a little too much to bear in mind while taking a shot, right?
The rule of thirds can help you once again with the spacing. Your main subject is the so-called ‘positive space,’ while the background is the ‘negative space.’ Both of these are extremely important. Unfortunately, a lot of beginners focus only on the positive space. But without the right background, you won’t be able to define the shape of your object. And that is crucial for your shot.
3. Texture
The texture is extremely important as it can make the viewer not only want to look at the photo but also to touch it. And that is a whole other dimension of perception.
Using different textures can help you make the picture more interesting to observe. Moreover, you can easily create the right vibe using textures solemnly. Something soft and fluffy will evoke positive and calm emotions, while a rough material will certainly bring out a more powerful message.
Working with different textures can be difficult because you need light to be exactly right. If the texture is hidden in the shadow or the light is too bright, then the viewer will simply not be able to see the details. And when it comes to the texture, it is all about detail.
4. Shape and Pattern
With the help of pattern and shapes, you can create a picture that is interesting to look at and that the viewer will find attractive. A pattern is a repetition of shapes, textures or both. We might think of patterns as of something artificial. But the truth is that there are a lot of natural patterns in our world. And that is exactly why our eye likes them.
If you decide to create a pattern using shapes in your work, then you have to take three things into consideration: triangles, rhythm, and symmetry.
- Triangles are the parts of the picture that are formed with the help of two diagonal lines. You have to make sure that at least one pair of these triangles ‘mirrors’ each other.
- Rhythm is how often the shape that you are using is repeated within the frame.
- Symmetry is something that you can use in a pattern. If two sides of the shot look like they are mirrored, then the image is more compelling.
5. Light
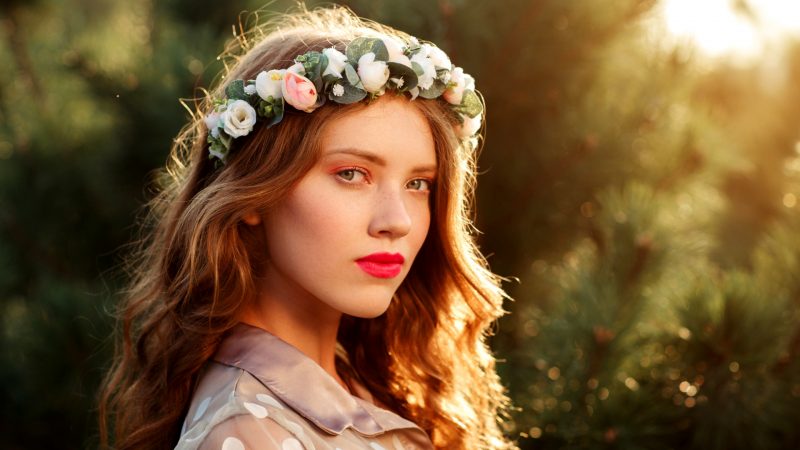
The light will always be the most basic element when it comes to photography. After all, taking pictures is all about capturing light. There are two main things that a photographer has to take into consideration: the angle of light and its level.
The angle of light is pretty much self-explanatory. Depending on the location of the source of light, your picture will turn out differently. Moreover, the angle also determines where in the shot the shadow is going to be. Experimenting with studio lights is a tricky thing, but capturing the perfect natural light in all sorts of weather conditions can be even more challenging.
The level of light is the thing that determines what we will be able to see in the light spots of the picture and the dark ones. If the camera is, for example, overexposed, the shade will seem even darker. And vice versa.
Related: Low Light Tips: How To Get Good Lighting For Indoor Photos
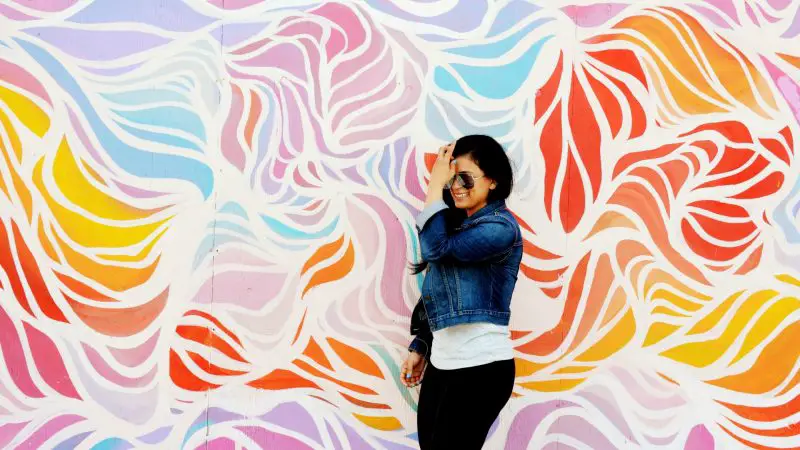
6. Color

You might be a photographer that specializes in black and white pictures, but even these two colors can look totally different. Color helps you, as a photographer, set the mood of the picture.
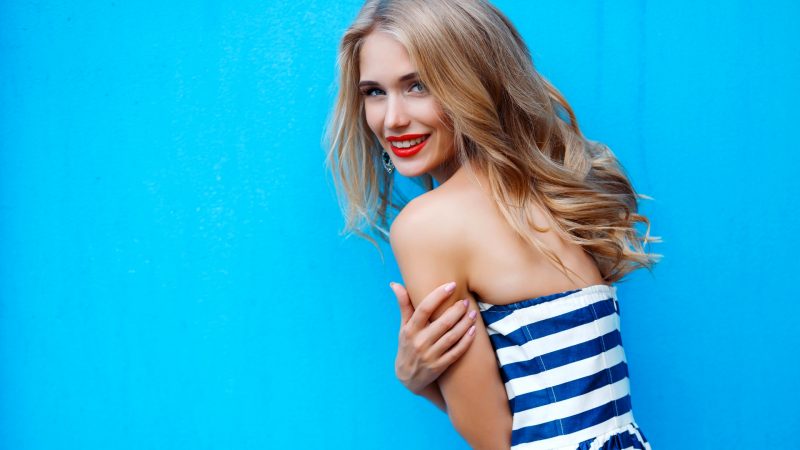
Usually, colors are divided into cool and warm ones (not only in photography). Blue, green are cool colors. They make the image more mysterious, gloomy, calm or sad. Orange, yellow, red are warm colors. They represent energy and happiness.
Related: The challenge of color
7. Depth
Being a photographer is about placing a three-dimensional object onto a piece of paper. This sounds difficult. You need to try to make sure that nothing looks flat on your pictures. After all, there is nothing more boring than that.
Depth will help you with creating the three-dimensionality. You can use focus, angles and framing for that.
The easiest way to create depth is by focusing on the main object in front of the camera and making everything around it blurry. Your picture will automatically look more vibrant and alive.
Light is your best friend when it comes to creating depth. The ratio of light and shadow will help you make the subject look three-dimensional and real.
8. The Vantage Point
Certainly, it is not only about what you are taking a picture of. It is also about you. The way you stand, where you stand or where you decide to place the camera.
The vantage point is what determines the point of view of the observer of the photograph.
Remember the principle of the leading line that we have talked about?
All these roads, paths, railways, etc. can help the viewer feel as if he is standing there, right inside the picture. But that will certainly happen only if the photographer has chosen the right vantage point. The position from which the actual picture was taken.
A low vantage point, for example, will create an illusion of dominance, power, maybe even fear. The photographer might have to sit down and point the camera upwards to create such a shot.
A vantage point that makes the viewer look down at the scene makes the object more vulnerable and tender.
Always remember that a low vantage point makes the things that are closer to the ground appear longer than they are. Fashion photographers usually use this trick to take pictures of models. A vantage point above can easily make a person’s head look big, so bear that in mind.
Now you certainly do know the main ones and, hopefully, you have learned a few new tricks and techniques.
But just like reading a culinary book does not make you an outstanding cook, simply going through the principles of photography does not make you a photographer.
Does Practice Matter the Most in Order to be a Good Portrait Photographer?
Make sure to practice. Experiment with light, the vantage point, composition. Figure out what works better for you and what you don’t find appealing at all. Though the elements stay the same for all types of photographers, the way you are going to use them fully depends on the style of photography you specialize in.
Related: What Is The Most Profitable Photography Niche?
Of course, it is not a bad thing, if you decide to follow the basic principles of photography for your entire career. But remember that you always have the power to break the rules and create something that doesn’t seem right…but simply feels that way.
In the end, the conclusion would be that there are many ways to train your eye. Even more then I mentioned. But these are the most popular and are made for a beginner. You need to start from something. Later on, add stuff and share your experience with others. Maybe you will teach someone, something they never knew about photography.
Maybe also next time go out with the intention of just taking pictures to train your eye. Call it a practice day and only focus on improving one thing.
Maybe you will spend a whole day just taking pictures of plane backgrounds or lines, who knows?
But one thing that you will get out of it is the experience. Image composition is a learning process. No one is born with perfect knowledge of image compositions. Maybe you have a feel of how it should go but additionally learning all the terms and forms will be a bonus. Don’t take it too strictly, after all; photography is an art!
I also suggest reading our article where you can find out ideal camera settings for portrait photography.
Related: 15 Tips for Creative Self-Portraits