As with every piece of technology, we have a plethora of things to choose from. Cameras vary in sizes, shapes, megapixel count, aperture, ergonomics, performance, speed, etc. The choice is really hard if you are a nitpicker, especially if you want the camera for professional use. Many buyers take the price into an account because cameras and camera equipment can cost you a lot. The type of photography you plan to shoot matters just as much as the specs.
In this article, we’re going to give you some general tips on how to choose the right camera for your needs. Take this article as general advice and don’t go strictly by the rules we’ve mentioned here. If there’s something special that you need from a camera, feel free to add that into your consideration. Now let’s start with this guide!
Quick answer: The best camera is the one that fits how you shoot and what you can spend. As a rough guide — a beginner on a budget wants an entry-level DSLR or mirrorless; an enthusiast ready to grow wants a mid-range body; a working pro wants a professional body; travel and street shooters love compact mirrorless; content creators want a vlogging camera or a zoom webcam; and phone-first shooters should look at the latest camera phones. Work through the seven steps below to narrow it down, then jump straight to our tested picks.
| If you’re… | Start with these buyer’s guides |
|---|---|
| A beginner on a budget | Entry-Level DSLRs · Entry-Level Mirrorless |
| An enthusiast ready to upgrade | Mid-Range DSLRs · Mid-Range Mirrorless |
| A working professional | Professional DSLRs · Professional Mirrorless |
| A vlogger or content creator | Best Vlogging Camera · Zoom Webcams |
| Shooting mostly on your phone | Best Camera Phones |
| Buying glass, not a body | Canon · Nikon · Sony · Micro Four Thirds |
Table of Content
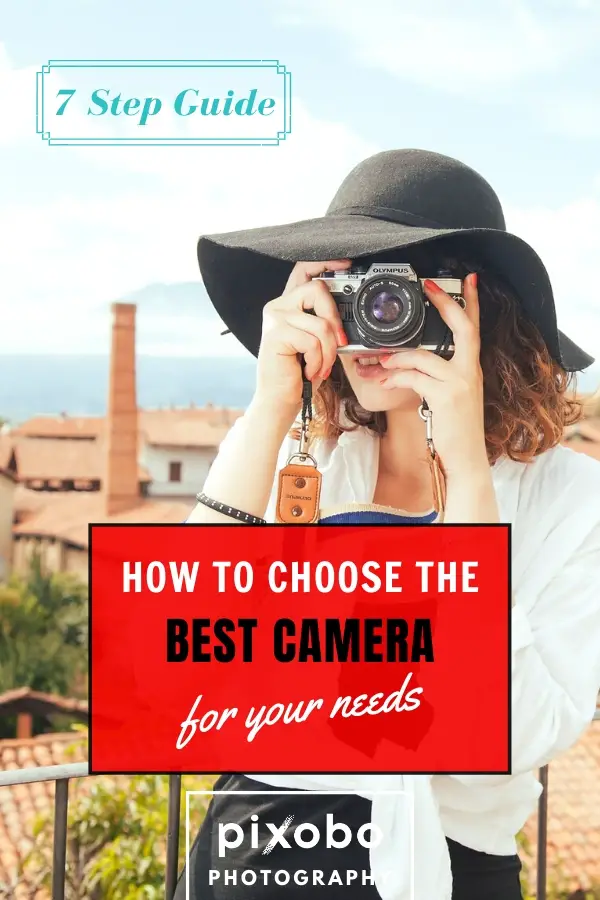
7 Step Guide: How to Choose the Best Camera for Your Needs
Step #1: Determine the Camera Type
This one is the most important step. By determining the type of camera you need, you’ve basically done 50% of the job.
There are three basic types of cameras:
- P&S
- Mirrorless
- DSLR
P&S stands for point-and-shoot and these cameras are the most basic. They can fit into your pocket and offer only basic options for photography. Under the term ‘basic’ we mean that you can’t change lenses and you’re going to use what’s given to you. The image quality of these cameras is approximately the same as on your smartphone. This is why the popularity of P&S cameras has decreased over the past decade.
Nowadays, you can get the quality P&S camera for as cheap as a hundred bucks but these cameras are far from quality. To be able to achieve greater quality, you’ll have to go over $500, which is the price of a solid phone with the same image quality.
Mirrorless cameras represent a sweet spot between these two, although the can go shoulder-to-shoulder with some DSLRs. The whole idea behind the mirrorless cameras is that they provide DSLR-like performance with less bulk. The cheapest mirrorless cameras cost less than premium P&S cameras, making them a better buy. The image quality of these cameras is exceptional and on top of that, you can change lenses.
Finally, we have DSLR cameras, which are the most expensive cameras you can get. They offer you full functionality and control over your shots and of course, they support different types of lenses. They aren’t necessarily better than mirrorless cameras but their main advantages are the optical viewfinder and longer battery life. The main downside is the bulk, as they’re pretty big and heavy.
Step #2: Check the Pricing
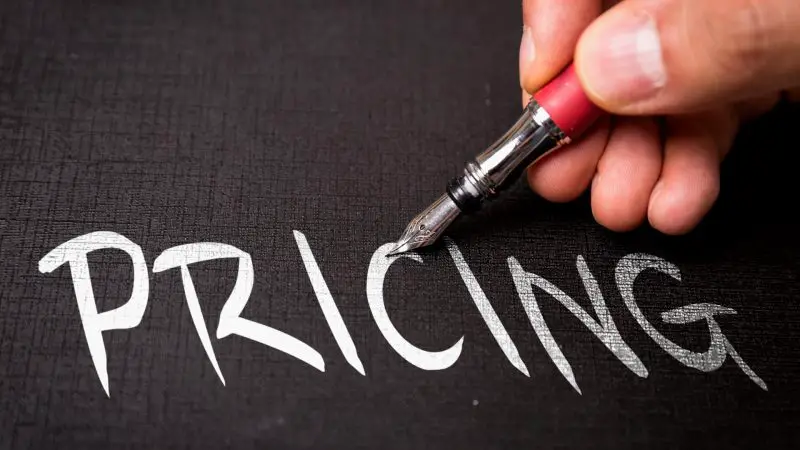
The amount of money you’re willing to give for a camera is proportional to how important it is to you. If you want a simple camera and don’t know much about photography, the rational thing to do is not to spend a fortune on a camera. As many will say, you get what you pay for, and the same applies here. It’s logical that many expensive models are stuffed with the features that you might never use, thus going for an expensive option isn’t a smart thing to do.
Spending too little on the camera can also result in a cold shower or disappointment, as some call it. The image quality could turn way below your expectations and the performance might be sluggish. Our general advice is to go for a camera that costs $500 or more. This is the sweet spot for mirrorless cameras and in some cases, for DSLRs.
Related: Is Buying a DSLR Worth It?
Step #3: Performance and Speed
The performance is something that you’ll need to focus on. Just imagine having a slow camera with slow focus, which takes forever to take a photo. Your experience wouldn’t be so good. On the flip side, many modern cameras have sufficient performance for an average and professional user. The good performance is when the camera can focus quickly, adjust exposure, and track the subject much faster. This is where the ability to take several pictures per second comes to mind.
You’ll often see 5 fps as a standard in many cameras. For an average user, this is more than enough. Some cameras have more than 10 or 20 fps, which isn’t necessary unless you want to capture sports photography. Needless to say that this feature alone will make the price of the camera increase by a large margin. 5 fps is really all you need in most cases.
Step #4: Image Stabilization
Image stabilization is important for two reasons – eliminating blur from the photo and making the video stable. Optical image stabilization physically shifts elements within the lens, thus preventing or reducing blur on the photo. This feature is very important for handheld shots, for night shots, and for long, telephoto lenses that are hard to hold. The optical image stabilization can be present in the camera itself but also in the lens, although the first option provides much better results. While DSLRs come with optical stabilization, mirrorless cameras often use IBIS (in-body image stabilization) which moves the sensor physically, to respond to vibrations.
Alternatively, we have EIS (electronic image stabilization) which is sort of a trick to reduce shaking at the expense of the image quality. This type of optical stabilization can be implemented in smartphones. Cameras with image stabilization tend to be a bit more expensive but this is really a crucial feature. Not to mention video recording, where this feature is of the utmost importance.
Step #5: Video Recording

Speaking of video recording, this feature is more important than photography for some buyers. Thankfully, every camera allows video recording but some do it better – usually, the more expensive ones. Both DSLR and mirrorless cameras allow for cinema-quality videos but once again, the high-end ones. The video resolution goes as high as 4K but the most common is 1080p. The important thing here is the aforementioned optical stabilization but also the frame rate. Movies are usually recorded at 24fps, which is what most cameras have. 30fps is sort of a standard and 60fps is sort of a luxury, as it’s available in more expensive cameras. If you mainly need video for calls and streaming rather than stills, also weigh the best webcams with a zoom lens.
When recording in 1080p, cameras can go either with 24 or 30 and 60fps. In 4K, there’s a 30fps cap in most cases, and some even go as low as 15fps, which is almost a slideshow, rather than a video. If the video recording is important to you, look for the cameras that record in higher resolution and more importantly, OIS. This is a feature that is simply crucial unless you want to depend on your tripod all the time.
Related: Sony A6400: Best Camera for Vloggers?
Step #6: Ergonomics and Build Quality
If there’s a possibility, try the camera before you buy it. It’s of the essence that it fits nicely in your hands and that it isn’t too heavy for you. For P&S cameras, we won’t even discuss ergonomics, but for DSLRs and mirrorless, this can be a problem. Some DSLRs are simply too bulky and very uncomfortable for many photographers. If a camera is ergonomic, it should offer you access to every command and function without having to spin it in your hand forever. It should be logical and easy to use.
As for the build quality, this is where the more expensive cameras exceed. But, this is also why some cameras are heavy. The more material is put into the camera, the harder it is but it’s also heavier. This is something you want to balance a bit. If you’re sloppy with your hands and you find stuff constantly falling from your hands, you might want to buy a camera that has a better build quality. Furthermore, you can always buy a camera belt and strap it around your neck to prevent it from falling.
Related: Top 15 Best Leather Camera Straps
Step #7: Connectivity
The main features I want to talk about here are Wi-Fi and GPS. Needless to say, Wi-Fi is great for getting to your social media account fast. Sharing your images straight to Instagram or Facebook is very easy if you have this feature on your camera. This removes the need to connect it to your PC, copying the photo, processing it, and publishing. Instead, you can take advantage of many proprietary camera apps that allow you to connect it to your phone and transfer the images within a minute.
GPS is also important if you do a lot of traveling. I mean, it’s logical, right? For travel photographers, it’s very important to geo-tag their photos to know where they were taken. After all, it all boils down to memories. The important thing to mention is that very few cameras have GPS built in! On top of that, when your GPS is turned on, the battery will drain much faster so use it carefully. If you don’t need it at the moment, simply turn it off and use it only when you need it.
Our Complete Camera & Gear Buying Guides
Once you know the type of camera you want, these hands-on buyer’s guides help you choose the exact model — plus the lenses, bags, and support gear to go with it. Every guide is kept up to date for 2026.
Cameras by Type & Budget
- DSLR: Entry-level · Mid-range · Professional
- Mirrorless: Entry-level · Mid-range · Professional
- Camera phones: Best camera phones for photography
- Vlogging & streaming: Best vlogging camera · Best zoom webcams
Lenses
- By brand: Canon · Nikon · Sony · Micro Four Thirds
- Understand lenses: Why a 50mm is all you need · Best lens for concerts · How lenses affect photo quality · Lens hoods explained
Camera Bags & Carrying Gear
Start with how to choose a camera bag, then compare the styles:
- Backpacks · Sling bags · Shoulder bags · Pouches · Holsters · Waist belts · Rolling cases
Tripods, Straps & Accessories
Still Deciding? Start Here
- Big questions: Is buying a DSLR worth it? · Canon vs Nikon for beginners
- Know the jargon: Basic parts of a camera · Do megapixels matter? · What does EOS mean?
- New camera in hand? How to use a DSLR · Studio camera settings
Camera Buying FAQ
What is the best camera for a beginner?
For most beginners, the best camera is an entry-level mirrorless or DSLR from a major brand (Canon, Nikon, Sony, or Fujifilm) paired with a versatile kit lens or a 50mm. These give you full manual control and interchangeable lenses to grow into, without the cost of a pro body. Honestly, the best beginner camera is the one you will actually carry and learn on, so prioritise comfort and simplicity over spec sheets.
DSLR or mirrorless — which should I buy in 2026?
In 2026, mirrorless is the mainstream choice for most buyers: the bodies are lighter, autofocus and video are generally better, and nearly all new cameras and lenses are mirrorless. DSLRs still make sense if you want an optical viewfinder, long battery life, or a bargain on the used market, where excellent DSLRs and lenses are now very affordable. Neither is wrong — pick the system whose lenses and price suit you.
How much should I spend on my first camera?
As a rough guide, entry-level bodies run about $500–800, mid-range enthusiast bodies about $1,000–1,800, and professional bodies $2,000 and up (prices vary by brand and region). Remember the body is only part of the cost — budget for at least one good lens, a memory card, and a spare battery. Buying last year’s model or a used body is a smart way to get more camera for your money.
Do more megapixels mean better photos?
Not on their own. Beyond roughly 20–24 megapixels, extra resolution rarely improves everyday photos. Sensor size, lens quality, good light, and your technique matter far more to image quality. More megapixels mainly help if you make very large prints or crop heavily.
Should I buy a camera or just use my phone?
Modern camera phones are genuinely excellent for everyday shots, travel, and social media, and for many people they are all the camera they need. A dedicated camera still wins when you need low-light performance, real optical zoom and reach, fast action, shallow depth of field, or full creative control. If you are unsure, our guides to the best camera phones and whether a DSLR is worth it can help you decide.
Hope you enjoyed our guide on how to choose the best camera for your needs. If this guide helped you in any way please share it with others and also if you want our recommendation on the best cameras for photography visit our recommended gear for photographers.
Best of luck!
Related: 8 Tips on How to Use DSLR Camera for Beginners