We all know how satisfying it can sometimes be when we take photos outside. Especially, during the golden hour. It just feels like you can’t really get a bad shot in such amazing lighting conditions, right?
But the truth is that these great light conditions will make the photographer lazy. And if you want to become a great professional, then you have to learn to work even in the most horrible and strange surroundings and conditions. Moreover, waiting for the perfect light to miraculously emerge during a specific time of the day is so limiting. Firstly, you will waste a lot of time. Secondly, you have to be able to step out of your comfort zone, be smarter and create the perfect conditions on your own.
After all, it’s amazing when the quality of your work doesn’t depend on various factors, right?
Many photographers (even the ones who have been in this business for quite a while) are afraid of taking indoor photos. Mainly, because they have no idea how to work with bad lighting conditions.
Today we are going to help you understand how to get good lighting for indoor photos. Frankly speaking, it is not as difficult as it may seem. But it’s certainly a lot more exciting than simply building a composition during the golden hour.
How to Work with Natural Light Indoors
Yep, you can still work with natural light even indoors. But, of course, you have to know a few tricks.
1. Different Periods During the Day
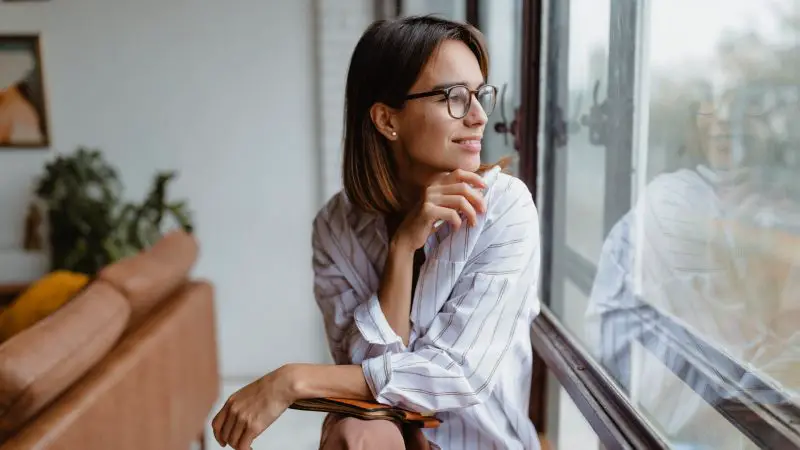
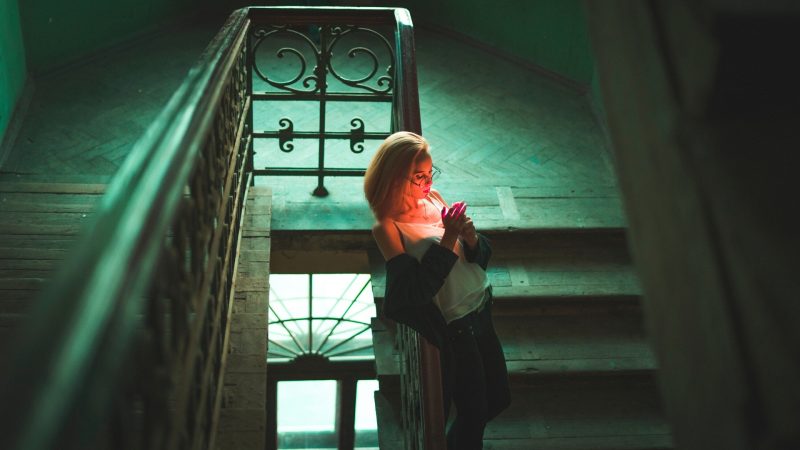
Just like with outdoor photos, there are specific periods during the day, when your shots will naturally look better thanks to the light. Try taking photos indoors during midday, for example. It is one of the worst times to be shooting outside – the photos would look too harsh. But, this is a wonderful time to be taking pictures inside. If you manage to place someone right in front of a window with curtains, you would certainly be surprised by the great results.
Right before sunset and after sunrise. We all love this time of the day, which is also called ‘the golden hour’. The pictures turn out magical during these short minutes (outdoor as well as indoor ones).
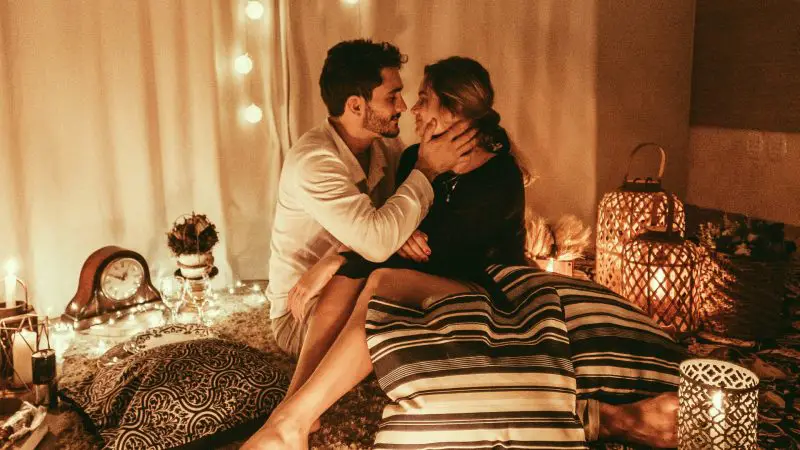
You might want to experiment during twilight. Combine the mysterious and gloomy pinky vibes with an artificial source of light and your pictures will look like something out of this world.
2. Windows and Doors Are Your Best Friends
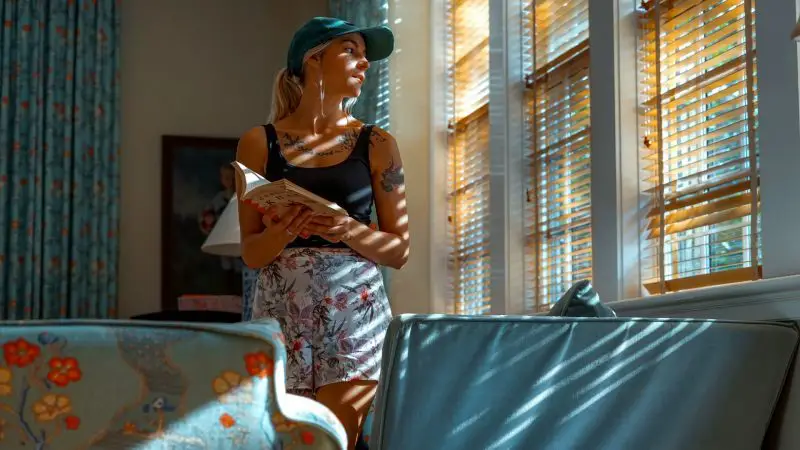
Not only the intensity but also the color of the light changes throughout the day. Take your time to spot all these differences. Harsh light will help you create a dramatic look, while soft sunrays will create an illusion of coziness. You might want to place your subject a foot or two from the window for the perfect effect.
Use curtains, pieces of fabric and other transparent materials to play with the light and come up with something beautiful and unique.
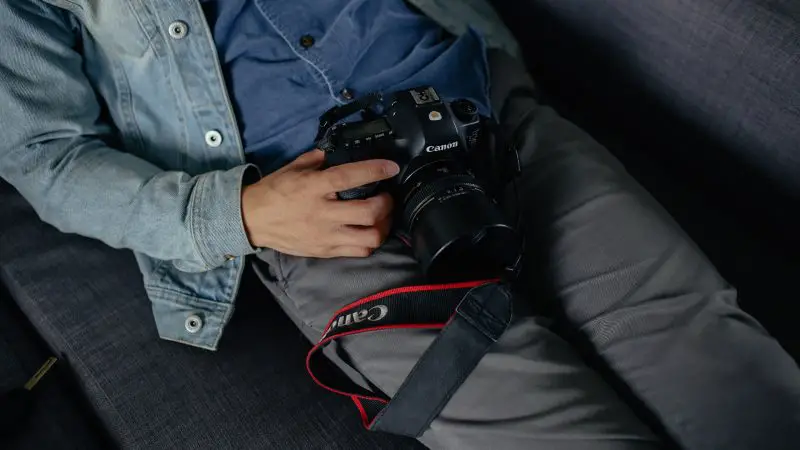
3. Change Your Camera’s Settings
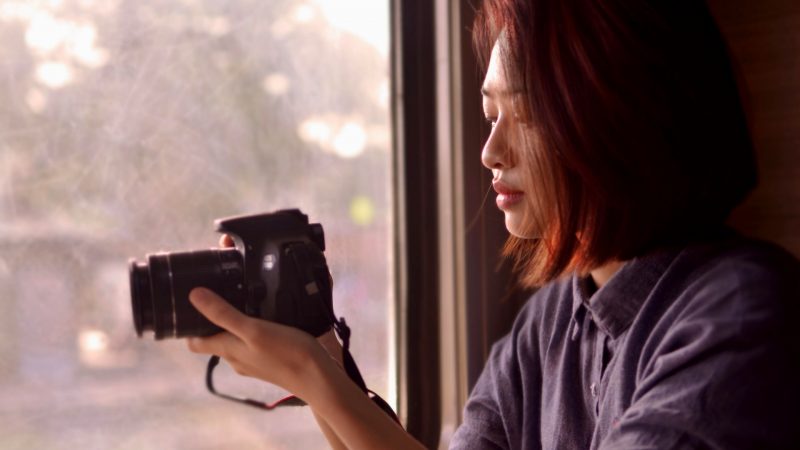
Of course, there are a few settings that you can change in order to make things a bit easier for you (and better for the overall picture).
Your white balance is incredibly important. Try experimenting with Daylight and Cloudy modes to get the skin tone right.
If you’re shooting indoors, you have to try and let in as much light as possible. That’s exactly why you need a wide open aperture (a low f-stop). Bear in mind that the wider the aperture the more in focus your subject will be. And the back objects will appear blurry (sometimes you might be going for such an effect). And don’t forget to always focus on the eyes if you’re shooting a portrait.
We usually take pictures in JPEG. But if you’re quite experienced in editing your photos, then do shoot indoors in RAW. In such a way, you would have the opportunity to change the things that you don’t like later on.
Related: What Are the Ideal Camera Settings for Studio Photography?
4. Organize a Setup
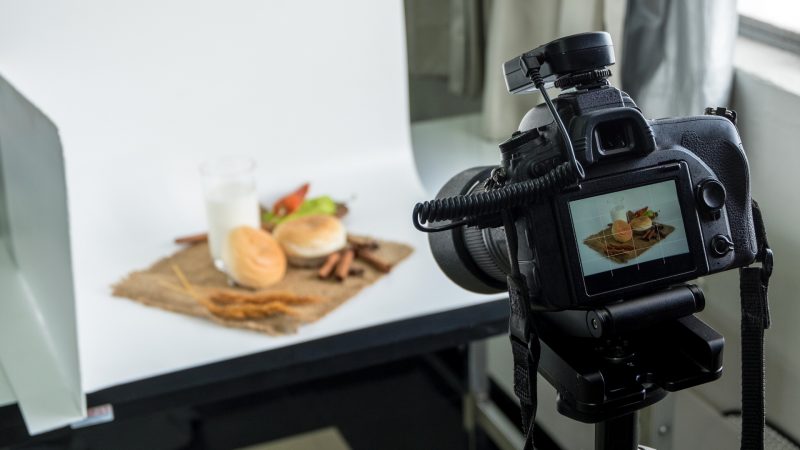
If you know that you want to focus on the subject, then organizing a backdrop or even a lightbox is a great idea. Place a white material or sheet behind the subject. The light will ‘gather’ around your protagonist and make it glow.
In case you want to have even more control over the light – use a lightbox. A backdrop will be changing only the back of the picture, while the box surrounds the subject from practically all of the sides. Place a white sheet on an armchair, for example. All the setups have to be placed next to the source of the light (a window or a door).
Related: Top 6 Best Portable Photo Studio Boxes | Photo Light Boxes
5. Use a Mirror or a Reflector

To take your indoor pictures to the next level try using a mirror. Again, we are doing everything to try and control the intensity of the natural light. Place the mirror right in the window and place your subject in front of it. Make sure that you’re not in the mirror and crop the picture afterward. The final result will have soft lines and a natural glow.
You can also use a reflector to catch the precious light. If you place the subject facing the window with one side, then the other one will have harsh shadows. To avoid that, use a reflector. The light will ‘bounce’ from the thing and help get rid of the shadows on the other side.
How to Work with Artificial Light Indoors
This is when your creativity really kicks in. Usually, we have a source of light (the sun). But what can a photographer do, when the star is taken away from him? Well, soon you will start seeing amazing photo opportunities everywhere!
1. Don’t Be Afraid to Experiment with the Sources of Light
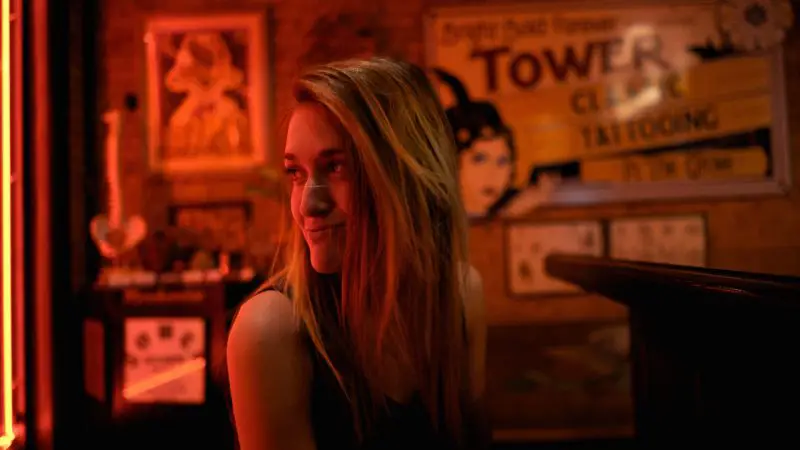
Take a minute to look around your room. There are so many different sources of light that we usually don’t even think about. Certainly, it’s not only the window and a light bulb. The screens of our phones and computers create a cool blue aura. Even an open refrigerator or a fish tank can become your inspiration for the shot.
Of course, your subject will look totally different in all these lights. So start from taking hundreds and hundreds of shots from different angles to see how the shadows and color change and to figure out what you like more.
2. Leave Only One Source
But after you have experimented enough with all these refrigerators and screens, make sure to choose one single light source for your picture. If you leave several bulbs on in different rooms, getting a great shot will become too complicated. Firstly, your white balance and exposure will be completely off the track. Secondly, the actual composition will suffer, if there are a lot of different light sources in the frame.
Don’t be afraid to leave one single phone, for example, that’s illuminating the face of your subject. You can still fix a lot of things during the editing process but the overall picture would certainly turn out to be more intimate and cool.
3. Don’t Forget About Your Settings
Just like we have already mentioned above about shooting indoors with natural light – take your picture in RAW format when you’re using artificial light as well. Of course, if you adore the shots that you manage to take, then there is no need in using this particular format. But RAW files already have all the information that a photographer would need during the editing process. And (the best part) you can easily change the shadows, highlights, exposure, etc.
Don’t forget to open up your aperture to let in the light from your source.
Push your ISO. Otherwise, you might end up getting blurry photos in low light conditions. The shutter can be kept at 1/160th (and above). If you are worried about your picture turning out too grainy, you will always have a chance to fix it during the editing process. However, sometimes grainy pictures create the perfect atmosphere that you might be going for.
Use a wide-angle lens if you want to fit a lot of objects in the frame. Such lenses are great for an interior shot, for example. Or in case you want to catch the unique atmosphere of a cluttered room.
4. Use the Most Ordinary Objects to Create Something Extraordinary
The indoors are full of different things that can end up becoming the main eye-catching details in your frame. A simple plant can look like a part of a jungle; glass details can create a mesmerizing atmosphere. Search for different patterns and structures and remember that every small detail will look completely different if you turn on another source of light (or if you just move it to another place).
Now you know how to get good lighting for indoor photos and you might already have a couple of ideas for your next photoshoot.
Once you start feeling more comfortable indoors and surrounded by artificial light sources, you will finally understand how important it is for a creator to be independent of various factors that he doesn’t have an influence on. You can come up with your own ‘sun’ wherever and whenever you want.
Related: Basic Tips for Taking Good Photographs