Just because we see the world in full color doesn’t mean you can’t get creative without those vibrant visual tones. In fact, for many, black and white photography is not just a challenge, it is an art form. We’re not talking stepping back in time here, either. Sure, before color photography there was black and white. If anything, by focusing (pun intended) on the origins of photography is not old school but a great way to capture things in your lens that otherwise get lost is an explosion of colors.
Black and white photographs allow you to express things in a different way. Photography that doesn’t have diverse colors won’t cause a distraction from the main targeted subject you wanted to present to the audience. In order for your black and white photographs to have a significant impact and win the attention of the spectators, you must take into account many things. This is why we made black and white photography tips you can implement into your work so that your work can stand out from the others.
Table of Content
20 Essential Black and White Photography Tips for Beginners
1. Establish a Clear Idea of What You Want to Capture in the Photograph

Before taking a photograph first you must have a clear idea of what you want to show through a shot and the elements you want to highlight in it. If you don’t have a clear idea of the photographic work you want to do, you will never get a clean job. Without this idea, you will never make an impact on other people.
We’re sure these 30 creative photography ideas for beginners will help you.
2. Visualize the Shot in Black and White Before Capturing the Photograph
Okay, so you have your camera pointed at something but you are having a heck of a time trying to visualize the scene in black and white. Well, there is a way that can help you to achieve this each time you point your gear at a subject. Just look at tiny portions of what you see in the frame. What we mean is, place your attention on lines, shadows and shapes that appear in the photo you are about to take. It can help you see color scenes in black and white in your mind.
With this, your photographs will be exemplary. You must visualize every existing detail in your photograph. The colors, the lights, the shadows and every detail, with this you will obtain a scale of different black and white tones that will provide a captivating photo.
3. Play with the Contrast
Sure, the average black and white photo is just black and white. Well, there are a number of grays in there as well, but for the most part, there is not a ton of difference. Or is there? Somewhere in that photo, you will find a spot that is completely white and another that is completely black. If you work with the contrasts between them, you can create some pretty awesome photos.
We all know that the contrast helps to mark more textures and defines the tones much better. However, do this with care. Here is the thing. By increasing the contrast in an exaggerated way, you could ruin your photography. Playing with the contrast in a wrong way can make you lose desired details on the picture.
4. Highlight the Textures
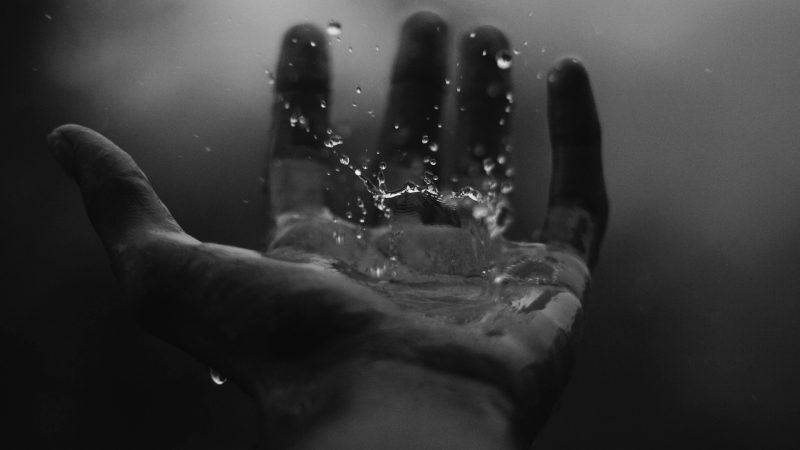
Well, one other really great way to put life into your black and white photos is to shoot scenes that contain some form of texture. Providing the texture can give you an interesting backdrop or another tool to set off other subjects in the frame. Old wooden or weathered objects are perfect for this sort of thing.
The textures (wood, water, stones, details of the skin, etc.) are fundamental for black and white photography. The textures in the color photographs are not as important as in the white and black photographs. This is because having color on a photograph will make it much easier for the naked eye to decipher all of the materials presented on the picture. By emphasizing all the possible details on a photograph, we can achieve a better relationship with the viewer. Using this you can capture the essence of what you wanted to present.
However, we must not try to exceed the textures. We must always maintain a balanced contrast between the areas with textures and soft areas.
5. Look for Adequate Lighting

The choice of light is very important for obtaining optimal results with this type of photographs. The best lighting is natural light. Especially the light that is projected in the first hour of the morning and the light projected before the sunset. These lights will help you to highlight the details in the photographs.
Always wait for the right light and if necessary move around to find the right light. Don’t be lazy, always do the extra work so that your pictures can look presentable to the audience. (Also, click here and read what is the best time for outdoor photography)
6. Trigger Settings
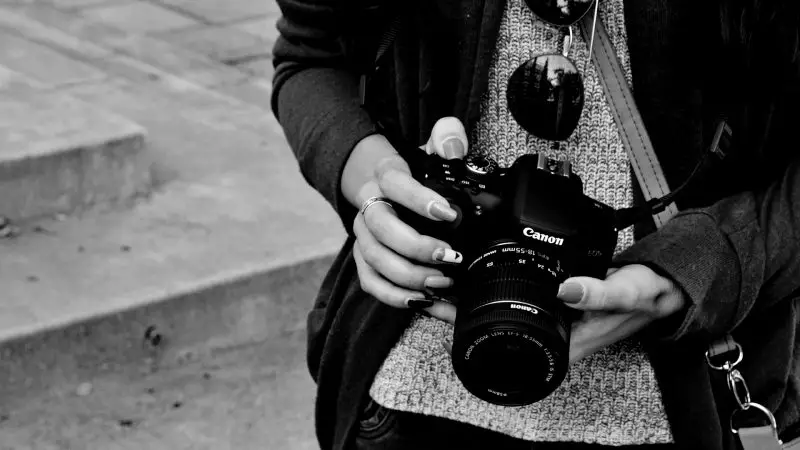
This tip is mainly targeted for the people who want to start capturing shots in black and white, but don’t know how to translate colors to gray scales.
It is recommended that you set your camera to capture photos in RAW + JPG. This allows you to generate both files. By having this type of configuration you can have both shots since the monochrome mode will only be fixed in the JPG file that will serve as a preview. The RAW file will remain in color so you can edit it according to your goals.
7. Decrease the ISO
This should be a no-brainer but just in case, when shooting black and white photos, be aware of the white noise that can come off of certain surfaces and lighting. It’s a bit tricky at first but with experience, you’ll be able to set your camera to reduce this without blinking. That is unless you are intending to use white noise as part of the photo’s composition. This, by the way, is not a bad idea in certain shooting situations. White noise can be a good noise.
By lowering the ISO you will ensure that your photo has less noise with higher sharpness. This is because, in monochrome photography, the noise caused by the high ISO is much more evident. By having high ISO the photograph will have the “Grain” effect, this will make the photographs look less professional. In case you like that effect, you can do it better with a photo editor with much cleaner results. (Click here and read more about ISO)
Related: Top 10 Photo Noise Reduction Software For Photographers
8. Apply a Bit of Vignette to the Photograph
The vignette is the black color frame that is used to apply a darker shade on the edges of the photographs. When applying the vignette to the photograph it will help people who visualize your work to focus on what you wanted to emphasize in the photograph. Also at the same time, it will also help you to increase the emotional load.
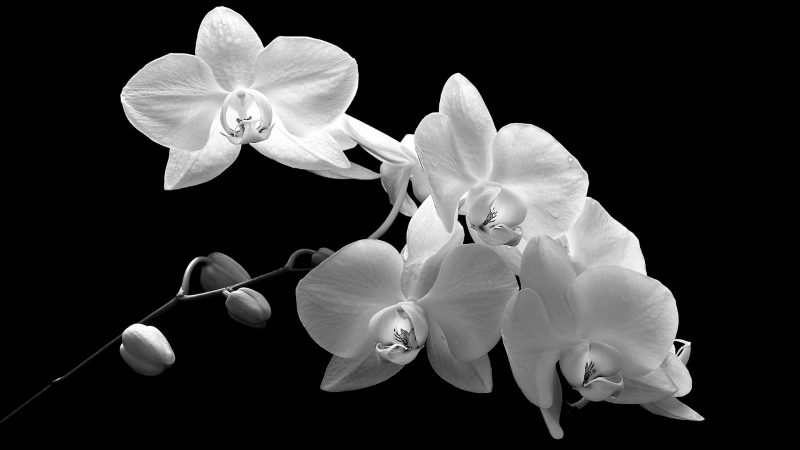
9. Experiment with Nature
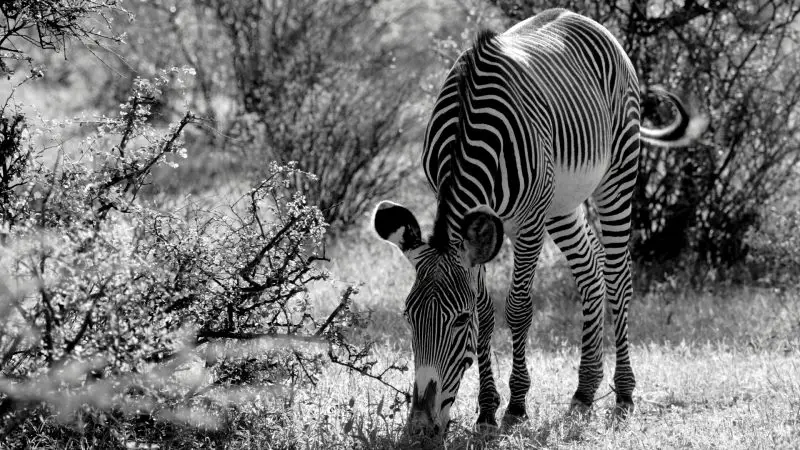
Use the elements of nature, the shadows of the trees, the waves of the sea, the wood, a sky full of clouds, landscapes full of light and shadows, the wet soil after the rain and the animals. This will help you to develop the ability to use every detail in your favor and each time you will achieve better pictures worthy of admiration.
Patterns are also cool. That’s because they provide you with a controlled, repetitive order that can become an interesting feature in the average black and white photo. Patterns exist pretty much everywhere, you just have to look around for them. Image patterns are actually easier to see and utilize in black and white as color just helps to disguise them. Using patterns in a photo gives you another form of contrast to help create depth within your photo.
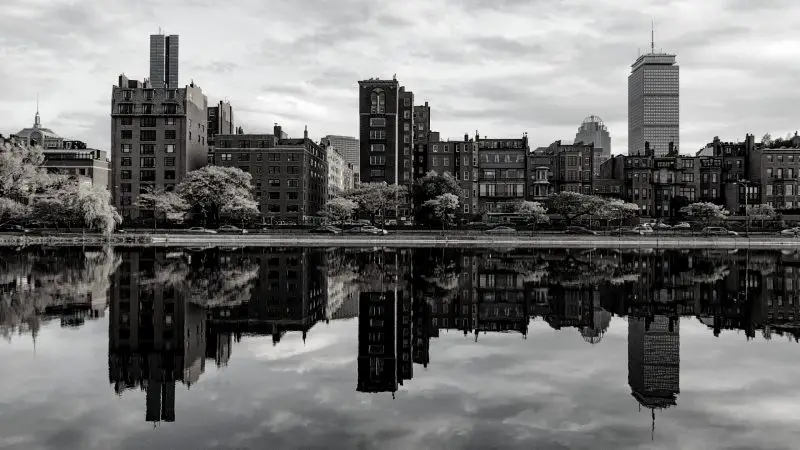
10. Be Careful with the Reflections
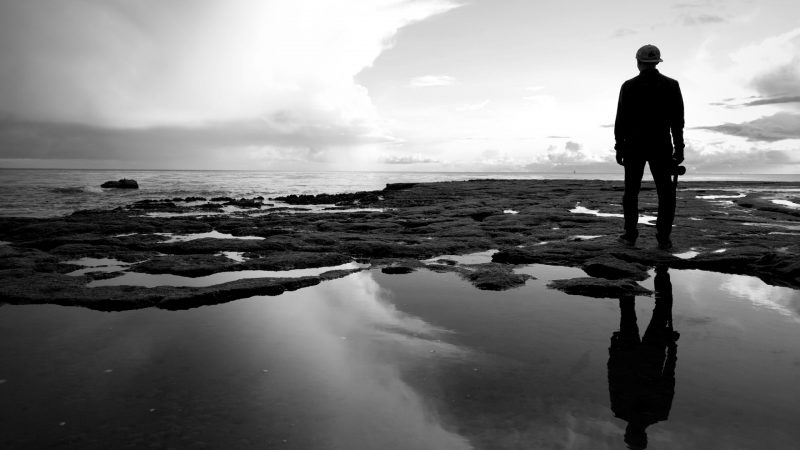
Be careful with reflections on the water or on other surfaces. As you know, the light is very important in this type of photos and reflections will damage the composition or distract the viewers. With a polarizing filter or modify the high and low lights in these areas, you can eliminate unwanted reflections that can distract the viewer from the main objective of the photograph.
11. Take Advantage of Rainy Days
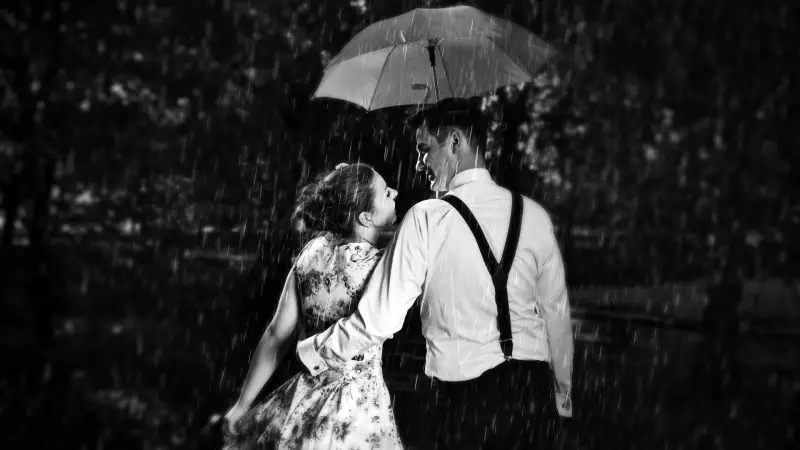
Many photographers try to transmit melancholy through black and white photographs. Why not use rainy days? Capturing shots on rainy days is an excellent idea (if there is still acceptable lighting) to transmit melancholy. Insert that feeling that you felt at that moment into other people. This is what this is all about. Convey feelings through what you do. (Also, learn how to capture emotions in your photos)
12. Highlight the Intense Black and White Tones in the Composition of the Photograph

It is very important when choosing a composition to include pure white and pure black color. If you do the conversion to black and white pay attention to the histogram. Everything will depend on the photograph; the black present in the shot may correspond to a larger or a smaller region. But, to give it as much depth as possible, it is recommended that the photo has some pure black color. If not, it will be a white and gray photo.
13. Shots in Black and White Landscapes
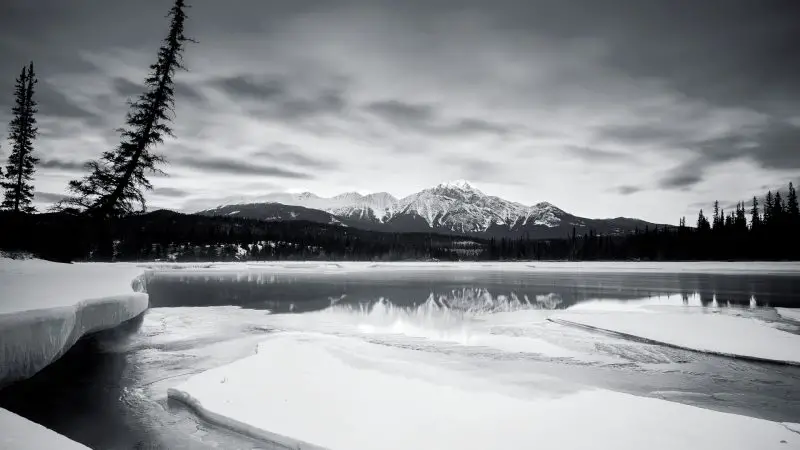
In landscape photographs, however beautiful they may be, it will not guarantee an optimal black and white photograph. First of all, we must evaluate if the scene we want to photograph has the necessary elements to capture a good black and white photograph. You will have to make an evaluation of the different color tones; the lights, the shadows to make an optimal photograph.
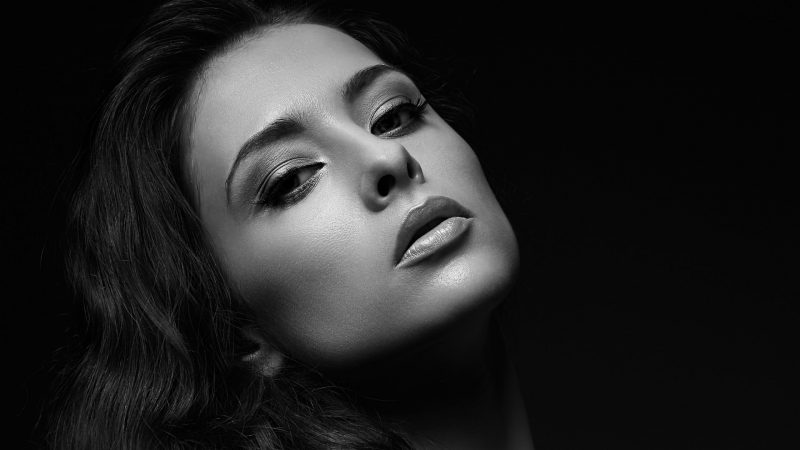
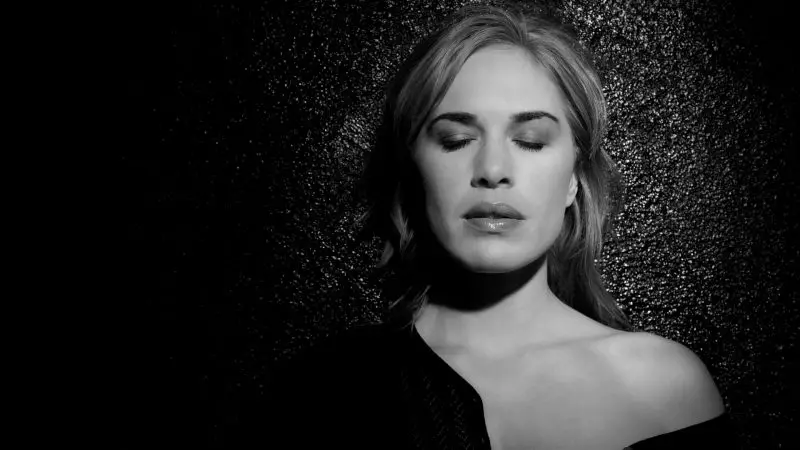
14. Portraits in Black and White
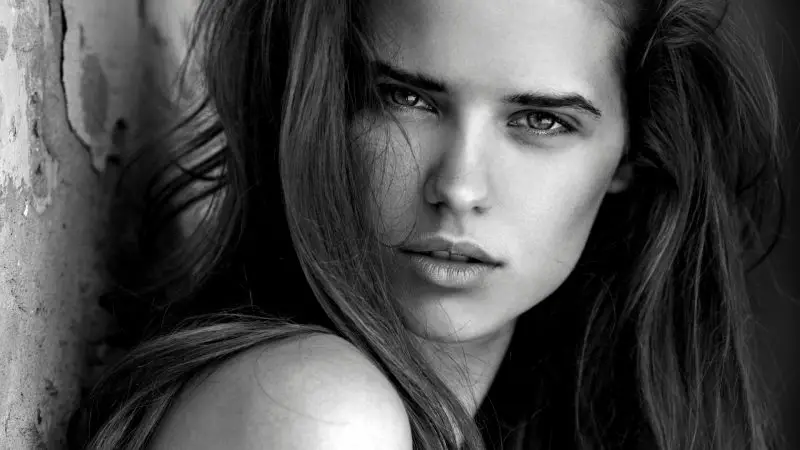
Through a black and white portrait, you can make any person stand in awe while they are looking at your photograph. This is because you can point out on the picture what you wanted because having no colors will not cause distractions to the viewer. Try to create portraits that unmask the wrinkles of a difficult life or a life full of experience. Maybe the portraits will let them feel the softness of the skin of a newborn or the innocence expressed by the look of a child, etc. Everything will depend on the situation or a feeling you want to convey.
I also suggest reading our tips on how to do portrait photography the right way.
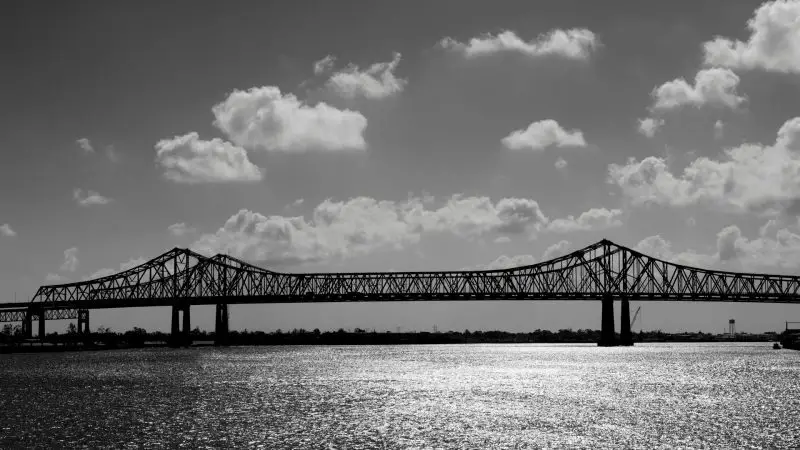
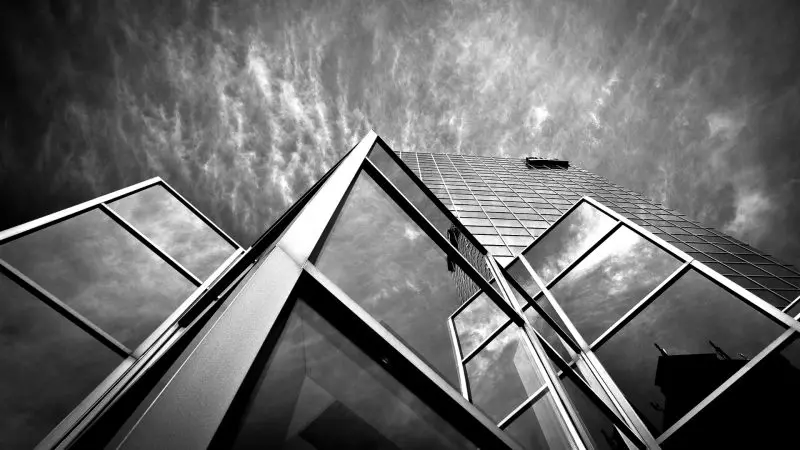
15. Take Advantage of the Lines and Forms
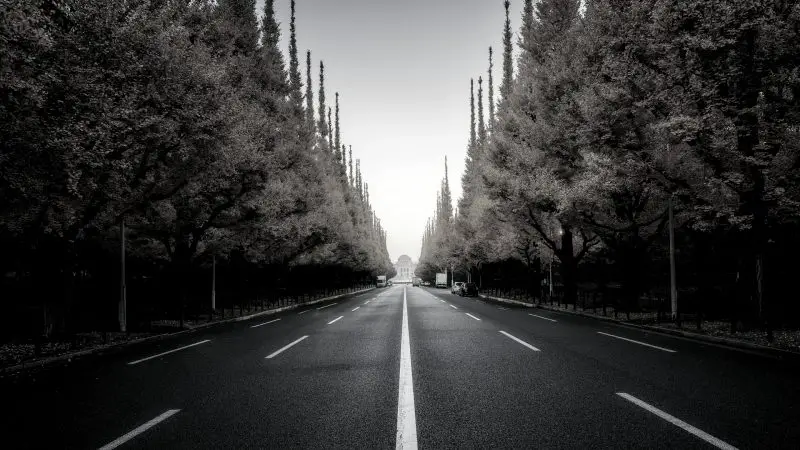
In everything we see every day while walking down the street, lies a great photographic material. That everyday material is exactly what street photography captures. Take a few seconds to observe, you will start to notice all these incredible shots you can capture. In the architecture that we see in the streets or in a street paved in black and white, they will have a much greater intensity of emotion in black and white than in color. Try to imagine the big shots that could be obtained from a forest of straight trees, the waves of the sea breaking on huge rocks, a park full of dry leaves, a glass window with raindrops, etc.
16. Do Not Turn a Badly Exposed Photograph into Black and White

Many times we can have a good shot but with a bad exposure. Then people usually think the best way to correct this error is to turn it into a black and white photograph. This WILL NOT GIVE YOU GOOD RESULTS and the photographic errors will be noticed even more.
17. Use a Polarizer
The shots made on surfaces such as water, glass windows, and even leaves can emit reflections. To reduce the reflections of sunlight, you must use a polarizer. When removing the color from our photographs, reflections are a source of a distraction.
18. Use Long Exposure Mode in Your Favor
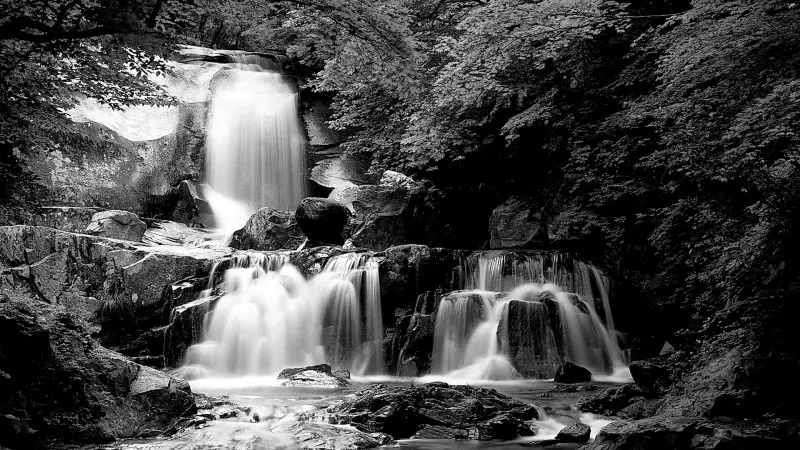
The long exposure will help you capture more information about landscapes and objects. If you combine it with a RAW format, you will have incredible results of images with more details, textures, and tones. This effect is ideal to highlight the movements of a sky populated by clouds, or the water falling from a waterfall.
19. Don’t Shoot Using a Monochromatic Mode
When using this mode your pictures are being saved as JPEG and not in RAW. This means you will lose quality and details in your photographs. Always shoot in RAW and later use editing programs to convert your picture into black and white photography.
20. Grey Matter Actually Matters

We can’t ignore the vast spectrum of grays that exist in the average black and white photo. If you’ve never shot black and white before, the first thing you will notice in your photos is that because there are so many different shades of grey in the grayscale, many of your photos are going to look well, dull. There is a way to kill off some of the excess grey. If you use your flash for some of these photos highlights and shadows will appear creating depth.
What Editing Programs Are the Most Recommended for Editing Black and White Photographs?

The most popular editing programs used by recognized professional photographers are Adobe Lightroom and Photoshop. With these two programs, you can edit the light and intensity of the colors separately. For example, you can create a more intense sky on the photograph without having to alter the whole photograph.
In addition, you can also edit your photos using Silver Efex Pro. This program is made for black and white photography. By using the layer mixer, you can get more intense and subtle shades of gray, plus you can incorporate hard black and white tones, making your picture more attractive.
It is very useful to play with the contrasts, adjusting the levels and curves. Strong contrast will give a harder image, while a dimmer contrast will evoke the sweetness.
It is important to correct the white balances, highlights, shadows, black and white tones, to achieve the desired results. With this, you will have no difficulty converting your image to monochrome.
Related: Do Photographers Edit Their Photos?
What Is It and How to Use the Color Conversion Filters?
Each color has a translation in monochrome scales, which are used for each type of photographs according to what we want to highlight in it. Color conversion filters are used to highlight areas of color with the opposite or complementary color, either to darken, highlight or illuminate.
For example, if you take a photograph where the sky is a bit boring, apply the red filter to your image. The red will darken the blue of the sky since they are complementary colors. In case you have some beautiful clouds, these will stand out in the sky that has just been darkened. With this, you will have an image with more tonal range, more contrast and overall more interesting.
Some of the most used color filters:
- Red filter: the color opposite to red is the color blue. Therefore, when applying the color red, the color blue is darkened (very useful for the skies in black and white).
- Green filter: Its function is to darken the color red, some blue tones, lighten the green and certain shades of yellow, it is very useful to highlight the different greens. For example, a landscape where the green tones stand out.
- Yellow filter: This filter helps to absorb ultraviolet and blue light. It is very useful to lighten the skin in portraits because the skin has a high degree of yellow.
These filters help to obtain better results in tones and contrasts when converting it into monochrome.
Here’s a black and white photography tip that has little to do with the shooting of the photo and everything to do with what you call it. There are different terms for different treatments of black and white photos. For example, monochrome is where color is added to a neutral background. Grayscale is a method used for viewing black and white photos on a computer screen. So, black and white photos are just that – they are made up of black and white tones.
Getting a good black and white photograph is a bit more difficult than color photographs. Many times we are disappointed with the results. If you are only starting in photography, put these tips into practice. If you make mistakes do not get frustrated because each mistake is a new experience that will make you grow as an artist.
We are fans of trial and error. You won’t learn if you don’t get out in the field and start shooting. Black and white photography is rewarding and allows you to see the world around you in a very different way. Once you get into a routine you will start to see everyday scenes and places as potential subjects for your camera. Plus, when you spend time with black and white photography you will also discover new ways to shoot color photos as well.
There is no doubt that the more styles of photography you learn, the better you will become at taking photos. So don’t put it off any longer. If you’ve always considered black and white photos, now you have some great black and white photography tips to get you started. Don’t say we didn’t warn you. You are going to have so much fun that shooting black and white just may become your new speciality.
Try it, express yourself and demonstrate all the artistic potential that is within you!
