Quick answer: Yes — virtually all professional photographers edit their photos. Editing (also called post-processing) is considered the second half of photography. Photographers shoot in RAW, then adjust exposure, color, contrast, and crop, and remove distractions using software like Adobe Lightroom or Photoshop. This is standard practice, not cheating: it corrects what a camera can’t capture in a single frame and brings the image closer to what the eye actually saw.
In an age of heavily photoshopped images, some people question whether editing makes a photo less “real.” Usually that’s a confusion between two very different things. Post-processing means adjusting and correcting an image — exposure, color, contrast — to produce a more accurate, polished photo. Image manipulation means altering a photo into something it never was, sometimes deceptively. Almost all photographer editing is the former.
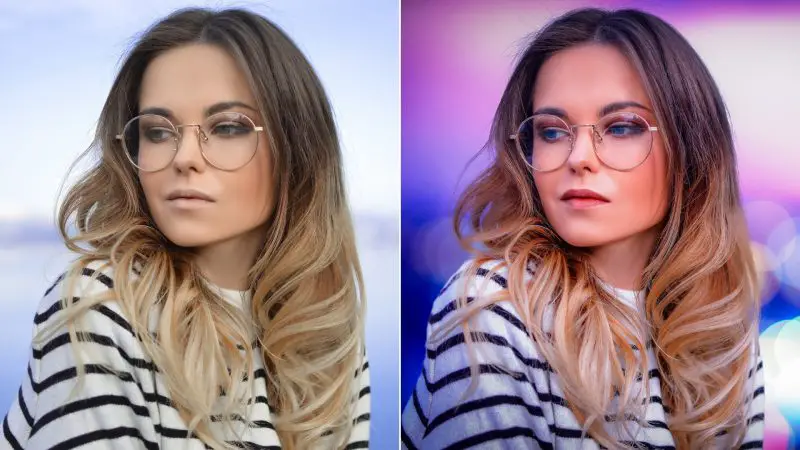
Table of Content
Do Photographers Edit Their Photos?
Yes, they do — and if you’re serious about photography, you need to as well. Shooting is only the first half of creating a good photograph; the work doesn’t end when you press the shutter. Editing ranges from simple tone and color enhancement and removing unwanted elements, up to heavier retouching. Most of a photographer’s edits lean toward the simple end. Busy photographers who don’t want to edit will often hire a retouching service instead.
Editing isn’t new, either. In the film era, photographers manipulated images in the darkroom — adjusting development, dodging and burning, even using colored gels between lens and paper. Even the choice of film stock was a form of editing, since different films rendered color, contrast, and grain differently.
Related: Outsourcing Photo Editing Services for Photographers
Why Do Photographers Need to Edit Their Photos?
The Advantage of Shooting in RAW
Most photographers shoot in RAW, the digital equivalent of a film negative. A RAW file preserves far more color and tonal detail than a JPEG — but, like a negative, it isn’t a finished image. It has to be processed and exported to a format like JPG or PNG before you can print or post it.
Why not just shoot JPEG? Because when your camera saves a JPEG, it bakes in its own processing and discards a large share of the captured data — permanently. A RAW file might be 25 MB where the JPEG is 5 MB; that extra data is your flexibility. With RAW you can recover blown highlights, lift shadows, and correct white balance with little to no loss of quality.
The trade-off: a RAW file looks flat and dull straight out of the camera, and you need software that can read it — like Adobe Lightroom or Photoshop — to bring out everything the sensor recorded.
Dynamic Range
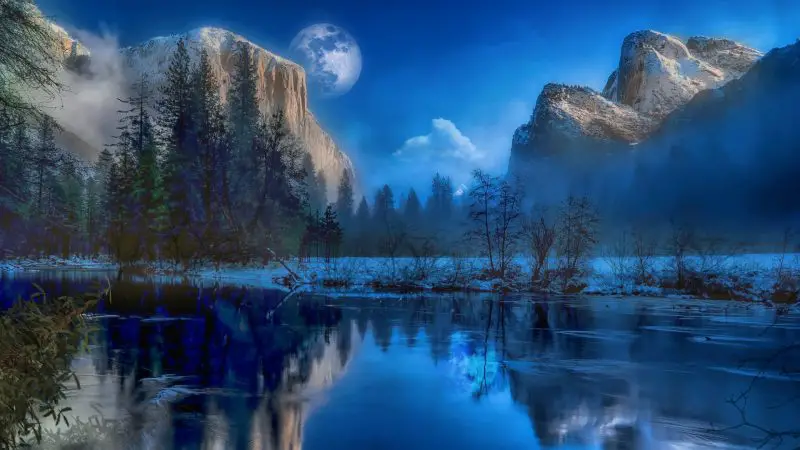
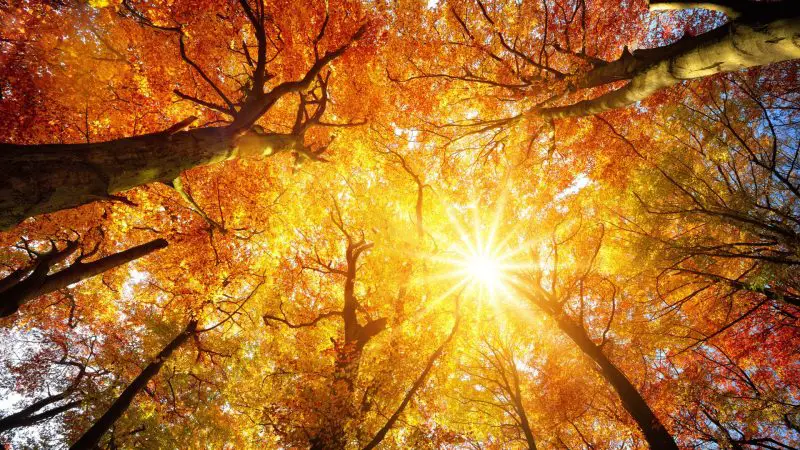
Another reason to edit is dynamic range — the span of light from shadows to highlights. On a bright day, a scene’s dynamic range often exceeds what a camera can capture in one shot, even though your eyes see detail across the whole scene. Shoot a backlit tree and the camera may render it as a silhouette while your eyes still see leaves and sky.
Shooting RAW preserves the detail hiding in those highlights and shadows, so in post you can choose what to reveal — more sky, more shadow detail, or a balance of both. That choice is part of the creative process.
What to Look for in Photo Editing Software

There are many editors, some far more complex than others. Whatever you choose, these are the core tools you’ll use most often:
- Crop — recompose after the shot, remove dead space, and put focus on the subject.
- Exposure — the overall brightness; the most common fix, used to recover blown or dark areas.
- Contrast — the range from black to white; brighten highlights or deepen shadows for punch.
- Color correction — fix inaccurate color from the wrong white balance, or make specific colors pop.
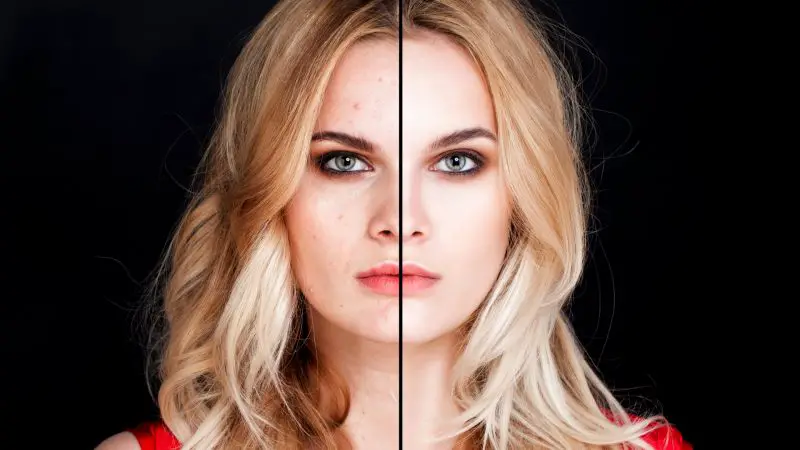
- Retouching — clone and healing tools to remove dust, blemishes, stray wires, or other distractions. Essential for portrait work.
Related: Is Photo Retouching Ethical?
What Software Do Most Photographers Use?
Most professionals use one or two of these four tools. Here’s how they compare:
| Software | Best for | Pricing model |
|---|---|---|
| Adobe Lightroom | Organizing & batch-editing large shoots; non-destructive workflow | Subscription (Adobe Photography Plan) |
| Adobe Photoshop | Detailed retouching, compositing & manipulation with layers | Subscription (Adobe Photography Plan) |
| Capture One | Best-in-class RAW detail & color; tethered studio shooting | Subscription or one-time perpetual licence |
| Luminar Neo (Skylum) | Beginners; fast AI-powered edits | One-time purchase or subscription |
Adobe Lightroom

Lightroom is built for organizing and editing large numbers of photos. Its standout feature is non-destructive editing: your changes are stored separately and the original file is never altered, so you can revisit and re-edit any time. You can import RAW files, rate and cull them, apply quick adjustments, and copy one photo’s edits to hundreds of others — a huge time-saver after a busy session. It’s the go-to for photographers who shoot a lot and want efficient, repeatable results.
Adobe Photoshop
Photoshop is the most powerful image editor for detailed work. It uses layers so you can edit elements independently, and there’s almost nothing it can’t do — at the cost of a steeper learning curve. It doesn’t organize your library like Lightroom, but for complex retouching and compositing it’s king. The two are usually used together; Adobe’s Photography Plan bundles both.
Capture One

Capture One is Adobe’s biggest rival, offering excellent RAW conversion, color tools, and tethered shooting prized by studio and commercial photographers. Many users feel it pulls the most detail and most accurate color from RAW files. It’s available by subscription or as a one-time perpetual licence.
Luminar Neo (Skylum)

If Lightroom or Photoshop feels intimidating, Luminar Neo is a simpler, more beginner-friendly option with strong AI-powered tools (sky replacement, one-click enhancements, noise reduction). It’s available as a one-time purchase or subscription, making it a good entry point that doesn’t tie you to Adobe.
Both Adobe and Capture One use mature RAW engines that handle files from virtually every camera brand. The right choice ultimately comes down to your workflow and artistic vision. AI has also taken over much of the heavy lifting — see the best AI photo editing software for beginners.
Related: Top 10 Photo Noise Reduction Software for Photographers
Can You Fix a Bad Photo in Editing?
Editing is powerful, but it isn’t magic. No amount of post-processing can fully rescue a badly shot image. A photo that’s severely over- or underexposed loses detail that can’t be recovered, and one that’s out of focus or poorly composed is very hard to save. That’s why you still need to get it right in-camera first.
At the same time, you can’t achieve a truly polished, professional photo without editing. There are limits to what any camera can do in a single frame — editing is what brings the image to life, corrects small mistakes, and makes your photos look their best. Shoot carefully, then edit to finish the job.
Frequently Asked Questions
Do all photographers edit their photos?
Virtually all professional photographers edit their photos. Post-processing is considered the second half of photography — even minimal edits to exposure, color, and cropping are standard. Some photographers do it themselves; busy ones outsource retouching to a service.
Is editing photos considered cheating?
No. Standard editing (post-processing) corrects what a camera can’t capture in one frame and brings the image closer to what the eye saw. It’s only considered deceptive when it crosses into image manipulation — altering a photo to misrepresent reality, especially in journalism.
What software do most photographers use to edit photos?
Adobe Lightroom and Photoshop are the industry standards — Lightroom for organizing and batch-editing, Photoshop for detailed retouching. Capture One is a popular professional alternative, and Luminar Neo is a beginner-friendly option with strong AI tools.
How long does it take to edit photos?
It varies widely. Quick Lightroom adjustments take a couple of minutes per image, while complex retouching in Photoshop can take 30 minutes or more per photo. Most photographers say editing takes about as long as the shoot itself, and often longer.
Do photographers edit RAW or JPEG files?
Most edit RAW files because they preserve far more color and tonal data than JPEGs, allowing major exposure and white-balance corrections with little loss of quality. JPEGs are already processed and compressed by the camera, leaving much less room to edit.