So, you want to learn about night photography? Well, you are in for a workout! It is one of the more challenging types of photography, but also one of the most rewarding. Actually, night photography can be extremely challenging but equally rewarding. The beautiful thing about taking photos during the night is that without the help of natural light coming from the sun, you will learn how to improvise with what you have available. Moonlight, traffic lights, buildings, and vehicle lights will all come into the play when you start exploring the wonders of night photography.
We have divided our night photography guide into three main sections:
1. Essential Things Needed for Night Photography
2. Tips for Different Night Photography Scenarios
- Night Street Photography Tips
- Night Portrait Photography Tips
- Night Sky Photography Tips
- Tips on How To Photograph Star Trails
3. Night Photography Camera Settings
This night photography guide covers almost everything you will need for taking photos when the sun goes down. After you master these tips you will shoot night photography with ease and your pictures will look amazing.
Buckle up because you are in for a ride!
Table of Content
| 5 Essential Things Needed for Night Photography |
1. The Idea
You can’t really just snap away at whatever moves in the dark without at least some kind of concept. Your inspiration for standing outdoors in the cold part of town has to be backed up with some kind of reasoning. Saying you were just trying to shoot something different may work for someone but why exactly are you doing that? There is something truly magical about night-time photography but in order to capture that feeling, you have to have a goal in mind. Once you find one, write it down and try to describe it in a couple of lines. That will help keep you on track.
2. The Gear
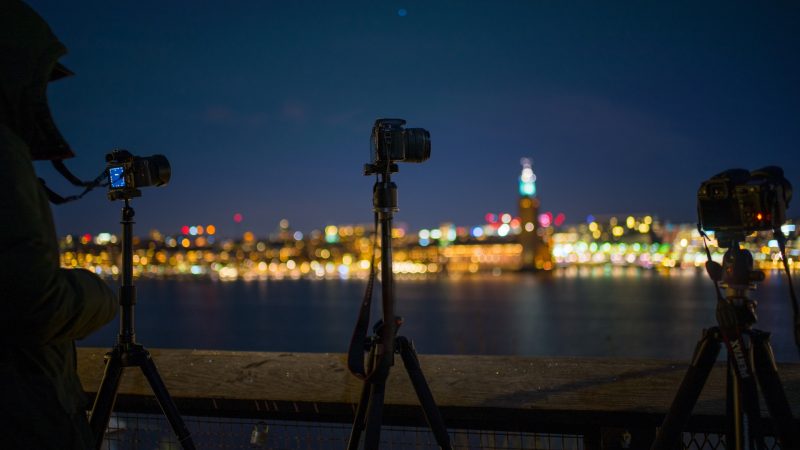
You need to be prepared for just about anything when you are cruising the mean streets at night. Well, actually, we are talking more about the equipment you’ll need to have rather than your personal safety. But since we’ve mentioned this, remember to play it safe. Do not attempt to shoot photos at night where you can’t see where you are going. The danger is not something you want to have as part of the night-time photo experience. The same goes for venturing into areas of your community or rural area where your personal safety may be at risk. Read whatever you want into that. Just be careful. As for the photography gear, you can get away with just three items. A tripod, a remote shutter release, and a good quality camera.
Related: How To Choose The Best Camera For Your Needs – 7 Step Guide
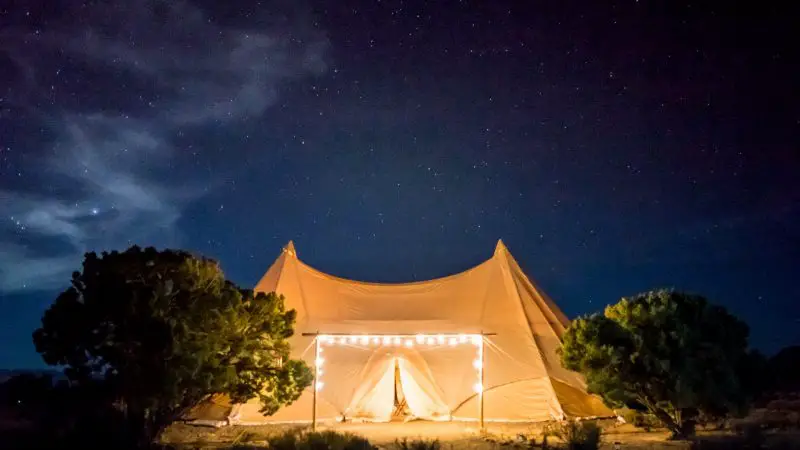
3. The Extras
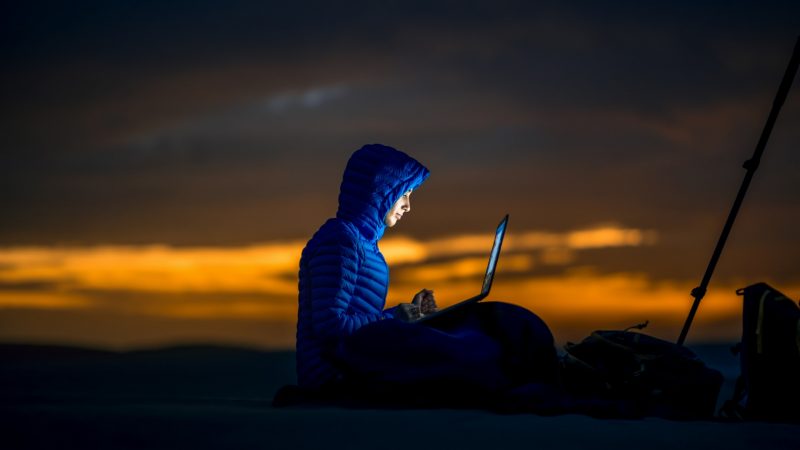
Let’s face it. Spending time outdoors at night is not normally part of the average person’s daily routine. That’s why you will want to be prepared in case you end up driving a fair distance away from your home to shoot something like the night sky. So, with this in mind, pack some food. We’re not talking about a giant meal but snacks to keep you from getting too hungry if your night ends up being long and late.
Energy bars and energy drinks are always a good idea. Take your phone, have a full tank of gas and a few dollars on you if you need to top up the tank. Either wear warm clothing or take some extra layers so you can bundle up if you need to. Also, as much as many of us photographers prefer to work solo, it wouldn’t hurt to take a friend with you. At the very least, you’ll have some company.
4. Safety First
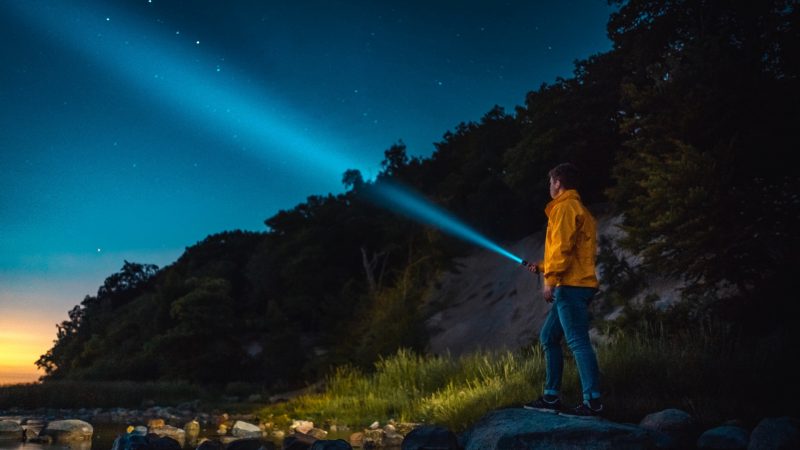
In addition to being aware of where you are at all times in the city or country at night, you still need to take additional precautions. A good quality, a heavy-duty flashlight will be a lifesaver in more than one way. It will give you the means to see where you are going safely if you end up walking thru dark areas for amazing night sky photos. Plus, the flashlight can be a simple tool that you use to light up a target 30-feet away so you can get your camera focused and settings in place.
Oh, and speaking of settings, the flashlight can help you see the settings knobs and dials much better than squinting at them under a faint streetlamp.
5. Stop, Go
When you are taking long exposures, how are you going to time them accurately? Sure, you could count ‘Mississippis’ but that is going to get a bit boring by the time you reach 400 or so. Even if you have a reliable digital watch sometimes it is far easier to go low tech on this. A small battery-powered alarm clock can do wonders when you are using exposure times of 15-minutes or longer. We’re thinking that there is always the possibility of a nap getting in the way. That is unless you are naturally a night owl.
| Tips for Different Night Photography Scenarios |
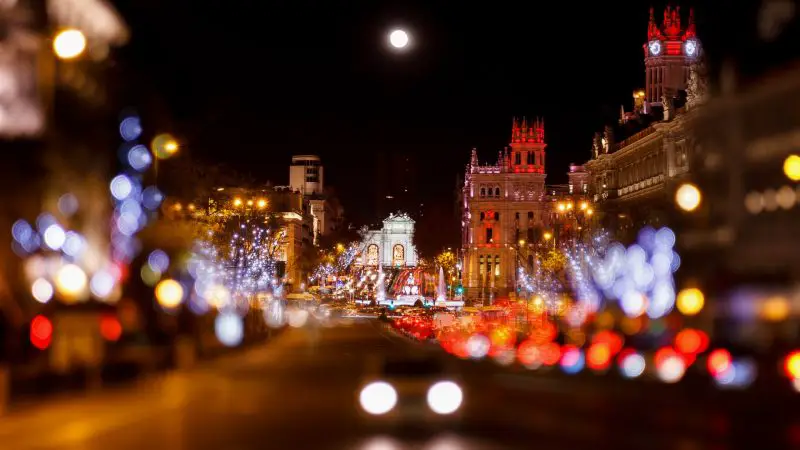
Night Street Photography Tips
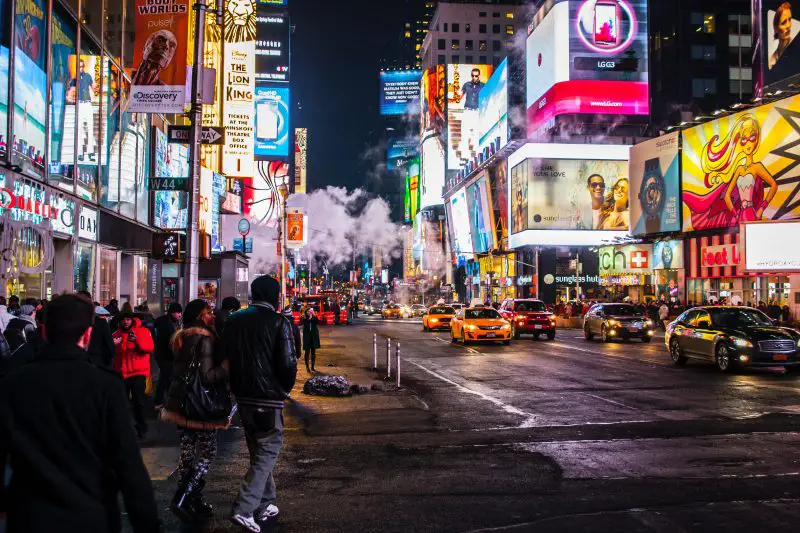
There is a very different kind of life that takes place on the streets at night. Depending on the size of the community you are in, you may discover a lot or little activity. Regardless, there are many kinds of interesting things that only happen at night and they are not hard to capture if you know what you are doing.
Here are some basic night street photography tips.
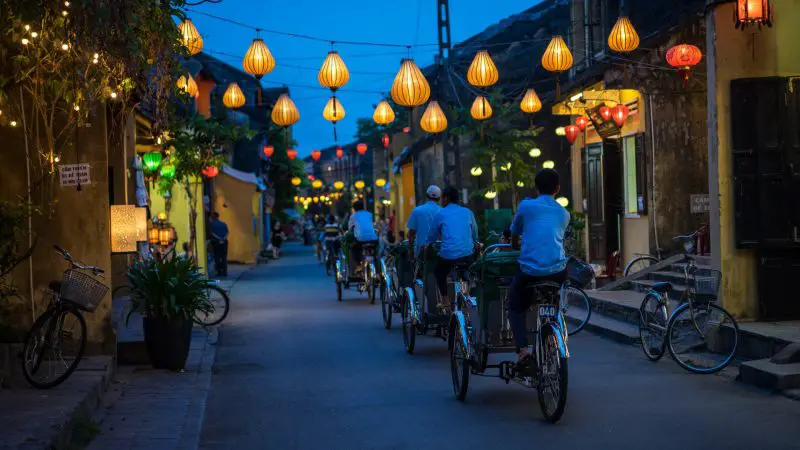
1. Use the Force, Luke!
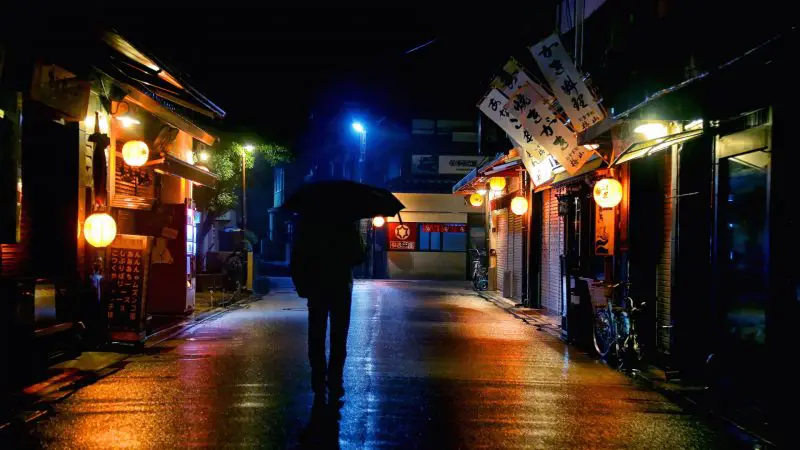
Oddly enough, the lack of natural light at night, unless you are shooting night-time photos at the North Pole, can be your biggest hurdle or benefit. In this case, you get to be creative just by taking into the account the light sources you have at your disposal. (Our guide to lighting in photography explains how to judge any light source by its quality, direction, and color.) Big neon signs, street lights, and even the Moon will be important tools for your night street photos so take advantage of them. Low light also drives your choice of glass; for live shows specifically, here is a good lens for concert photography.
2. Get into the Action
The best way to photograph night-time activity is to get into the middle of it. In other words, if there is a street party, you will have success shooting it if you become part of the activity. Anytime you can become enveloped by whatever it is you are shooting at night, you will gain a better sense of what that magic happens to be about and how it can improve your photography goals.
3. Get a Grip
One of the best ways to capture the frenzied activity of night-life is to shoot it without a tripod. This not only helps to pull you closer to the action but a little blur here and there also helps tell the story you are trying to get in the frame. You could use your tripod for wider shots, but why would you when you can walk right into the action with a camera in your hand?
4. Easy on Flashing
No one is saying that you can’t use your flash when taking night street photos but you may want to avoid flash whenever it is possible. The reason being that your flash firing here and there may actually ignite a different kind of activity you wouldn’t want to be a part of. Naturally, if you aren’t using your flash, you will need to pay attention to the shutter speeds.
5. Ready, Set, Go!
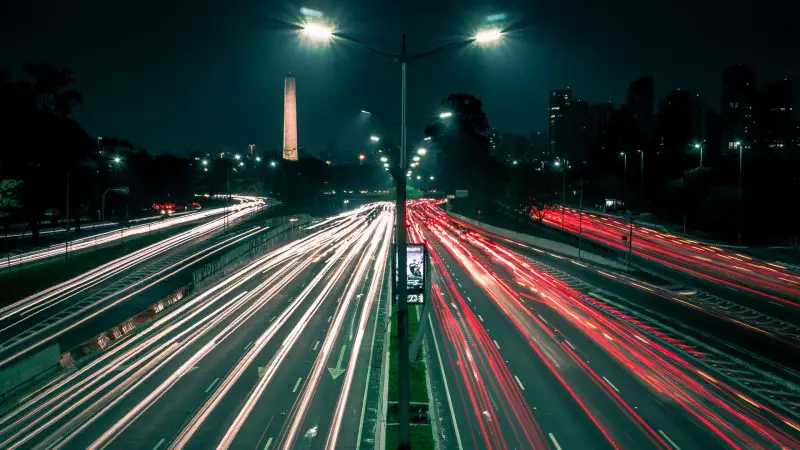
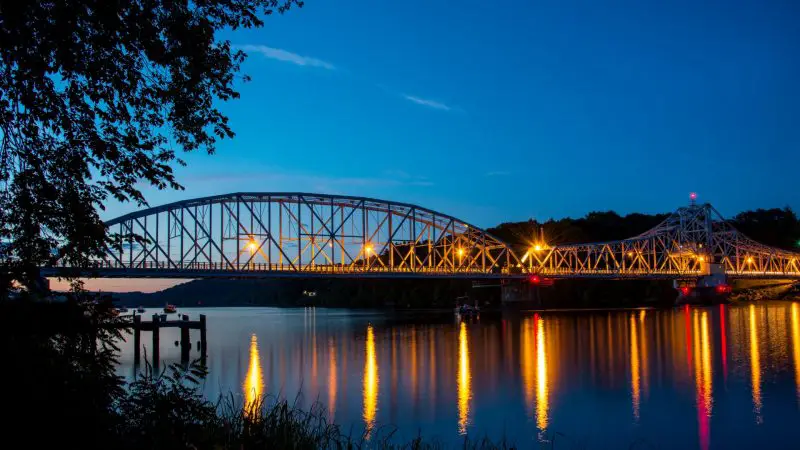
The camera settings you are going to need are going to determine the success rate of your traffic light trail photos. The shutter speed will be your biggest factor which means it will have to be slow or you’ll need long exposure times. Aperture settings of f/12 to f/16 will give your photos a nice crispness.
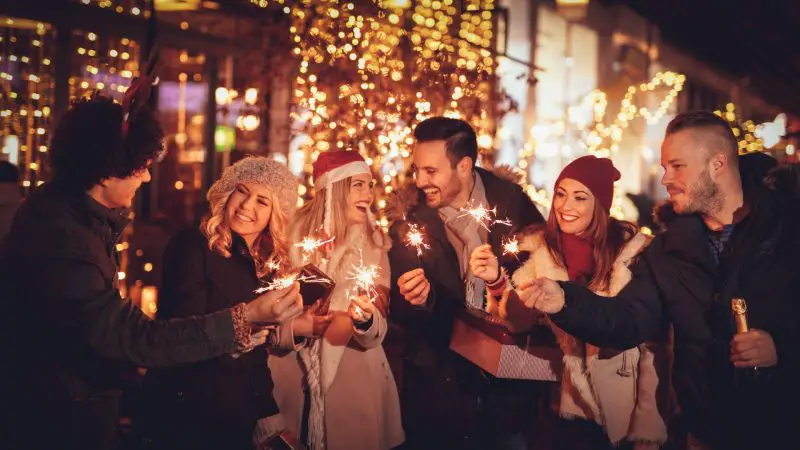
Night Portrait Photography Tips
As much work as it can be to set up and shoot studio portraits, night portraits are somewhat easier to deal with. In fact, here are a few night portrait photography tips that will make you look at that word differently.
1. Do a Background Check
The most important element in any night-time portrait photo, even more, important than the subject in many cases, is the background. As odd as that may sound if you can find an absolutely incredible background, your portrait photo will be stunning with minimal effort.
2. Get a Little Flashy
Provided your background is something more than just a black void – which will make your photo look dull – you need to brighten it up by shooting the photo subject(s) with a flash. Not only does this give you tons of light to work with, but the background will also come to life.
3. How Low Can You Go?
The third part of the puzzle and the final one for decent night-time portraits is a low aperture. If you shoot at f/2.8 with a touch of zoom to pull everything into the frame a little tighter, you’ll be golden. Experiment with different backgrounds and you’ll never shoot studio portraits again.
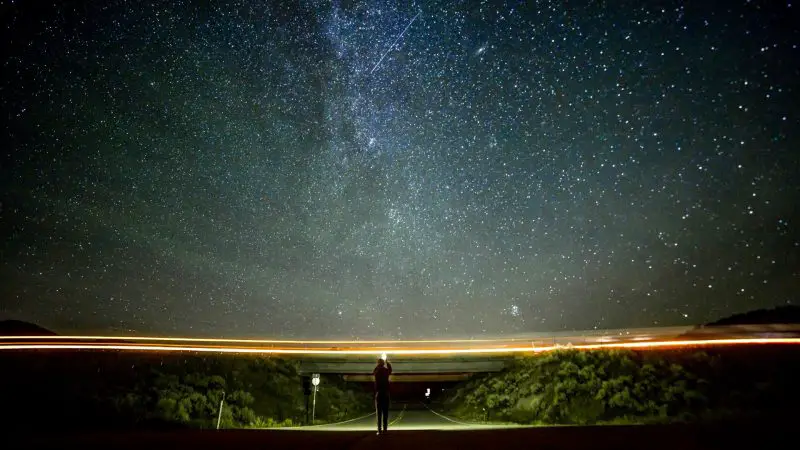
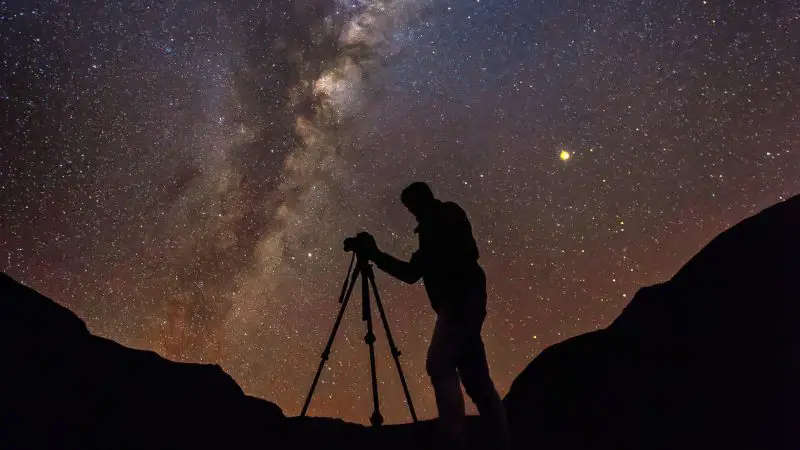
Night Sky Photography Tips
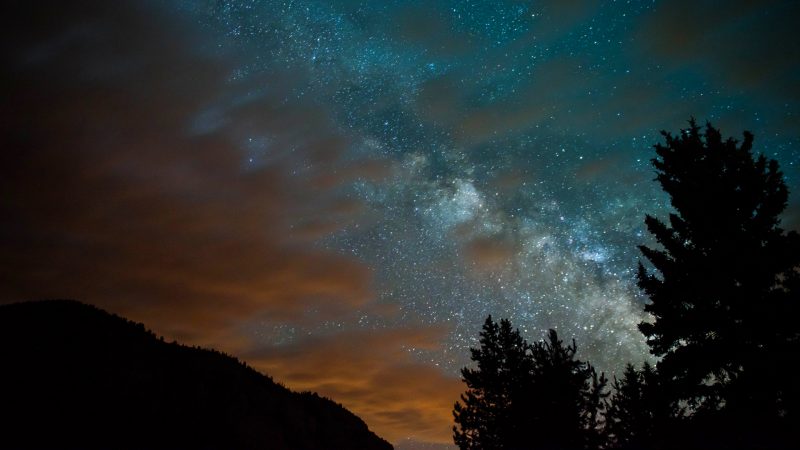
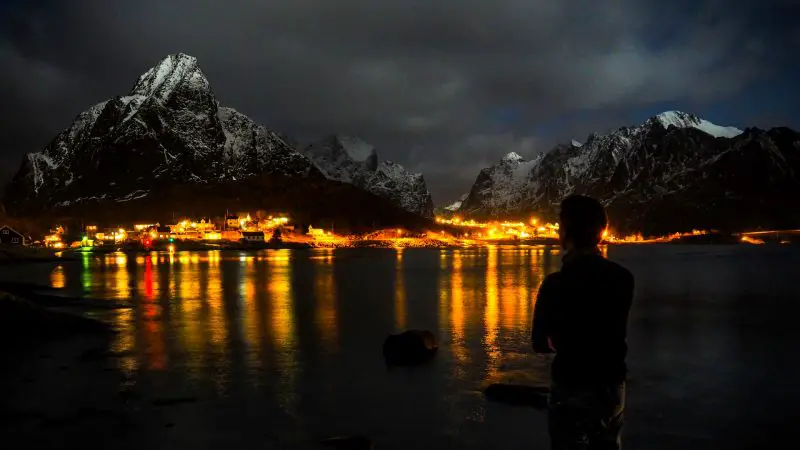
If you are ever in need of a reality check, take some night sky photos. When you do this you will discover how small we truly are and as a result, you will come to the conclusion that any stresses or problems you have in your life are just as meaningless when compared to the vastness of the universe.
Here are some easy night sky photography tips to inspire you to shoot in the dark.
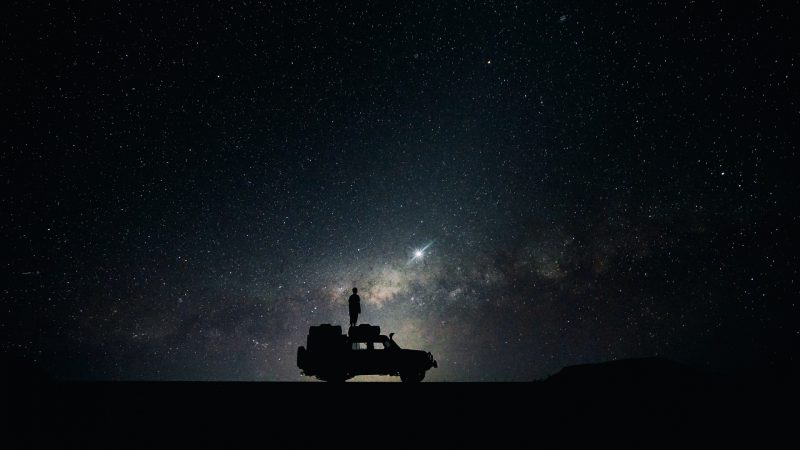
1. Location, Location, Location
There is one place that is always the best for night sky photography, provided you are not shooting skylines. That is out in the country, far away from the city lights. The darker your surroundings, the brighter the night sky will become but you will need to go for a long drive to get there.
If your goal is to capture light trails, one of your best vantage points is somewhere near a lot of traffic. Overlooking it is great but being somewhere close enough to the action is going to be the best.
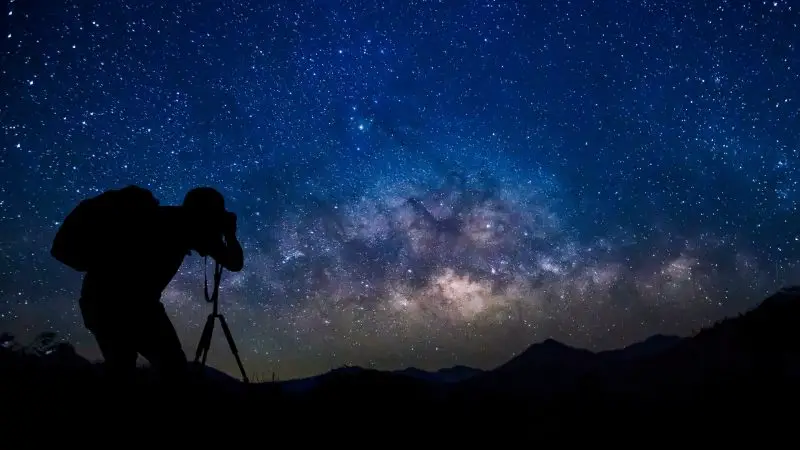
2. Go Long on Shutter Speeds
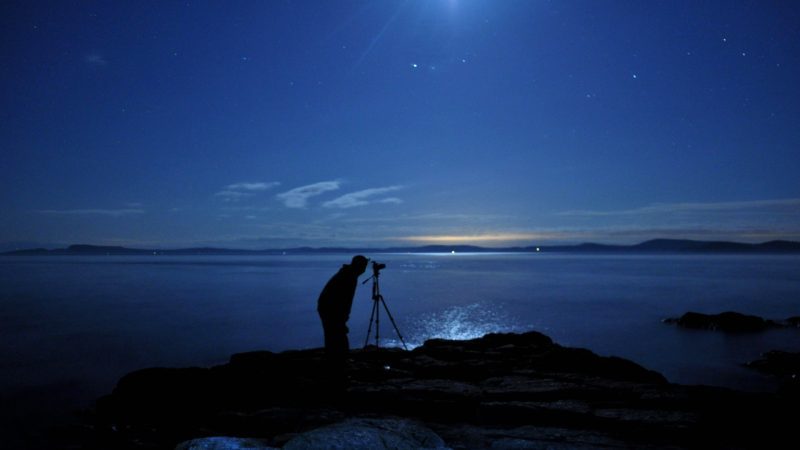
Depending on the effect you are after, if you intend to shoot the movement that occurs in a night sky, your best bet is to use a long exposure. This means 15 minutes or longer. It also means you will have to unload the tripod and mount the wide-angle lens for this to work as intended.
3. Release the Remote
Because you’ll be using long, long, long exposure times, you can’t risk holding your camera with your hand. It’ll just wreck your photo, go with the tripod to hold the camera steady, you’ll want to use the remote shutter button/knobby thing to prevent any additional shaking.
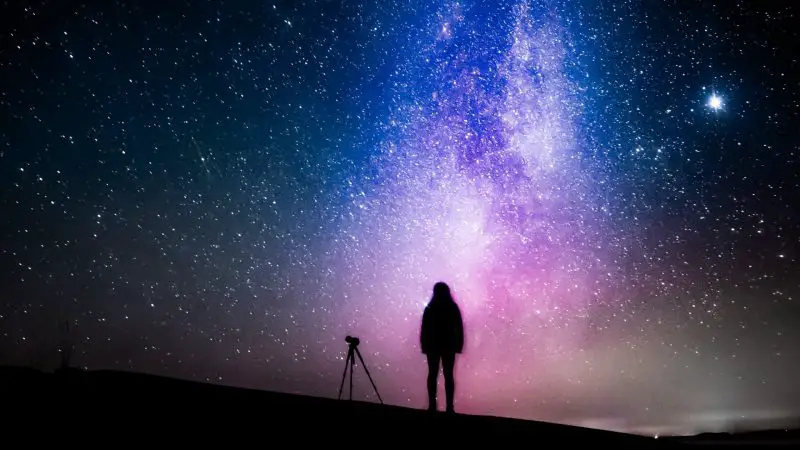
4. The Infinity Clause
The last thing you need to be concerned about how to capture stars and stuff floating by the frame. Focus your camera lens to infinity and set the aperture between f/2.8 and f/4. The ISO setting can reduce digital noise if it is set at 100.
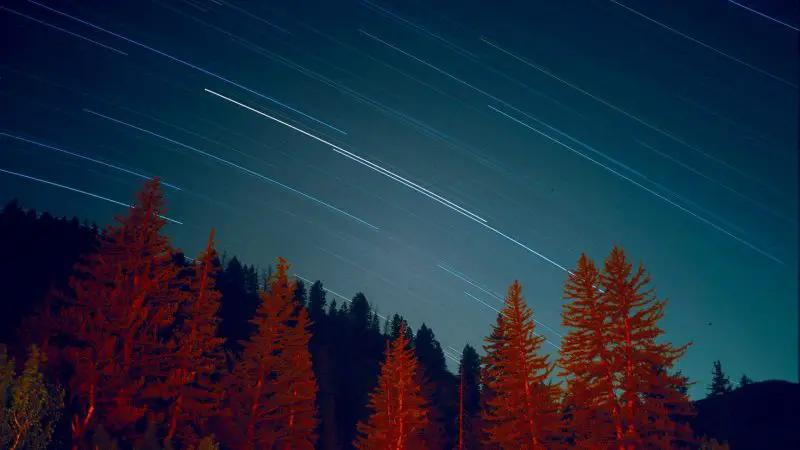
Tips on How to Photograph Star Trails

Star trail photography is a bit like night sky photography however, there are some distinct differences. Here are some star trail photo tips to help you with this challenging photo subject.
1. Location, Location, Location
Didn’t we cover this already? You won’t be able to shoot very good night sky photos of any kind if you are surrounded by street lights. This means a trip into the rural reaches of the countryside where no artificial light sources exist other than your headlights.
2. Hold ‘Er Steady
The trusty tripod will be your best friend when shooting star trails. Plus, your remote shutter button. Both of these working together will keep your frame where it should be at all times. You won’t be able to hold the camera steady on your own.
3. The 2-Second Rule
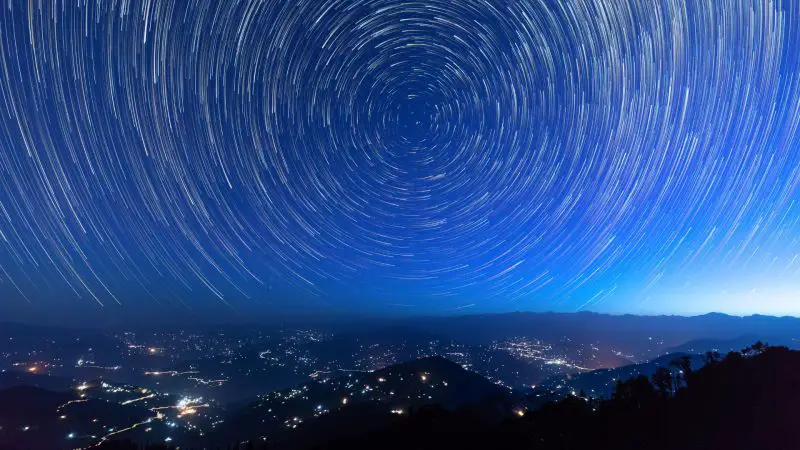
The different shooting technique for star trails involves multiple exposures. In other words, if you can set your camera to shoot a photo every two seconds, and manually click the shutter endlessly for a half hour, you will be able to capture some very interesting star trail photos.
4. The Juice Box
One bonus tip when it comes to repeatedly opening and closing the shutter is related to the camera power source. Not only is the battery going to get a workout, but the cooler temperatures at night will also wear it down quickly. So, be sure that your battery is fully charged and that you have an extra one at hand.
Related: Huawei P30 Pro: Can This Phone Camera Really Photograph The Moon?
Night Photography: Camera Settings
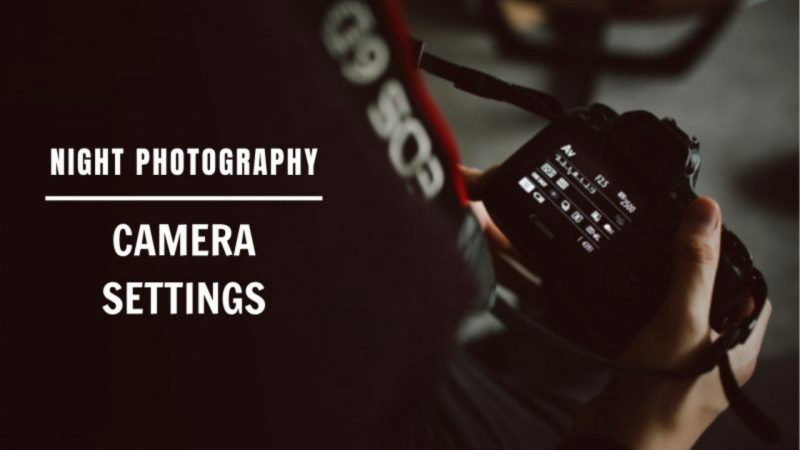
The settings are going to vary depending on the specific subject and lighting available. However, this is one of the ‘fun’ parts of nighttime photography. That’s because you will get an opportunity to experiment with slight variations of camera settings you’ve already used. Although that may sound a tad on the intimidating side, there is no better way to learn more about your camera than through adjusting the settings.
We’ve given you some basics to help you get going but you will later find that tweaking here and there may improve your results. Here are some considerations to keep in mind.
-
Exposure
The simple fact is that the longer the exposure setting, the more light will be captured in the photo. Out of all the settings you will be using with night photography, exposure is the one that you will change whenever you change the subject you are shooting or the location.
-
ISO
This is your light sensitivity setting. It is as important as your exposure. The more sensitive the camera setting, the more light (and noise) will be captured in your photo. Again, this is a setting you will find yourself fidgeting frequently depending on the light sources available.
Related: What Is Auto Iso And How/When To Use It – A Complete Guide
-
White Balance
There are two ways to deal with this. With the automatic white balance on, your photos will have a natural look without tint. With the automatic white balance turned off, your photos will look more along the line of artistic composition. See what suits your photography style the best.
-
Light
We’ve pointed out that lighting will be the biggest factor when it comes to your night-time photos. However, you will have to choose between natural and artificial lighting. Both have advantages and disadvantages. Natural light sources such as the moon will give your photos a slight hue of blue to them. This is particularly true if you use moonlight and have the auto white balance switched off.
Artificial lights like streetlights, lights on vehicles and everything in-between, will each have an impact on the photos taken with these light sources. This is why you will need to spend time experimenting with different settings and combination of settings with a different type of light. For sky photography, the light is actually the one thing you will want to avoid at all costs. A completely black setting is best for shooting this type of photo.
Have Fun with Night Photography

As much fun as we have had sharing these night photography tips with you, we have not mentioned the absolutely most important thing to do when you find yourself in the darkened desert with a tripod and a half-eaten protein bar. That is to have fun. As we’ve stated, taking photos at night is challenging and it will force you to learn more about your camera and your specific skills. However, there is a lot of fun doing those things. Particularly if you view photography as a fun activity in the first place.
Photography is typically an involved activity. Whether or not it is a hobby or source of income, you still need to know your way around certain photo settings. For a challenging exercise with your camera gear why not give night photography a try? It is a lot different from any other method of photography primarily because of the lack of natural light. But, cameras are made to deal with low light situations and life still exists after the sun goes down. It is for these reasons that exploring the magic of night-life with a camera can be so rewarding.
Related: Basic Tips For Taking Good Photographs