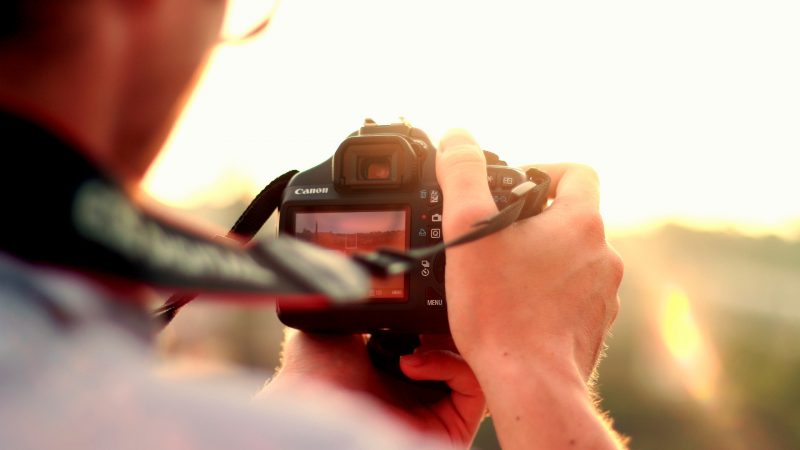
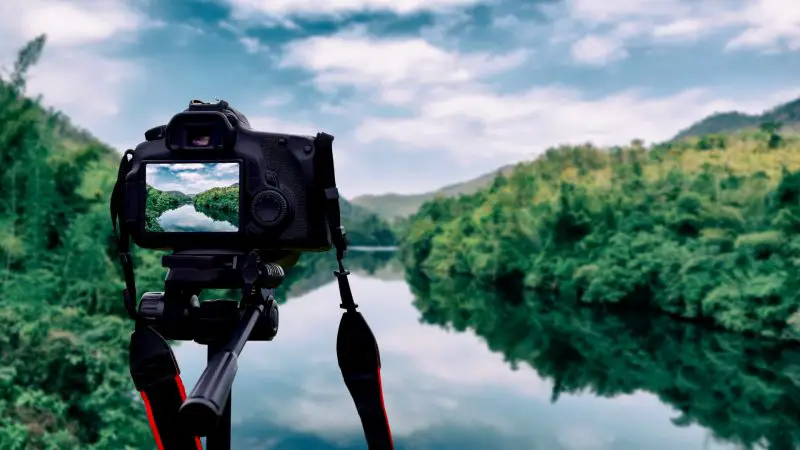
As an all-around photographer, I often found myself in some situations where I need to capture photos in an ever-changing environment. Capturing a photo of moving objects, people or animals is quite complex if you want to change your ISO manually.
Sure, if you want to take a great photo of a standing object, fine-tuning your ISO is probably the best way to do it. However, switching to Auto ISO might be your best bet when capturing moving objects.
There’s a debate between photographers and sadly, non-photographers about this camera feature since the first digital cameras emerged. Some say it’s great to keep your ISO at Auto, while some are nit-picking about it. To put it simply, you should use BOTH. Yeah… both. And you can stop reading this article if you aren’t interested in the nitty-gritty of today’s topic.
So, HOW and WHEN to use the Auto ISO feature? I think it’s time to stop wasting your (and my) time and jump on the topic right now.
Table of Content
What is ISO?
Before we even jump on the hype train, let’s see what is exactly the true meaning behind ISO. If you just boot up your camera and go to the settings, you’ll see a setting called ISO balance or just ISO. The same setting can be seen on your smartphone camera, too! (Also, here you can read more about camera settings)
Just turn on professional mode and you can see it with your own eyes. Magical, isn’t it?
Have you tried increasing or decreasing it? We’re getting close!
Basically, ISO is a standard that measures the sensitivity of your image sensor. And not any kind of sensitivity, but light sensitivity. The more you crank up your ISO, the more your sensor will be sensitive to light and vice versa. If you’re trying to capture a photo outdoors, when the sun is still shining and burning through your skin, you’ll be good with a low ISO or Auto ISO. The grain will be reduced and the photo will look relatively sharp.
But, what about high(est) ISO settings? Well, this one is a lot different! Higher ISO settings will allow you to use your camera in low-light conditions more efficiently. By doing so, you’ll gain a little bit of grain on your photo, which all depends on the camera itself and its sensor quality. General, higher ISO settings are great if you want to shoot moving subjects in low-light conditions.
A higher ISO will allow you to drastically increase your shutter speed, making it amazing for fast-moving objects.
Related: How Do You Take Blurred Action Photos?
What is Auto ISO?
Well, if you aren’t a professional photographer and you want to just snap your photos on the fly, you should be good with Auto ISO. Auto ISO is a feature that will automatically pick an ISO value, depending on your light conditions and environment.
In the Manual Mode of your camera, you can set your ISO to Auto or pick up the desired value. However, keeping it on Auto will sometimes prioritize your shutter speed, as well as put a priority on your aperture. As you probably know, the bigger the aperture size, the more light can be utilized by your camera. Think of it as a window. If you slightly open the window, you’ll let in more light inside and vice versa.
Sometimes, your Auto ISO will help you with increasing your shutter speed. If you opt for a Shutter Priority mode, you can set up an optimal speed and let your camera choose an Auto ISO for you. The possibilities are endless!
Connection Between ISO and Grain
Just a minute ago, we’ve mentioned some noise. And no, it’s not noise from your neighbor’s broken TV, but the noise on the photo. This noise is sometimes called grain and it’s…well, grainy! This is a fine line that you’ll need to walk on if you want to have a perfect balance between graininess and smooth photo.
The things are more than obvious – a higher ISO will certainly give you some grain.
At what value these grains start to appear is a question that can’t be answered for sure. I mean, if you put it to 3200 ISO, you’ll surely get some grains and you’ll be able to make a whole-grain bread. But, putting it to 100 ISO, which is a “normal” value, the picture will be less grainy, so no whole-grain bread for you.
When NOT to Use Auto ISO

Before we say something about when it’s good to use Auto ISO, it’s important that we get this out of the way. You see, using your Auto ISO setting isn’t always going to cut it. Sadly, you’ll need some knowledge before venturing into taking our perfect photo. First things first!
When Using Aperture Mode
Aperture mode gives you a possibility to choose the desired aperture size (f/x; x = number). Upon doing that, the camera will automatically decide what’s the best shutter speed to give you a good exposure over your photo. In this case, the Auto ISO will slightly rise, but only for the shutter speed to become slightly faster, in order to avoid shaky photos. However, giving that slight boost won’t help you if you want a really steady and rock-solid photo. Sure, some stabilization here and there is great, but not in this case.
On top of that, the moving objects will appear blurry and out-of-place. This is because Auto ISO raised your ISO just enough to prevent shaking but not capturing a moving subject.
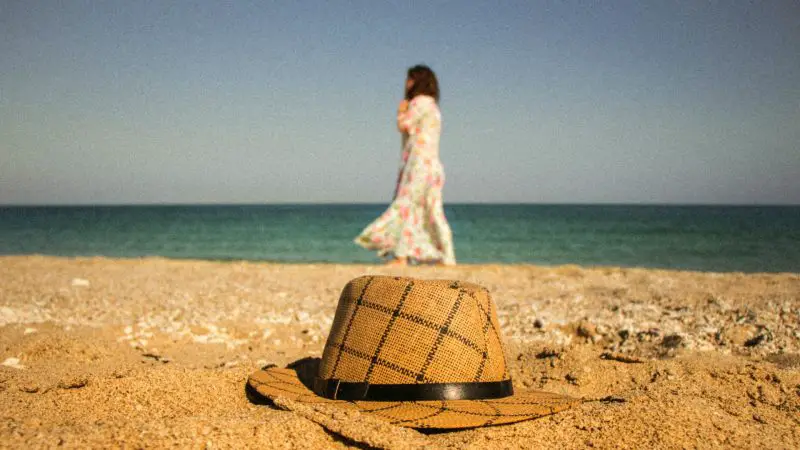
When Capturing Static Subjects
A static subject isn’t just a person, a dog or some kind of thing. Here, we are talking about landscapes and nature in general. Let’s say you use a tripod to make a perfect photo of a sunset or a sunny beach.
Using a tripod will give you a maximum stabilization you can get, making your photos all but blurry. So, the stationary scene is what we’re talking about. In this case, you’re pretty good with a low ISO or low shutter speed. There aren’t moving objects and people running around, making it an ideal scenario for this.
What will happen next is that your camera will still choose an ISO setting for you and it’ll mostly choose a higher one. Choosing a higher ISO will add some grains and you don’t really need that since you use a tripod. In that case, using your Auto ISO isn’t the smartest options. Be sure to always set your ISO to the lowest settings in this scenario.
In Extreme Lighting Conditions
This situation is pretty similar to the one we’ve mentioned before. Letting your camera decide for you is a bad, bad option in both high and low-light conditions. In slightly lower lighting conditions, the camera will probably choose a value like 2500, which is considered pretty high. This will mess up your photo and add some unnecessary grains, even if it’s not compulsory to do so. Sure, you’ll need to increase this value a bit, but 2500 is rarely used, even when shooting in low-light conditions.
In the great lighting, the camera will still opt for a value that goes below 1000. That’s not that high, but still not a something you want to brag about. As we said earlier, the “ideal” ISO value is ISO 100 and it’s considered “non-sensitive” to light.
Either way, you don’t want a camera to decide for you in these two scenarios.
When to Use Auto ISO

Oh, so we finally have some reasons to use Auto ISO. I know many of you guys like to snap some easy photos and don’t care about this silly ISO, right? If so, using Auto ISO will rid you of setting it manually, which is all you need if you’re too lazy to do it by yourself. These are the best cases to use Auto ISO:
When Prioritizing Shutter Speed Mode
Using Auto ISO in shutter speed mode is one of the best implementations of Auto ISO that you can get. If you remember, we’ve mentioned shutter speed, ISO, and aperture as three main factors of proper exposition. One of them is shutter speed and it’s in a direct proportion with ISO, as we also said earlier.
The great thing about using Auto ISO in shutter speed mode is that you can manually set your shutter speed and let the camera do its job. This way, ISO settings will adapt to your selected shutter speed, meaning almost perfect photos of any kind of objects, being it moving or standing. Since we also mentioned aperture, it can also be tailored to your shutter speed mode or ISO, so these things go with each other.
All in all, using Auto ISO, in this case, makes the most sense. Truly, you can’t go wrong with it. Just tweak up your shutter speed and let your camera do the rest of the job.
When Capturing Moving Subjects
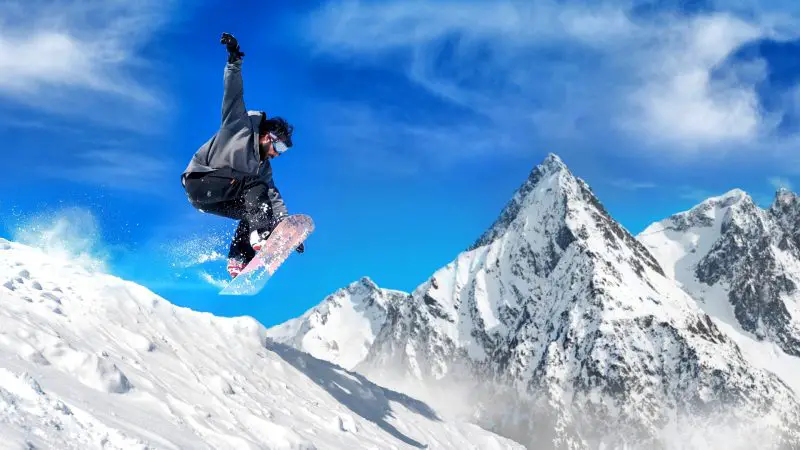
When capturing moving subjects, especially in the low-light conditions, you’ll need to up your game a bit. Sure, you can always crank up your ISO and expect it to work perfectly. Yes, well… no! Why doing it yourself when you can use Auto ISO settings and let the camera determine what’s best for the given condition. If you’re indoors and you’re capturing a high-speed football match, simply set your shutter speed and use Auto ISO setting. You’ll get amazing results, I promise!
Try to set your shutter speed at 1/2000th and use Auto ISO setting. This will let you capture fast-moving subjects in relatively good lighting conditions. Again, your camera will probably lean towards higher ISO settings, making sure that you don’t worry about lighting too much.
In Manual Mode
Manual mode with Auto ISO works flawlessly! The first and only reason is that you can tweak what you want and whatever you want. Isn’t it wonderful?
In Manual mode, the camera allows you to fine-tune every little detail that might have some effect on the final product. For example, tweaking your aperture or shutter speed can greatly impact what settings will your camera choose regarding Auto ISO. By setting the desired values for aperture and shutter speed, your ISO will have to adapt to it, making it a great option.
However, every feature has its limits and so does Manual mode. You see, you can’t expect unexpected, like using extremely fast shutter speed and, let’s say f/32 aperture. Sometimes, the camera won’t be able to adapt its ISO setting to your needs, making your photos either overexposed or underexposed. Still, I can say that Manual mode is one of the best ways to use Auto ISO.
In Event Photography

Wait, what? If you ask some event photographers about their favorite ISO settings, they’ll probably tell you that they go a bit higher. The reason for this is that many events such as weddings and birthdays are happening in the night and under artificial light. Artificial light isn’t bright enough to make it count as natural light, meaning that a slightly higher ISO is always a welcome thing.
Related: Photography Business: How To Get More Wedding Photography Bookings
Shooting with a low ISO in such scenario will cause your photo to be blurry, while the higher ISO value will make it a bit grainy. If you ask me, a grainy photo is still better than a blurry one, and yes, my answer will probably never change! Since cameras tend to choose a bit higher ISO most of the time, using Auto ISO is a great option here. And you won’t have to manually set it up every time you take a photo, which is a huge plus. Nobody likes slow and sloppy photographers!
Personal Preference
At the end of the day, it’s all about your personal preference. Some cameras make great use of Auto ISO feature, while some aren’t accurate and don’t produce quality results. You get the point – using this feature is completely optional and sometimes not necessary! If you find your photos well-exposed and with tons of detail using Auto ISO, just keep using it. Beware that you’ll need to change it manually from time to time, though, especially in extreme lighting conditions.
How to Use Auto ISO

So, how do I use Auto ISO? Well, this question is a bit tough to answer since it really depends on the camera you’re using. If you have a camera from manufacturers such as Canon, Nikon or Sony, you are greeted with numerous options for Auto ISO.
Also, I suggest to read is Canon Or Nikon better for beginners?
The first step is to enable your Auto ISO feature. This can be done by either using the physical buttons on your camera or going in Pro Mode, which allows you to tweak any parameter you want. If you don’t want your ISO going up and down like a rollercoaster, you can always set your maximum ISO value. This will let you control the highest value your ISO can go, limiting it to the perfect value.
After choosing the maximum ISO value, choose your minimum shutter speed. When you set all of these parameters, you’re good to go. However, finding your sweet spot is somewhat complex and you’ll need some time to get into it. The trickiest part is to tailor the maximum ISO to the shutter speed.
As we mentioned before, you can’t expect to use a higher shutter speed at low ISO and vice versa. For example, if you set your maximum ISO to 3200, you can as well go with 1/100th shutter speed. However, there is a catch.
Dynamic Range

Using Auto ISO has one strange issue regarding dynamic range. You see, every time you use a higher ISO speed, the dynamic range is reduced. And if you go to a darker location to shoot your photos, your camera will immediately bump the ISO value to more than 2000. Dynamic range is the sensor’s ability to capture a substantial amount of data in a given picture. The higher this dynamic range, the more data can be stored in a picture.
The catch is that you don’t know when will your camera raise and when it will lower this value. Typically, a picture with high ISO suffers from a lack of details in the shadows, so you’ll need to raise its exposure a bit. All in all, there’s much more work to do if it’s bumped to the highest levels, in contrast to low ISO.
Nonetheless, this is an issue looked from a professional perspective. In my frank opinion, this will not bother the vast majority of users.
Typical ISO Speeds
Since we’re all in this ISO mood today, I think we can as well explain some ISO speeds and talk a bit more about them.
The most typical ISO speeds range from 100 to 800, which stands for a sweet spot. Pictures in this range will still have a plethora of details and graininess will be reduced to a minimum. These ISO speeds will, however, accompany lower shutter speeds, making it great for great lighting conditions as well as non-movable subjects.
For compact cameras, acceptable ISO values are much lower than in DSLR cameras, for example. While a high-quality DSLR camera can capture grain-free shots at ISO 800, a compact camera will benefit more from ISO 200.
A typical smartphone camera will also gain some benefit from lower ISO, although it can go up to 3200 in some phones.
Typical Shutter Speeds

When it comes to the shutter speeds, there are tons of options and every one of them has its own unique function. But first, let’s tell something about those speeds. The speed of the shutter determines when will it opened or closed thus letting in the light from the camera lens. You may also have heard the term ‘exposure time’. The exposure time is shorter when the shutter speed is faster.
To put it simply, the relation between shutter speed and exposure time is always 1:1.
Let’s mention some of the most important shutter speeds:
- 1/50 to 1-100 second
This shutter speed is excellent for hand-held, non-zoomed photos. It’s not the fastest shutter speed out there but does a wonderful job for this matter. And in most of the cases, you’ll be shooting your photos while holding your camera, right? If so, this would be a sweet spot for your camera.
- 1 to 30 seconds
Well, this one is pretty slow. Slow like a snail under a thick layer of sludge. However, you don’t need a blazing-fast shutter speed for shooting on a tripod. If you aim to include a tripod in your photo session, you’ll benefit from using slower shutter speeds and you know what? Lower ISO levels! Using lower ISO levels is always welcome and know you know another way to do it.
- 1/250 to 1/500 second
Moving from slow speeds, we have this shutter speed that even Flash Gordon couldn’t overtake. As we mentioned earlier, a shutter speed this high is great for capturing sports events, as well as moving subjects.
- 1/1000 to 1/4000 second
And if you want to capture birds, eagles or perhaps Flash Gordon, you might need to bump up your shutter speed to this value. Beware that a higher ISO value will probably have to accompany this speed, so yeah… That’s all!
Typical Aperture Settings
Finally, it’s time to give the aperture some mentioning. After all, with a closed aperture, the only color of the light you could see is black. Simply put, the aperture controls the area in which light can pass through the camera lens. You often see the letter ‘f’ when you read or hear about the aperture settings. This is an f-stop value and it determines the area of the opening.
If the f-stop value increases, the opening area decreases. For lower f-stop values, the opening will increase. While there isn’t any typical aperture setting for the particular type of photography, it’s important to mention that it can vary anywhere from f/22 to f/1.4
The shutter speed will be fastest when the f-stop value is the lowest. At f/1.4, you can expect a shutter speed of 1/15 second, while at f/22, the shutter speed is much slower – around 16 seconds.
Another important factor is the depth of field. Depth of field is a total distance in which objects will appear in a sharp focus. If you lower your aperture settings to f/1.4, f/2.0 or f/2.8, you’ll experience the shallow depth of field. Shallow depth of field is excellent for capturing close objects with a Bokeh effect in the background.
As for the higher aperture settings, depth of field becomes wider, capturing more objects in a sharp focus – ideal for landscapes and nature photos.
Types of Noise Produced by ISO
ISO and noise are like fat on your belly and French fries. The more you eat French fries, the fatter you get. From here, we have noise as a side effect of higher ISO speeds. However, not all types of noise are a derivative of high ISO values. Here are the common types of noise in a digital camera:
-
Banding Noise
Let’s begin with the banding noise, a type of noise that isn’t all that ISO-dependent. Instead, this type of noise hugely depends on your camera. This noise occurs when the camera tries to read the data from the digital sensor or simply reading RAW footage from it. If you’ve ever heard about RAW files, you know what we’re talking about. A RAW file is an uncompressed file that your digital camera converts to a lossy format such as JPEG.
Another common reason for excessive banding noise is our star of the show – ISO. At higher ISO speeds, the banding noise becomes more prominent and shadows start to get a bit noisy, too. All in all, this type of noise is most common in excessively brightened photos, which can be caused either by high ISO value or any other parameter.
-
Fixed Pattern Noise
Unlike banding noise, fixed pattern noise occurs in very long exposures and it’s further worsened by high photo temperatures. Some photographers call it “hot pixels” for a simple reason, as fixed pattern noise can be seen when the pixel’s intensity increases above the random noise fluctuations (more about that below).
To digress, the fixed pattern noise occurs in longer exposures, higher temperatures, and higher ISO speeds.
-
Random Noise
Random noise is the most common type of noise and it’s pretty hard to remove without losing the quality of the photo. Since it’s random, it’s very hard to predict when it will appear, in contrast to fixed pattern noise. Fixed pattern noise is much easier to fix, as it almost always has the exact pattern of showing up.
But, what is this random noise? Random noise occurs upon fluctuations in colors and intensity which can go both below and above the image intensity. The great news is that high ISO speeds tend to worsen this state, so lowering it down can (partially) fix the problem. On the other side, we already said the bad news and it’s the randomness of its appearing.
Random noise can appear at any point, making it hard to predict.
Understanding ISO as a very important and photo-defining factor is crucial for a photographer
Since you’ve come a long way to a conclusion, you get the feeling of what ISO is and why it’s so important. Not only that, but aperture settings and shutter speed are two other factors that can greatly improve or abolish your photo quality.
After all, making a perfect photo is sometimes time-consuming. With our advice given here, you can successfully manipulate various settings (including ISO) in order to snap your Insta-worthy photo.
Experiment a little bit – it can be really fun and rewarding!