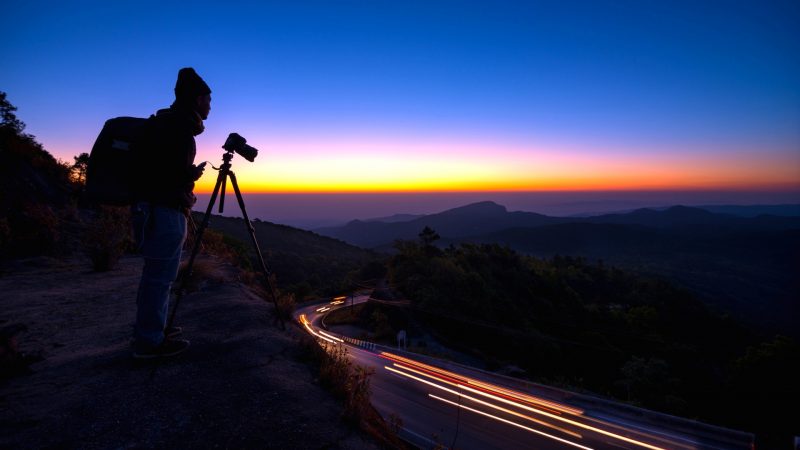
Blurred images can happen to us once in a while when we are shooting with our DSLR camera, and this is caused by different reasons. The most obvious is due to a moving subject, or you are moving the camera too much. Unless you are intentionally trying to blur motion images for special effects, as a photographer we want to shoot images as sharp as possible.
However, there are those times when no matter how much we try to hold the camera still while shooting a static image, the resulting photo doesn’t look as sharp as you want it to be, especially when zoomed in.
This problem is called camera shake, and though there are several causes of this problem, one the most common is too low shutter speed.
Table of Content
How to Calculate the Slowest Shutter Speed for your Camera?
Camera shake is accidentally shaking the camera while pressing the shutter button or due to shaky hands resulting in a blurry image or an image with poor sharpness. No matter how careful we are and how hard we hold still the camera, there will always be some movement of the camera when we press the shutter button unless you use a tripod.
Using a tripod is not always an option, so we use faster shutter speeds to mitigate the blurring of the image during a camera shake. However, at low light conditions, using fast shutter speeds will result in an image darkened by the shadows. So the solution for this is to use the formula for a minimum shutter speed that is equal to the reciprocal of the focal length of the camera.
So technically, that is: Minimum Shutter Speed (sec) = 1 / Focal Length (mm)
For the purposes of understanding this topic better, we have to go through some basic terminologies:
In photography, we talk a lot about exposure. Sometimes we just use the word “exposure” as another term for an image or a photo, like the size of a roll of film that is measured in exposures during the film photography days.
In photography terms, exposure refers to the measure of how much light your camera is capturing.
We have three mechanisms of a camera in controlling its sensor’s exposure to light. The shutter is one of them, the other two being aperture and ISO. Though adjusting aperture and ISO also impacts the overall sharpness of an image, let’s not get too technical and just focus on shutter speed and focal length for now.
The shutter of a camera is merely a door that sits in front of the sensor. You can open and close the shutter by pressing the shutter button of your camera and depending on how long it stays open, the image sensor in the camera will be exposed to more or less light.
This is known as shutter speed.
-
Shutter Speed
Shutter speed is the length of time that the camera shutter is opened and the sensor is exposed. It is measured in fractions of a second, so when we say that an image is shot with a shutter speed of 1/60, that means the shutter was open for only a 60th of a second when the picture was taken.
Shutter speed is pretty intuitive in the sense that the longer that shutter is open, the more light that strikes the camera’s sensor thus resulting in a brighter picture.
Shooting static subjects with fast shutter speeds like 1/1600 is fine, and you won’t have any problems with image blur at all as long as you have an ample light source like when shooting images in broad daylight.
However, shooting at night time or on locations with low light levels means that shooting with fast shutter speeds will not expose the sensor to enough light to reveal the details on the photo thus resulting in a dark image.
In this case, you want to look into your focal length to determine the right shutter speed in order to prevent camera shake and produce an image with clear details.
Related: Slow Shutter Speed Magic
-
Focal Length
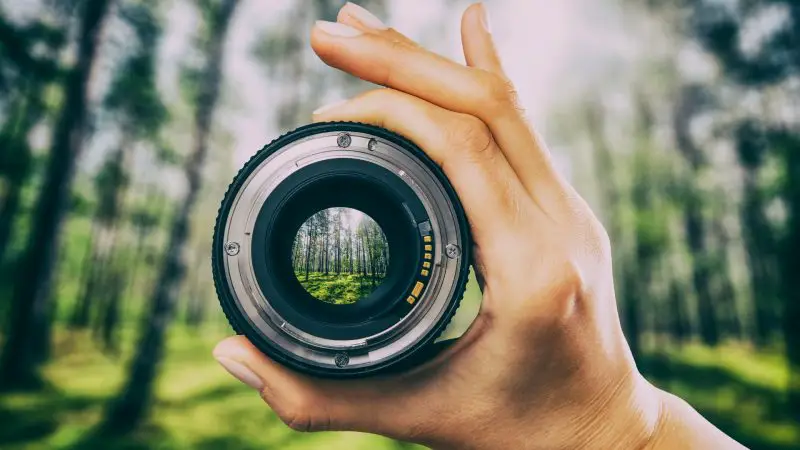
Focal length, on the other hand, indicates the distance between the lens and your camera sensor and is measured in millimeters. You might have seen specs of the camera while looking at official sites of camera brands or while shopping in the mall.
For example, you’re shopping for a good professional camera, and you come across Canon’s official site and see Canon EOS 6D Mark II with a bunch of odd-looking letters and numbers after it, i.e., Canon EOS 6D Mark II Kit (EF 24-105mm F/4L IS II USM).
I’m not going to explain the naming convention and all those numbers and letters in detail, but I want you to focus on the 24-105mm part. This is the minimum and maximum focal length of the camera’s default lens respectively.
Adjusting the focal length of your lens and shooting at a low focal length will result to a much wider field of view which enables you to capture greater areas while shooting with a longer focal length will give you a narrow field of view and will result to a zoomed in picture.
Now going back to the formula above, if you’re shooting with a focal length of 60 mm, for example, you need a shutter speed of 1/60 or faster in order to eliminate any image blur caused by camera shake. Following the same logic, for 105 mm focal length, you will need to adjust your shutter speed to at least 1/105 in order to achieve a perfectly sharp image.
Now take note that this formula only applies to digital cameras with full-frame sensors, as the Canon EOS 6D mentioned above.
For entry-level cameras which usually have cropped sensors, simply multiply the focal length by 1.6 and the reciprocal of the resulting number is the minimum shutter speed.
Minimum Shutter Speed (sec) = 1 / [Focal Length (mm) x 1.6]
Using the example above, a focal length of 60 mm will need a shutter speed of at least 1/96 (or 1/100 since 1/96 is not an option) to achieve sharpness in your photos.
Now you might find adjusting these two parameters every time you take a photo a bit too tedious and some photography enthusiasts are not that keen on these adjustments and just stick to auto-focus mode while taking their photographs. Don’t fret though. You can always shoot on auto-focus mode, and you don’t have to worry about those parameters as long as you keep an eye on the light meter of your camera.
I would suggest checking our recommended gear for photographers in order to find the equipment that suits you the best.
How is this Done in Auto Mode?

Digital cameras nowadays usually have an auto-focus or auto mode which takes care of a lot of exposure decisions for you which is great for a beginning photographer. In auto mode, you don’t have to manually specify the parameters in your camera like shutter speed, aperture, or ISO to take a good picture.
This is done by the camera using the light meter.
A light meter is a sensor inside your camera that measures the light passing through your camera’s lens, then calculates the necessary shutter speed, aperture, and ISO settings in order to create a good overall exposure of the resulting image.
You can activate the light meter by half-pressing the shutter button.
Half-pressing the shutter button is a very critical step when you are shooting with a DSLR especially in auto-focus mode. The lens auto-focuses, the camera meters the light in the scene, calculates a shutter speed, an aperture, and an ISO based on that analysis and sets those settings on your camera. It also does white balance. Then when all of those settings are ready, the camera will beep, telling you to shoot, that’s when you fully press the shutter button to shoot the image.
When the light meter does its calculations, it will show you what settings it has chosen underneath the viewfinder in your camera. On a Canon DSLR camera, the first number from the left is your shutter speed, the next is the aperture, and the last is the ISO. Depending on the brand of your camera, it might show you these parameters in a different order.
It is important that you pay attention to the shutter speed number displayed by the light meter to know if you’re at risk of camera shake impacting your image. Most of the time the light meter will get the settings right and produces a sharp image, but there are also times when it gets confused.
Remember, the light meter chooses the shutter speed based on its analysis of the light in your scene. Until the lighting conditions change, it will choose the same shutter speed every time.
If the calculated shutter speed is too low compared to the focal length of your lens, then you need to take action. You may want to switch to manual mode and increase the shutter speed manually.
Tips to Avoid Blurred Photos Caused by Camera Shake

There are times when manually increasing shutter speed might not be the best option for avoiding camera shake especially during low light situations. In a controlled space like a studio you manage the light yourself, which gives you more freedom over your shutter speed — see our guide to the ideal camera settings for studio photography. Here are some tips to avoid blurred photos caused by camera shake:
- Use a tripod or put your camera on a hard surface. Possibly the best way to handle camera shake and avoid it altogether is using a tripod. If you don’t have a tripod with you or you find bringing one a bit bulky then try putting your camera on a hard surface.
- Improve how your subject is lit. If possible try to use artificial lighting methods so you can use a shutter speed fast enough that you don’t have to worry about camera shake anymore. Flash is your best bet for artificial lighting, but there are other options like reflectors, umbrellas (for photography, not for rain type), softboxes, and more.
- Use Image Stabilization if your camera has it. Newer DSLR cameras nowadays have this option so when your camera has it, by all means, use it. Read more here.
- Stabilize your body as best as you can. When all else fails, then just try to hold the camera as steady as you can. Try to find a wall you can lean against or find another object for support.
With enough experience, it will become a habit for you to always check that shutter speed on the light meter and over time it will be easier for you to know what shutter speed you need in every situation in order to produce crisp, clear and sharp images.
There is a lot to learn so my advice is to keep practicing with your shots and playing with the balance between focal length and shutter speed as well as other parameters mentioned in this article.