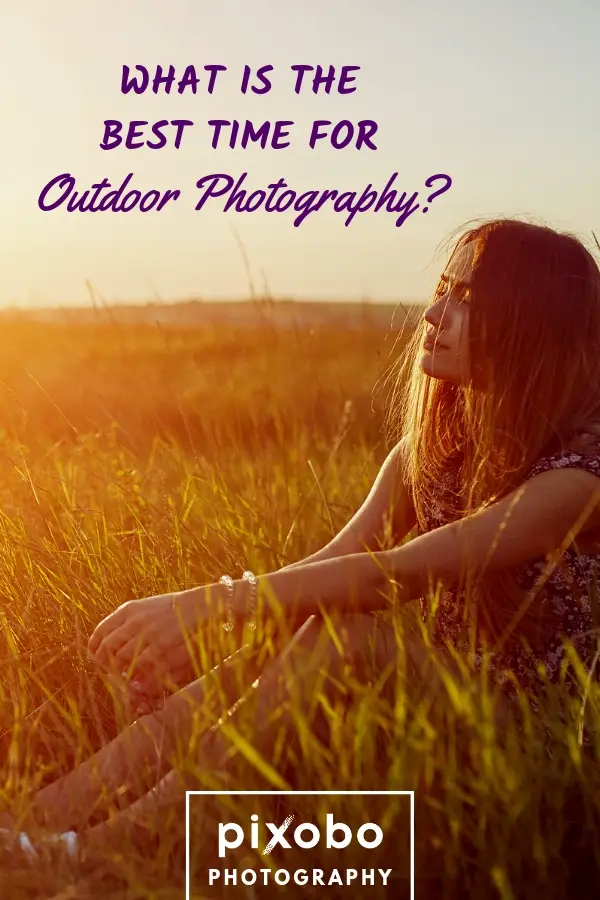
When it comes to capturing a perfect, award-winning photo, the time in which you’ll choose to capture it is crucial. I mean, it’s important like ketchup in your French fries! However, the best time for outdoor photography doesn’t exist, although we can come very close to it.
The first thing you need is to really understand the light and to know how to utilize it to your cause. In photography, it’s all about the light.
If the lighting conditions are poor, you aren’t going to get that perfect, jaw-dropping photo.
You don’t want that to happen, do you?
Alright. Here are approximately the best times when you should go out and take pictures:
Table of Content
The Best Times for Outdoor Photography
-
Overcast
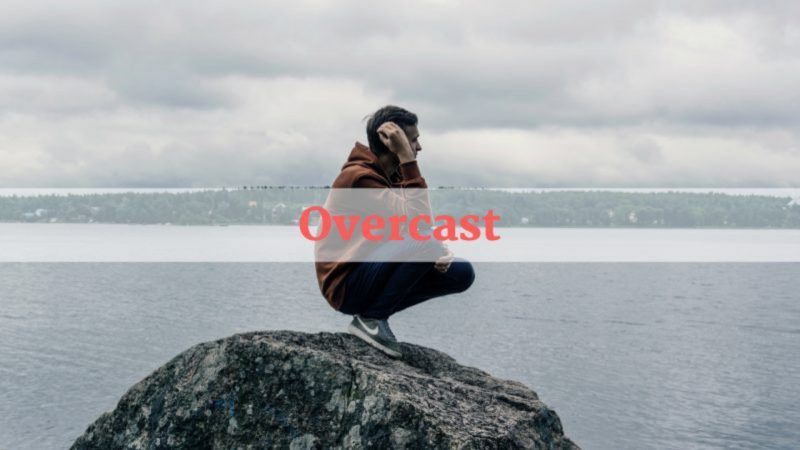
Forgive me for mentioning this relatively gloomy part of the day, but I simply can’t express how much I like it. Overcast is a gloomy type of weather that isn’t exactly sunny but also isn’t pitch black. If you’re a nature photographer, I think you’ll benefit the most from this time of the day. While this isn’t the best time of the day for outdoor photos, I’m sure it’s pretty close to it.
But, wait. What photos should we take during this time? As we mentioned earlier, this one is intended for a few wildlife subjects, waterfalls, water streams, and forests. The focus should be put on the colors, though. For the photo to be perfectly sharp and vivid, the subject should have a lot of native colors.
Not every color should be green. For example, the best times of the year for this kind of photo session are spring and autumn. In spring, the leaves and the plants are somewhat green or yellow. In autumn, the colors are shifting towards yellowish and somewhat orange. These kinds of photos are best with a bit of overcast light.
If you happen to live near a waterfall, this is the right time for you to react! Taking advantage of overcast is one of the best things a photographer can do, so don’t hesitate to put your good boy camera to good use.
-
Sunrise
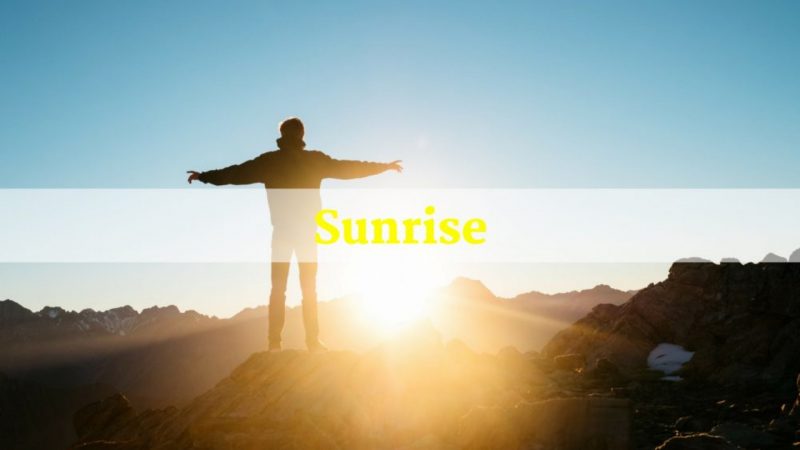
It’s a magical feeling watching the sun go up in the skies and reflecting upon our rooms and neighborhood. Quite frankly, this time of the day is the most popular amongst nature photographers. And in my opinion, this part of the day will grant you an opportunity for countless amazing photos. During the sunrise, the sun often cast a plethora of colors that fill out the sky.
The light will then be reflected in a form of beautiful particles which can occupy landscapes, clouds, trees, and other objects in the vicinity. If you want a slightly tinted photo, yet with lots of colors, this time of the day is perfect for you.
It’s even better if you manage to capture some wildlife or animals. The results are second to none!
-
Sunset
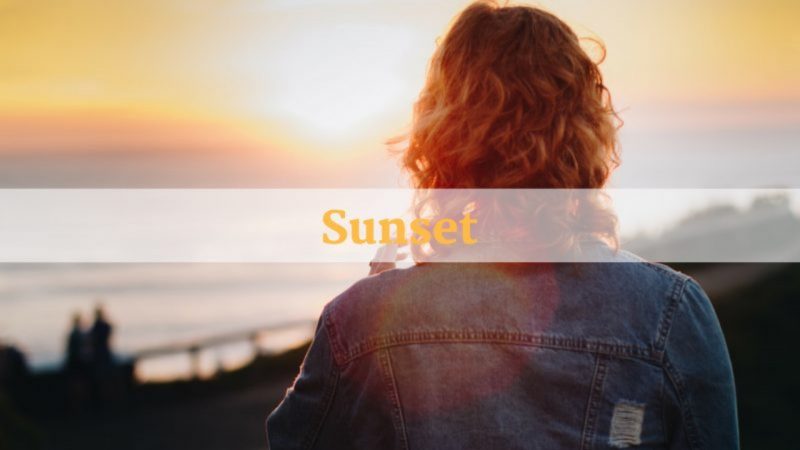
This one is pretty obvious, right? Shooting a photo at sunrise is already badass enough, but this one… oh, boy! The main trick here is to know when to start shooting photos and how to shoot them. Ideally, you want to be there around half an hour before sunset. At this time, you’ll notice that shadows are forming, the light is gaining a warmer tint, and the textures are more and more detailed. If this happens, congratulations – the sunset has officially begun!
Unlike sunrise, sunset lasts noticeably shorter, making it a bit harder to capture. Usually, you’ll have around ten to fifteen minutes to capture a perfect photo, making it time-dependable. On the brighter side, there are still some vivid and punchy colors left when the sun finally sets.
Remember – the time is of the essence for both sunrise and sunset!
-
Middle of the Day
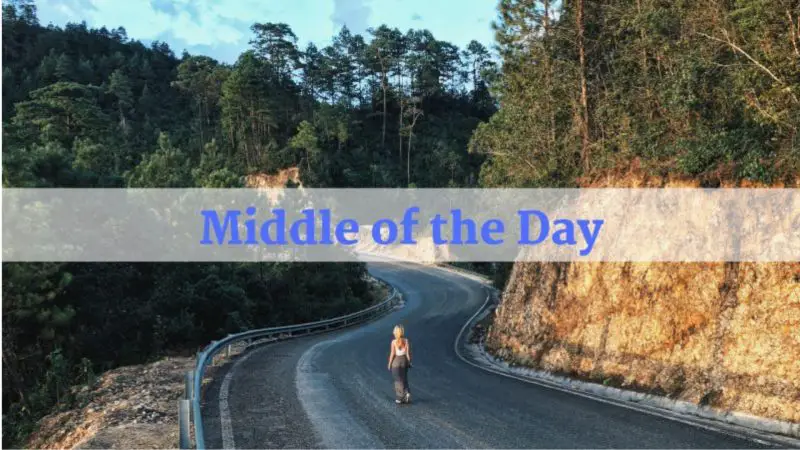
Some say this part of the day is bland, uninspiring, and colorless. Sure, if you want your camera to do everything for you, you are right. A true photographer will always find an ideal time for capturing a photo and this one might be your best bet! While the sunset provides warmer colors, the sunrise goes with a few punchy ones. But what about the midday light? Well, this one will go guns-blazing, giving you plenty of light to play with. Just be sure not to stare at the sun… It can be obnoxious!
Now, the midday light is great for moving objects or people. For example, sandstone canyons can only be shot at this time of the day. If you shoot it in the sunset, it’ll be too dark. In the sunrise, it’s the same situation.
The same principle applies to people. You want to show every detail and make it great for playing with the light in the later processing. Sure. Take a photo at this time of the day and you’ll be able to play with it however you want.
-
Twilight
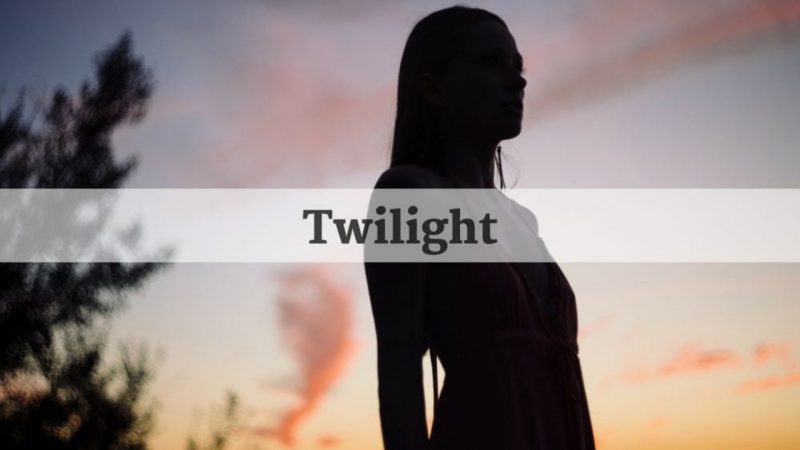
The colors you’re going to experience are coming from the remains of sunset and the sky. That being said, you can expect a blue color, with a hint of orange coming from the distant sun. This blend of colors is perfect for capturing clouds, foliage or simply – skies. Since there isn’t much light here, you might want to use a higher ISO value and rely on long exposure times. This way, you’ll create jaw-dropping photos that scream quality.
If you like capturing landscapes and some wildlife, this part of the day is amazing. And this is just an understatement!
How to Utilize Natural Light (Sunlight) in the Midday
Since outdoor photography is all about that natural light, you need to know how you can utilize this amazing light source. Midday light is great for playing around with it and can produce some stunning photos if used correctly. Here are some of the techniques photographers use, which can drastically improve the photo quality:
-
Use Sun as Key Light
Using the sun as a key light is a great way to emphasize the subject you’re capturing. I always prefer it to be an animal, a human, or any other object that’s preferably not moving. The way to do this is either centering the sun directly above the camera or a bit on the side, at 45+ degrees. You can also incorporate a reflector to soften those shadows on the face, but it’s all about personal preference.
-
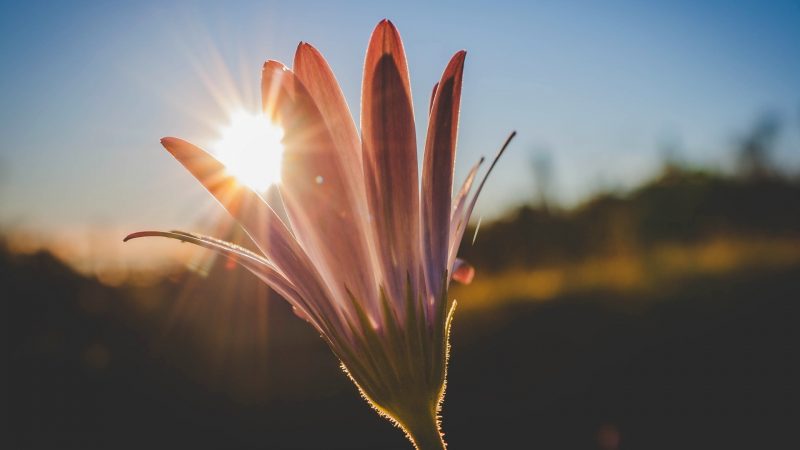
Use Sun as Back Light
This one is a bit more tricky than one we’ve mentioned before. However, the results may vary, with backlight putting an emphasis on those tiny details, contrary to the key light, which just illuminates the whole photo. The ideal situation would be to place the subject between the camera and the sun. Including the sun in the frame is optional, but it’s important that the subject is between the sun and the camera, preferably in front of the sun.
The backlight will really expose the silhouette, whether it’s a person or something else you’re capturing. Having said that, you can encounter some exposure issues, making it a great idea to have it under control between every photo.
Again, using a reflector can give you a slight advantage, as it can reduce the dynamic range between the subject and the background. In this case, it’s optional, unlike in the first case, where it’s almost obligatory.
-
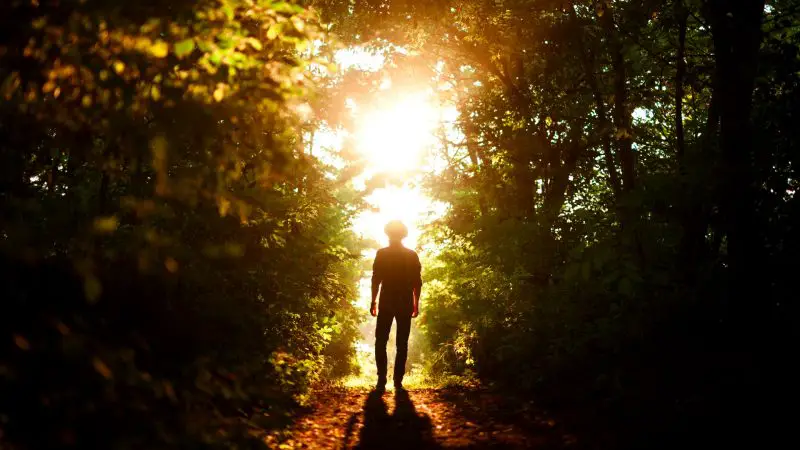
Hide the Sun
Hiding the sun will produce some colorful photos with an intriguing glow and ambient light reflecting off the subject. Ideally, you want the sun to be completely covered by the object until you see the rays scattering from the sides. For example, using a tree as a subject will give you an idea of what I’m talking about. The great thing about it is that the shadows are already okay and there isn’t too much emphasis on the environment around the subject.
Sure, it’s not that hard to take this kind of photo, but additional processing can make it a lot better.
Other Great Times to Take Outdoor Photos
You don’t always have to rely on what people say it’s great. Instead, you can always make up your time for shooting, and here are some ideas for you.
-
On a Rainy Day

Isn’t it great when you can grab your cup of tea and enjoy your favorite show on a rainy day? Or perhaps listen to some doomy and gloomy heavy metal? It depends on your taste, but I also prefer going out and snapping some soaking-wet photos…well, not literally.
Capturing a photo on a rainy day might get you wet (not in that way, though) and dirty, but hey, these photos often turn out astonishing! Capturing a raindrop as it falls onto the ground or into the mud is never going to get old. If you have really good friends, you can capture some photos of them getting drenched by the falling rain.
I know it’s sometimes uncomfortable using these extreme weather conditions, but it doesn’t hurt to try. And you can always run home afterward and wrap yourself in your blanket like a Burrito.
-
Cloudy Weather
Since there are a lot of shadows, the photos are more than suitable for later processing.
The end result is decent, I promise!
-
On a Snowy Night

Kissing your girlfriend on a snowy night is romantic, but who on Earth needs a girlfriend when you can sell your kidney and buy a Nikon D850 camera? Well, you don’t have to possess this beast of a camera to shoot amazing photos during the snowy night. If you’ve ever watched the snowfall during the night, you know what I’m talking about. It gives you a weird sense of satisfaction and it’s a good base for taking photos of your winter vacation.
The snow can also be utilized at day, but if you want it to be the night, make sure you have a bit of a street light. This will help you emphasize the snowflakes, which will add some texture to an otherwise bland white snow. You can shoot monuments, park benches or even people. The possibilities are endless.
-
City Night Time
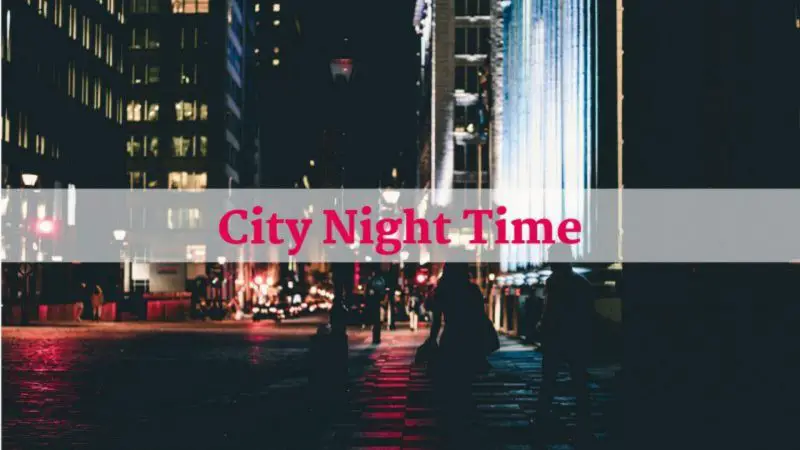
Shooting the city at night is not only great for producing some good photos, but it’s also goddamn fun! If you have a decent camera and lens, you’ll most likely avoid the graininess that comes with higher ISO values. And you need that high ISO if you want to make a good low-light photo. Luckily, we have an article that can educate you more about this important setting for your camera.
Now, back to the topic. In the night, you can capture light particles in the city, or even moving people, which never gets old and boring. With the high ISO speed and high shutter speed, you’ll be able to produce photos that will impress even you as a photographer.
Related: The Ultimate Night Photography Guide For Beginners
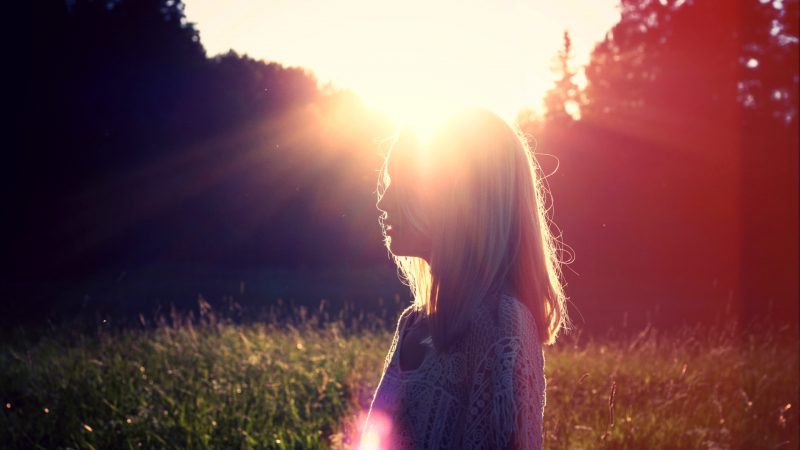
The Golden Hour
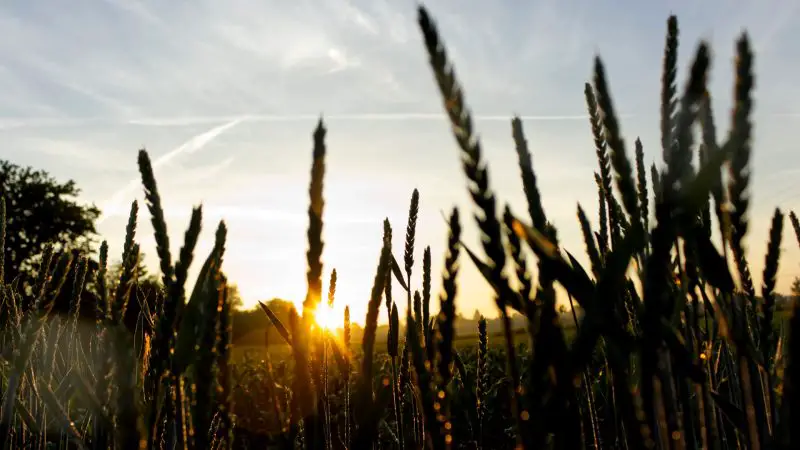
Many photographers refer to the golden hour as a holy grail of photography. Some call it a magic hour, some call it as we said, but the main thing is that this time is apparently the best time of the day for photography. So, what is this golden hour?
Well, the golden hour is the first hour of light after sunrise and the last hour of light before sunset. Just a few minutes ago, we’ve mentioned a similar situation, but this one is a bit different. In the golden hour of sunrise, the colors start to gain a warm glow and the shadows start to form in the distance. This will add that soft, warm texture and depth to your photo.
On the opposite side, the golden hour of sunset, the sun will still be there, yet glowing more intense, with punchy colors. I don’t know about you guys, but sunset is my favorite part of the day!
Nothing beats sunset when it comes to high-quality shadows and highlights.
Make up Your Own Time
At the end of the day, you should snap photos whenever YOU feel like it, regardless of sunlight, clouds, rain, and other factors. If you feel like taking tons of photos is going to make you happy at the moment, then go for it! After all, photography is all about doing stuff however you like it and developing your own style of shooting. Specialized niches benefit from good timing too; see our yoga photography tips for a perfect shoot.
Related: 30 Creative Photography Ideas For Beginners: Get Creative With Different Photography Styles
Different Times Produce Different Results
As we mentioned earlier, there isn’t really the best time for photography. If you’ve read our article thoroughly, you can see that different times produce different results. That being said, it’s all about what you hope to accomplish as a photographer. If you like utilizing a lot of colors in your photos, then you might consider using the sun as your best friend.
Alternatively, you can always shoot nature and flora (plants) to feed your hunger for colors.
Give every weather condition and time of the day a chance and you’ll see what suits you, as a photographer, the best. And now you can use this guide to gain some insight into this matter.
Just don’t expect to have a lot of quality sleep if you aim for these specific times of the day.
Related: Basic Tips For Taking Good Photographs