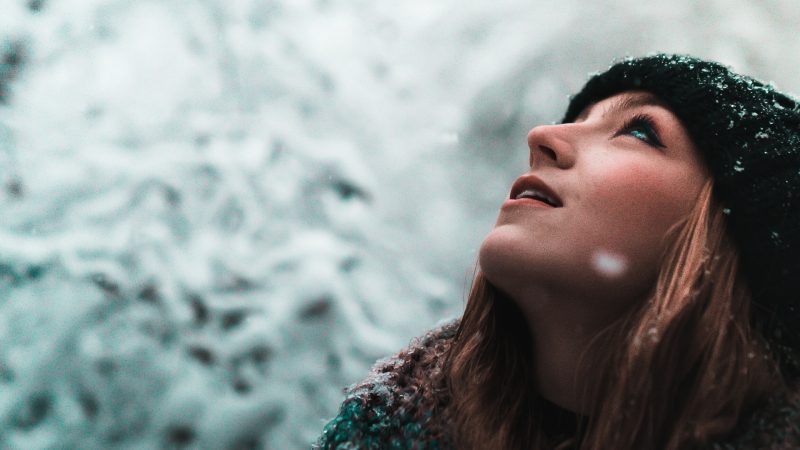
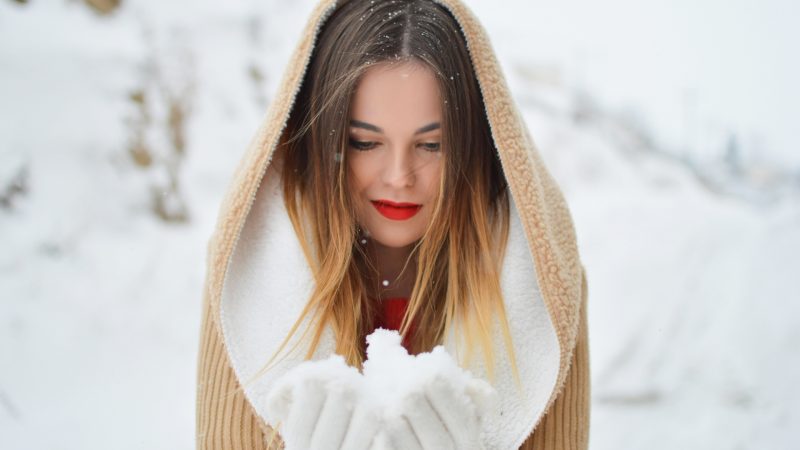
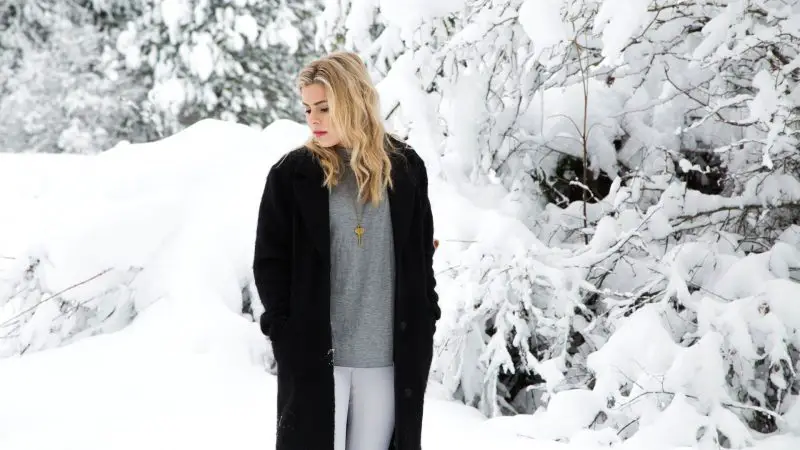
It’s that time of the year again. You wake up in the morning, only to see that your window is jam-packed with snowflakes, everything is white, and you’re cold as soon as you remove the blanket. As much as this sounds dreadful and photographers hate it, the snowy winter is an amazing time for making some cool photos. Just because it’s freezing outside, it doesn’t mean you can’t get some decent shots for your portfolio or photo album.
Many photographers see the winter as an obstacle and many of them evade shooting outside when it is snowing. This is a crucial mistake, not just because you’re missing out on earning some cash but also because it offers great opportunities for learning new stuff. Just think about it – winter has many important holidays like Christmas and New Year and when you add snow into that equation the scenarios and possibilities become endless.
Snow can test your photography skills and after mastering it you will understand how awesome snow portraits can be. That being said, this article has some helpful tips for taking portraits in the snow and we also explained camera settings that can make your snow portraits look better. All of this should help you understand winter/snow photography and as a result, you will be able to take breathtaking snow photos. Let’s start!
Table of Content
Tips for Taking Portraits in the Snow
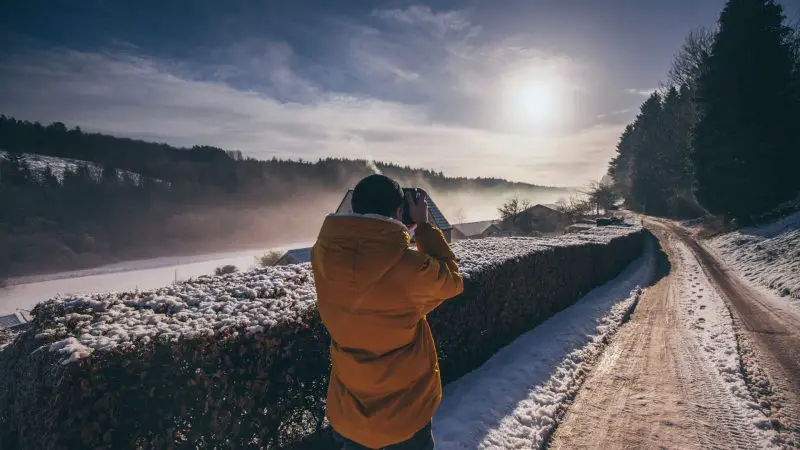
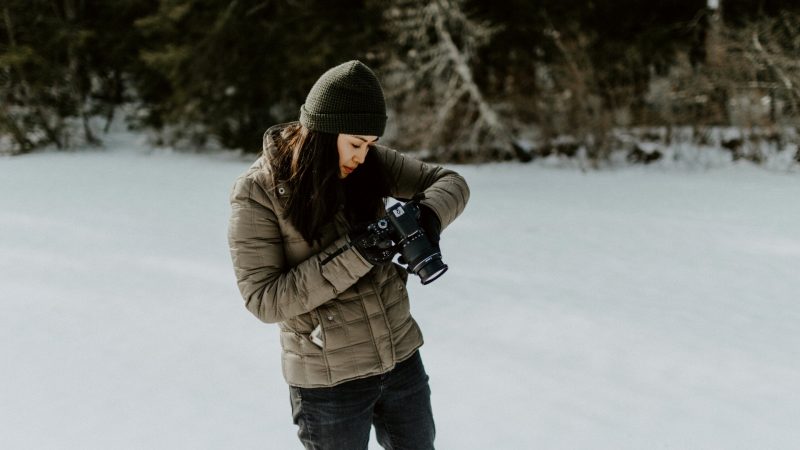
Going out on a snowy day isn’t the same as going out during a hot summer day. Snow and cold tend to have an impact on our technology and our bodies, so the preparation is necessary. On top of that, winter is never predictable. At one moment, it may be peaceful with just moderate amounts of snow while the next moment, the strong wind could start, driving snowflakes directly to your face or your objective. This is why many photographers fail to prepare themselves properly before starting the winter photoshoot.
Related: Portrait Photography Tutorial: How to Do Portrait Photography the Right Way
• Prepare for Light Changes
Snow is very cunning and as much as it’s beautiful seeing a snowy mountain in the distance, it can deceive your camera like the devil! Some say that winter is beautiful just on the picture but to make the picture beautiful, you need to be prepared for light changes with the right accessories. For example, light diffusers, tripods, etc. It also depends on the conditions at a particular moment.
When you combine the light at dawn, which is warm and golden, with the cold, blue-ish color of the snow, you get pearlescent light. If you want to go the opposite route, you can capture the portrait in the sunset, which can result in some dramatic scenery.
• Prepare your Camera
As mentioned earlier, cold can have a dramatic influence on technology. It’s not recommended that your TV, smartphone or similar pieces of tech spend too much time in low temperatures. The same applies to your camera, especially since there’s a battery inside, and as some of you know, the battery is always the most vulnerable and dangerous thing to mess with. With that in mind, fully charge your camera before you go out and when you’re out, put your camera in your bag when you’re not shooting.
Batteries tend to drain faster when it’s cold. This applies to both older and newer batteries, with the newer batteries being slightly better at handling low temperatures. Lithium-Ion batteries are great for this purpose and can work properly in up to 32 degrees Fahrenheit (0 degrees Celsius). Alkaline batteries are the worst performers, so evade them at all costs.
If you’re from Canada or Alaska, temperatures can get pretty low, so you can buy some silica bags to properly insulate the camera. You can also read the camera manual and check for its operating temperatures. The thing with the cameras is that they have lubricants which make the moving parts move easier, with no friction. If these lubricants freeze on a cold day, the camera could get broken and the motor can stop working.
• Dress Warmly!
Do we need to explain this further? Dress warmly and buy some gloves. You can buy either fingerless gloves or mittens. Don’t forget to suggest that to your clients!
Snow Camera Settings For Winter Photography
When shooting portraits in the snow, the biggest problem is… well, the snow! It can trick your camera into underexposing your photos, which can look gray or dark-blue, making you and your clients dissatisfied. Here are some tips on setting up the proper exposure:
• Frame the Shot
Position your subject where you want to shoot, set up the props if needed, and keep your camera like that on a tripod. Focus on the subject, and use the exposure compensation button. Depending on the brightness of the snow and the scenery, you can go anywhere between +2/3 and +1 2/3 EV.
Now, remember these reading/settings and switch to the manual mode, and dial new aperture and shutter speed. This will create a slight overexposure that will make the snow look white, as it’s intended, and will not blow your subject out of the photo.
• Fiddle your Settings
If you want to fiddle around the settings on your own, you can immediately use the manual mode. You can take a meter reading of some objects visible in the scene – for example, buildings or rocks. Now, repeat the process from above, change the camera settings to the settings metered from the objects. You’ll sometimes need to put the negative compensation to avoid blowing out the highlights in the snow.
We have some presets for different weather and lighting conditions that proved to be efficient. For an overcast, snow-laden day, you’ll need to overexpose the photo by +1 EV. In the sunlight, you can go with +2 EV but be careful not to go over this value, as you’ll blow out the subject from the picture.
If you’re using spot metering on your subject, there are three options regarding over or underexposure. For a subject dressed in white (or white animal, if it’s an animal you’re photographing), use +1 EV, for a neutral subject, use 0 EV, and for a dark subject, use -1 EV. Depending on the lighting conditions, increase or decrease, as you deem fit.
• Use Histogram
Correcting the exposure with the histogram is easy and may save you a lot of time if you know how to use it. For the start, take a test shot of the frame you’ve chosen, and check the histogram.
If you see the slight bump in the middle, add some positive compensation to increase the brightness. If the graph is slowly falling towards the lower right edge, add the negative compensation to prevent blowing out the highlights.
• Shutter Speed Matters!
Playing around with the shutter speed can lead to some interesting results when taking photos in the snow. If the weather is not windy and the snowflakes don’t interrupt your photo, you can use a slower shutter speed of 1/15 sec. This will allow you to capture great portraits, especially in the sunset or sunrise, where the light variants can be captured, resulting in some stunning scenery.
If there are strong winds, creating chaos, and pushing the snowflakes toward you and your subject, faster shutter speeds are required. You can go with any value faster than 1/15 and see the results. In our experiences, a gentle wind accompanied by the moderate snow can be shot at 1/125 sec shutter speed, while harsh, blizzard-like conditions will require a speed of 1/350 sec.
• White Balance
The snow can be tricky for the reasons we mentioned above but also for one obvious reason – finding the proper white balance. It’s easy to ruin a photo taken in the snow by missing the white balance. The snow is cold, hence it’s on the blue side of the color spectrum. If you don’t set the white balance, chances are that your photo will have a blueish tint, which isn’t correct. Some photographers use the “flash” setting on the camera which should compensate for the blue color.
In reality, it often adds a yellow tint as a result of overcompensating blue color, which still isn’t perfect. The automatic white balance setting can either turn your picture grey or once again, blue, so this option isn’t great. We suggest setting the white balance manually and put it at around 6500 Kelvin. You can then go a bit lower or higher, depending on the conditions, lighting, etc.
• Shoot in RAW Format
While JPEG is the most popular image format, it comes with numerous caveats, with one being certain limitations. These limitations show up when you’re faced with complex photography conditions such as these, where your scene is filled with reflective snow. When setting the file format to RAW, you can safely manipulate these settings for getting the best results, without limitations from JPEG files. Furthermore, shooting in RAW will let you adjust shadows and keep the highlights after capturing the photo.
• Make Bokeh

What’s a portrait without some bokeh effect? For starters, place your subject in front of a bright background. The snow is bright and can be used as a background but if you use just snow, the picture will be generic and boring.
Instead, aim for some sunshine behind or use the light reflected off the ice to add some uniqueness to your photo. For the aperture setting, use a smaller number such as f/3 or f/5 and distance yourself a bit from the subject and the background. The wide aperture produced by the settings above will give you a shallow depth of field, making your subject the focus of the picture. Just be sure to get the distance right.
Related: Better Pictures with Blurred Background Photography
• Don’t Let the Snow Fool You
Snow is just like the devil. It’s deceiving and can fool both you and your camera into thinking that the photo is bad or good. This is why you need to have a hefty microSD card in your camera, to be able to afford hundreds of photos. The reason for this is that you can think that a particular photo is bad, while it’s excellent because out there, in the field, you can’t always be calm, peaceful, and act rationally.
To avoid this problem, buy a decent microSD card and keep EVERY photo you take in the snow. When you come home, warm yourself up, drink a cup of tea, sit down at your computer or laptop, and transfer the photos. Now, you should be able to think rationally and check every photo you’ve taken. Many photographers make this simple mistake which costs them some stunning photos.
Best Lenses for Winter Photography
1. Nikon 85mm f/1.8G AF-S Nikkor
No products found.
Where do you think you’re going? Since Christmas is approaching, we’ll be generous and present you with an awesome set of lenses for your winter photography voyage. The first one is Nikon 85mm f/1.8G AF-S Nikkor, which is, in our opinion, the best lens for portrait photography in the winter. With its fixed focal length of 85 millimeters, this lens is great at capturing the subject nicely, with amazing edge detection, and bokeh capabilities.
It comes with the well-known Internal Focus System which allows it to produce stunning images with razor-sharp quality. With the minimum focus range of 0.8 meters, you’ll be able to take close-ups of your subjects, even in harsh conditions. Although it’s categorized as a telephoto lens, we like to call it a “medium telephoto” lens because of its smaller focal length.
Nevertheless, it’s a good-looking, durable, and lightweight lens capable of delivering amazing results. This is a lens for Nikon DSLR cameras, so make sure that it fits your camera model.
Check out the current price for Nikon 85mm f/1.8G AF-S Nikkor on Amazon.
Related: Best Lenses for Nikon Cameras
2. Tamron SP AF 17-50mm f/2.8
No products found.
Tamron SP AF 17-50mm f/2.8 is a beautiful standard zoom lens for DSLR cameras. Standard zoom lenses are one of the best when it comes to portrait photography and this one isn’t an exception. Thanks to the internal surface coatings in the lens, you can forget about glare and ghosting produced by eye-piercing snow reflections. Aside from capturing portraits, Tamron is also great at capturing snowy mountains and landscape in general.
Design-wise, it looks modern, yet old-school. It’s a very inspiring design that will attract even the pickiest photographers. This design is accompanied by the weight of just 14 ounces, which is lighter than your average ceramic mug or in the best case, equal to it. Even if you’re going skiing with your client on a snowy day, this one will not weigh you down and can fit in your larger pocket in the jacket.
Check out the current price for Tamron SP AF 17-50mm f/2.8 on Amazon.
3. Canon EF-S 55-250mm f/4-5.6 IS II
No products found.
Have you ever used a telephoto lens for capturing portraits? Now’s your chance. Canon EF-S 55-250mm f/4-5.6 IS II is a real champion in portrait photography and outdoor winter sports. Since this is a telephoto lens, it’s not compact and lightweight. This big boy packs some mass and this mass isn’t here just for the sake of being here. Instead, we have a cutting-edge stabilizer technology that will let you shoot some portraits handheld, with no blurring, and out-of-focus photos.
Telephoto lenses are great at capturing distant subjects so you don’t need to be very close to your subject, leaving a lot of space for experimenting with different scenery. All in all, this is a great lens for portraits and for capturing moving subjects. Whatever your choice might be, you won’t regret buying it.
Check out the current price for Canon EF-S 55-250mm f/4-5.6 IS II on Amazon.
Related: Best Lenses for Canon Cameras
Summary
These were our tips on shooting quality portrait photos in the snow. Now that you’re armed with knowledge, you should go out and start implementing it. If you’re looking to enhance your photography skills during the winter days, you’ll probably even start liking winter and coldness. In our opinion, winter is one of the most profitable periods for professional photographers, mainly because of the big holidays that come with it.
Go out and make the best out of this winter!
Related: How to Photograph Christmas Lights | 10 Tips