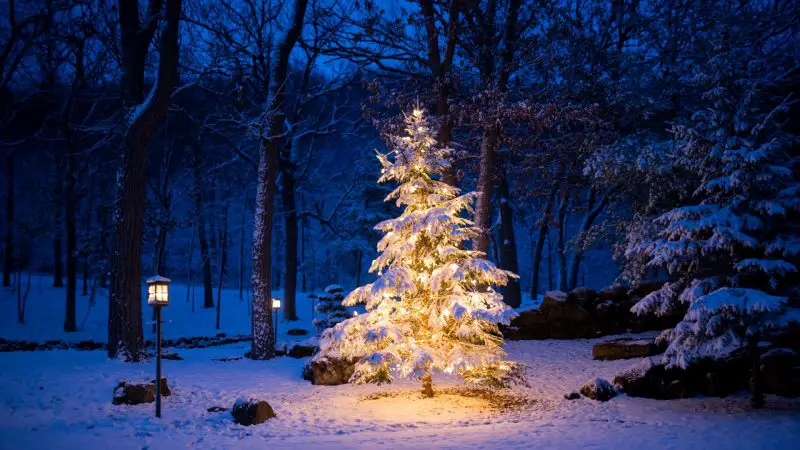
It’s again that time of the year where we wait for Christmas to come. Christmas is perhaps one of the most important holidays in the year and usually signifies that the new year is approaching. Although it’s almost always cold and snowy during Christmas, it’s the happiest holiday period of every year. Christmas also brings tons of discounts on different products, so it’s great for people who love shopping. But, photographers also love Christmas because it allows them to show their skills by making some astounding Christmas light photos.
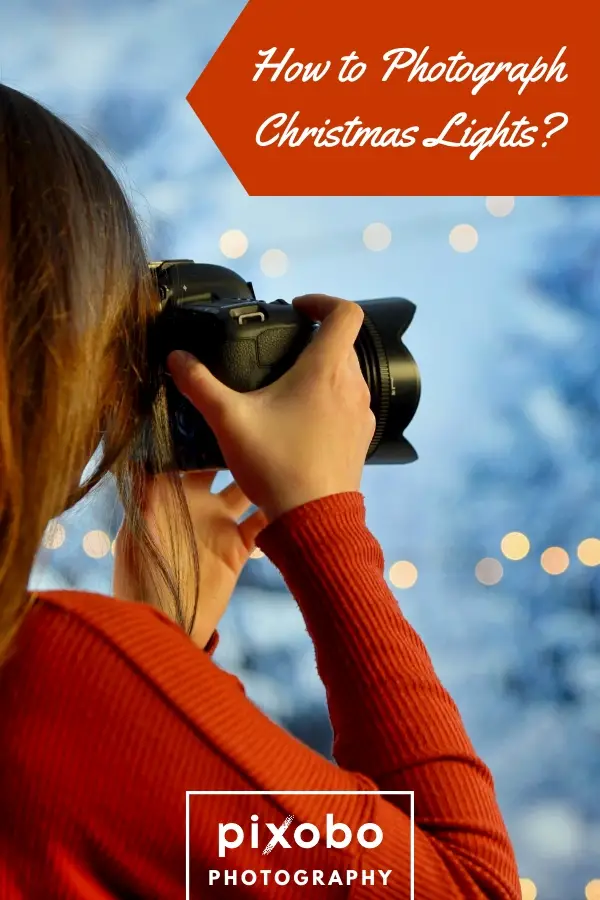
In this article, we’re going to go over some steps to help you learn how to photograph Christmas lights and create breathtaking photos. This type of photography is a lot of fun but can also be quite a challenge, depending on your photography skills. Either way, if you’re up for creating some beautiful Christmas lights photos, we suggest you stay with us until the very end. Now let’s start with our guide!
Related: How to Take a Stunning Family Christmas Photo | 10 Tips
Exclude Flash from Your Photos
Before you even snap your photo, please turn off the flash, of course, your built-in camera flash. Whatever you’re shooting, you don’t need the flash, so consider this as a general tip that can be applied to 99% of situations. The flash, while illuminating the photo, doesn’t make it better. It makes it even worse, flat and destroyed. On top of that, why would you use flash if you’re already shooting lights? Believe me, Christmas lights and flash don’t go along very well and the curiosity gets the better of you, you’ll see that any trace of magic is destroyed while using flash.
Let’s say you’re outside, then. Since you’re far from the subject (light), the flash is obsolete and even if you turn it on, you won’t see almost any difference in exposure. Shooting indoors, the flash will have an opposite effect and will brighten up your image to an unimaginable extent, so you end up with an overexposed image that you can only delete. That being said, the flash will only overshadow Christmas lights and will interfere with the natural colors of these lights, adding that obnoxious blue tint.
Use Low Shutter Speeds
Although Christmas lights look beautiful, they’re not as powerful, so you’ll need to use low shutter speeds. Using low shutter speeds allows you to properly show off the glow, which is the point of this photo session. Now, we can’t tell exactly how low you should go because that depends on your ambient and the amount of light you have there.
Generally speaking, you want to go from ¼ second and reduce it if needed. You can take a shot and see if it looks good. If not, you can always bump it to 1 second, 2 seconds or even lower. Remember that using long shutter speeds leads to an overexposed picture that’s useless in that state.
Related: What Is the Slowest Shutter Speed You Can Use Without Getting Camera Shake?
Mount Your Camera on a Tripod
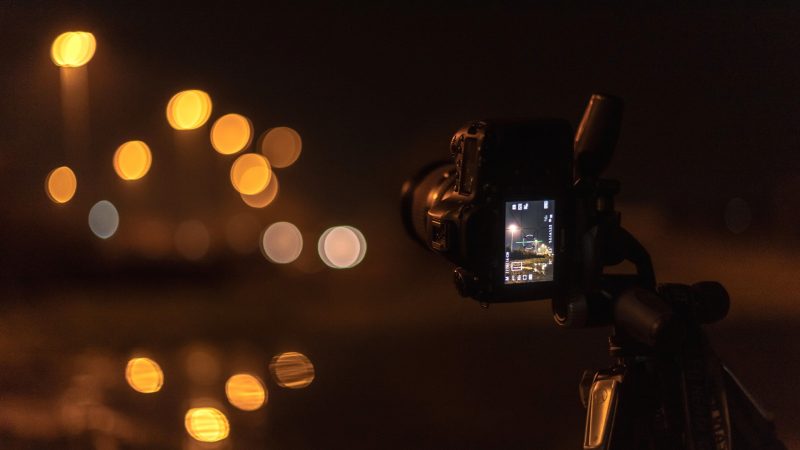
Even if you’re an amateur photographer, having a high-quality tripod at your disposal is a must. Many scenes can’t be shot properly without a tripod and Christmas lights are just one of those scenes. If you use lower shutter speeds, you will get to capture Christmas lights as intended but the motion blur will ruin your day if you don’t use a tripod. Combining lower shutter speeds with a tripod makes motion blur almost impossible to appear. The main reason why motion blur can appear is usually that you caught something else during exposure, for example, your dog in the background.

- 2 in 1 lightweight tripod, one of leg can be used as monopod
- Quick release leg locking, giving a more convenient leg handling for shooting, vlogging, photography and videography
- Universal ball head design with 2 locks and 360° dial that photographers adjust angle free and quickly
The general tip for still life photography is to use a tripod. It makes the process easier by allowing you to focus on details in your photo, rather than focusing on keeping your hands steady. In this case of still life photography, using a tripod is mandatory. If you don’t have a tripod, you can place your camera on a flat surface and use a timer but we still recommend buying one since it’s not very expensive. If you had a couple of hundred dollars to buy a camera, you have a dime to spend on a tripod and sometimes, even less than that!
Related: Best Tripods for Photography
Lower the ISO
Here’s a little question for you – what is the main rule when shooting in low-light conditions? That’s right, turning the ISO down. As we know, high ISO exposes your image better but also incorporates digital grain, which is a tradeoff for having a better-exposed photo. In case you shoot outside during the day, ISO should be very low – 100 or below. The same case applies to artificial lighting. To avoid getting a grainy mess of a photo, toning down the ISO to 100 or less might be your best choice. In this case, ISO 40 can prove to be efficient and in many cases, it’s enough to combat the dark environment, yet avoid getting a grainy photo.
Increasing the ISO should be your last option in case the exposure isn’t good, so increasing the exposure time can come into consideration before increasing the ISO.
Related: What Is Auto ISO And How/When to Use It – A Complete Guide
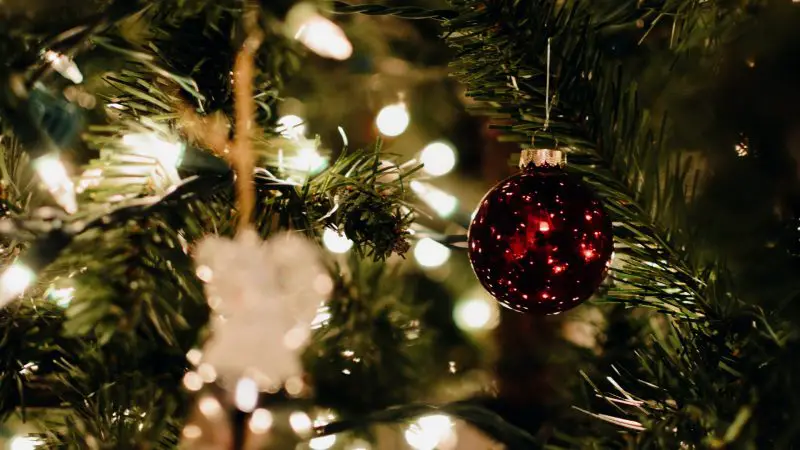
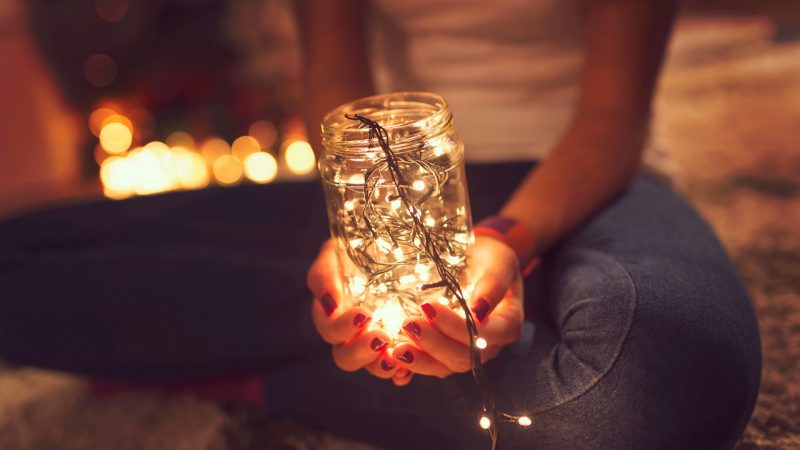
Mess With the Bokeh Effect

Shooting Christmas lights usually means having a buttery-smooth bokeh somewhere in the photo. Lights and bokeh go very well with each other, hence we felt obligated to give you this tip. To create a proper bokeh effect, you need to open wide your aperture. A well-opened aperture gives you a shallow depth of field which results in removing the background from the focus, giving you proper bokeh effect. Sometimes, you don’t even need any objects in focus. Shooting a blurry photo of lights can produce some staggering results. Just make sure that the depth of field is shallow and that you’re far away from the lights
Just a quick reminder for beginner photographers – opening the aperture means decreasing the aperture value in your camera settings. The lower the number, the more opened the aperture is and vice versa. For example, f/1.8 is more opened than f/4, capiche?
Related: Better Pictures with Blurred Background Photography
Think of a Scene

Now that you’ve got everything set up, you need to think about the scene you’re going to photograph. Setting up your scene can be tricky, especially if you want to be as unique as possible. Our suggestion is to use a big paper and draw approximately how you want your scene to look, even if you’re not good at drawing. This will help you position the subject, as well as other things surrounding the subject. For example, this can be some cookies, a paper with an inscription or with a Christmas-related quote.
Fill Up the Frame

After drawing the approximate look of your scene, it’s time to fill the frame. Use tree branches, decorations, some papers, ceramic cups or whatever you planned on doing. A great idea that I always suggest doing is using an envelope, putting a piece of paper inside halfway, and writing a quote or simply „Dear Santa“ as if you were talking to Santa and making a wish. If you don’t want a scenery like that, you can fill up the frame with the Christmas tree decorations but make sure that the color palette is done right. Either way, photographing just Christmas lights isn’t unique. You want to add some stuff and fill the frame.
Make Sure Everything is Ready

If you filled up the frame and decided on everything related to the photo, it’s time to return to the first five steps and see if you’ve got everything right. For starters, you should have a Manual mode set up, adjustable shutter speed, and of course, a good, sturdy tripod. If you want a light source, you can use the diffuser with a Speedlight behind it.

- 【Includes dedicated diffuser for softer】Godox TT600 Flash with Diffuser Kit includes dedicated diffuser for softer, Reduce harsh shadows, create creative effects, and protect the flash head from dust and scratches, extending the lifespan of your camera flash. Perfect for portrait, wedding, and event photography.
- 【GN60 High Power & Stable Output】Features a powerful GN60 (m ISO 100) guide number for long-distance illumination. Maintains a consistent color temperature of 5600±200K across the entire 1/1 to 1/128 power range, ensuring professional-grade accuracy for every shot.
- 【Godox 2.4G Wireless X System】Built-in 2.4G wireless transmission supports Master and Slave functions. It integrates seamlessly with the Godox ecosystem (AD, MS, SK, QT, TT, V-series) and is fully compatible with X3, X3Pro, XPro, XProII, X2T, and X1T triggers. Control up to 5 groups and 32 channels for complex, creative lighting setups.
Alternatively, you can use a softbox, although we recommend the light diffuser, as it’s more convenient for compositions like this. If you have a remote shutter release, you can also add that to the equation. It will allow you to release the shutter from a distance, without touching the camera, which will result in much better stabilization.
Test the Frame
After setting everything up, you want to snap a few test shots. We want to do this because we want to make sure that the frame is good. You don’t want to capture the whole room, for example, but only a small part of your room or a table with the lights. Before taking a shot, remember to set up your camera properly in terms of ISO, shutter speed, etc.
Take a Photo
Finally, when all is set up, you should use your Speedlight behind the diffuser to create a proper scene. Many photographers use this technique because it gives depth to the photo. Also, it’s important to make a contrast of the warm glow of Christmas lights, to avoid having an overly dark photo. For comparison, without the Speedlight behind the diffuser, you would get a dark photo with only traces of warm light from the Christmas light. The key is to make not only the lights but also the props on your photo visible. These props will balance the photo in terms of contrast and will remove monotony from the soft warm lights.
Before snapping that shutter, just make sure that the Speedlight isn’t blazing but it is set on very low power. Is now everything in place? Then snap a photo, and another one, and another one. You should be satisfied with the results now. If not, try to change the settings on your camera, as well as the position of diffuser or Speedlight. Numerous factors contribute to the quality of the photo, so it’s important that you experiment.
Related: 12 Memorable Christmas Photo Ideas
Summary
Setting up a proper scene for beautiful Christmas lights isn’t very easy but the results are rewarding if done properly. Quality Christmas photos are here to warm our hearts and serve as memories for years to come. On top of that, you’ll be able to see how well your photography skills have evolved each year by comparing the Christmas light photos. This is photography, so you’ll need a lot of time to practice and perfect your techniques and skills. With enough consistency and hard work, you’ll learn to photograph amazing Christmas light photos!
Related: Creative Christmas Gift Ideas for Photographers