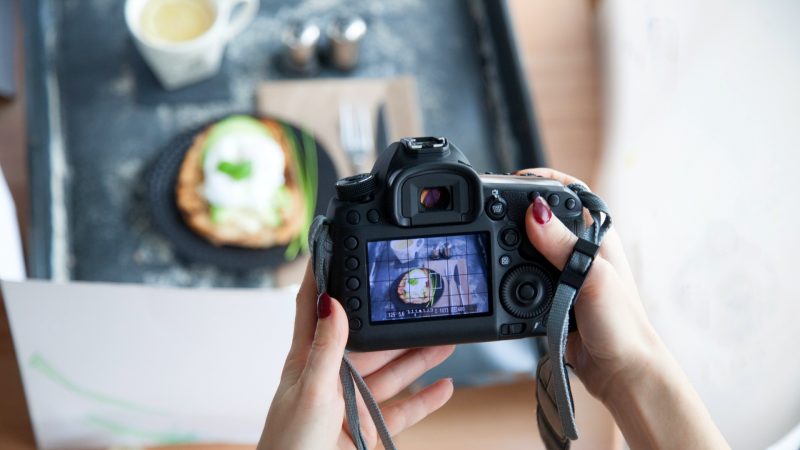
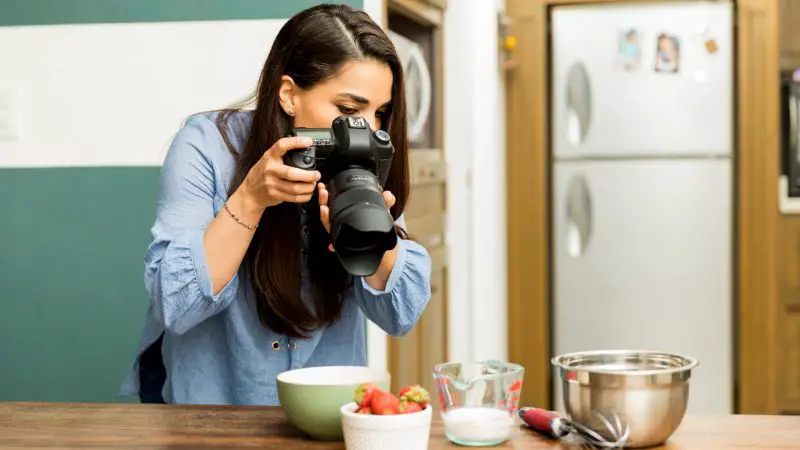
If you are a food photographer, then your main aim is to make the viewers want to eat their screen or a magazine. Whether you are (or want to) become a photographer who takes pictures for food blogs, cookbooks or advertisements, it doesn’t really matter. The shots have to be colorful and the compositions should be mouth-watering. Food is one of the most beginner-friendly types of photography to practice at home. There are people out there who are not at all interested in travel or wedding photography, for example. But food photography is something that can find a way to everyone’s heart. After all, we all love to have a great meal, right?
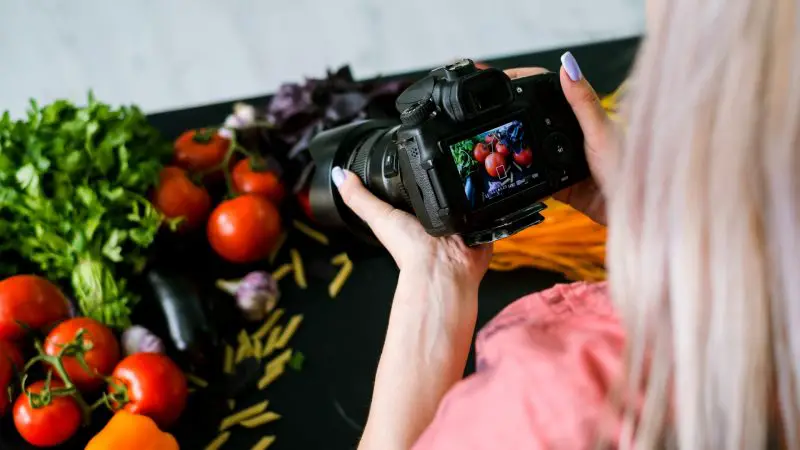
What are the main food photography tips for beginners? The truth is that if you want to be a great food photographer, you have to be ready to invest in the right equipment and you should have an eye for great compositions. By the way, always remember that if the food looks amazing in the picture that does not necessarily mean that it tastes the way it looks. In fact, some plates full of delicacies might even be practically inedible in real life! Food bloggers tend to order the most ‘photogenic’ cocktails and dishes; the photographers who shoot ads for different companies might use various chemicals to make the food look stunning… However, if you decide to document food recipes, then the dish should certainly have a good taste as well. In such a case, backdrops, garnishes, and even napkins can help create a stunning picture.
Ready to become a better food photographer?
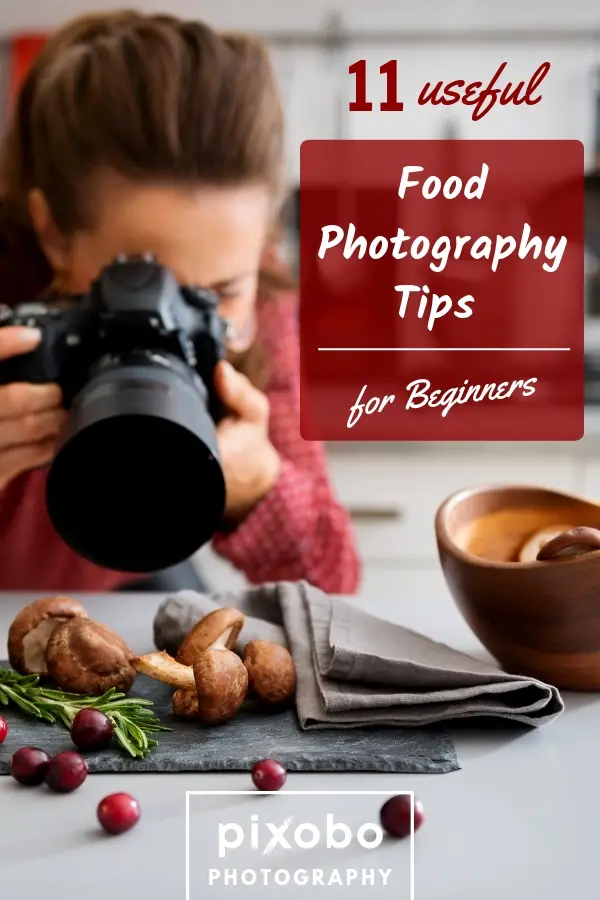
11 Useful Food Photography Tips for Beginners
1. Lighting, Lighting, Lighting
No matter what photos you are taking, light is always the key element that you have to take into consideration. Your best friend and your biggest enemy.
When it comes to food photography, natural right is the most preferable option. In such a way, you will be able to get the textures and colors just right. Try placing your composition right next to the window and then try finding the best angle. If you feel like the light is too harsh, you can always use a sheer fabric to make it a bit softer. If you can work outside, then totally do that.
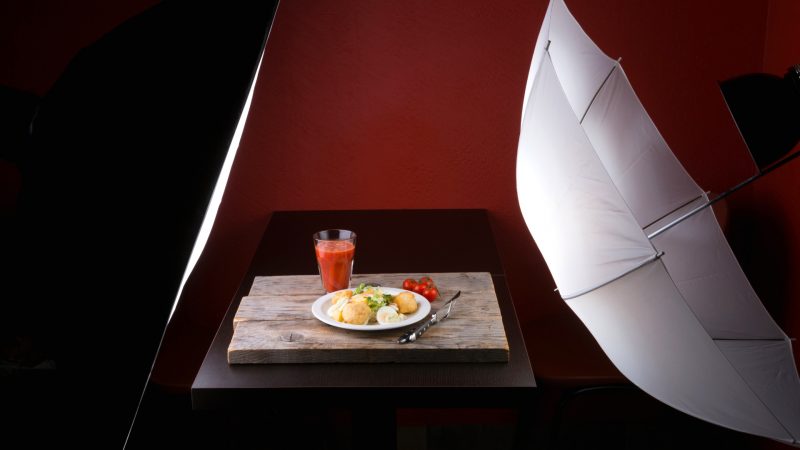
In case you simply can’t use natural light, try photographing the plate or composition inside a photo light box.
Related: Top 6 Best Portable Photo Studio Boxes | Photo Light Boxes
2. Garnish and Get Messy

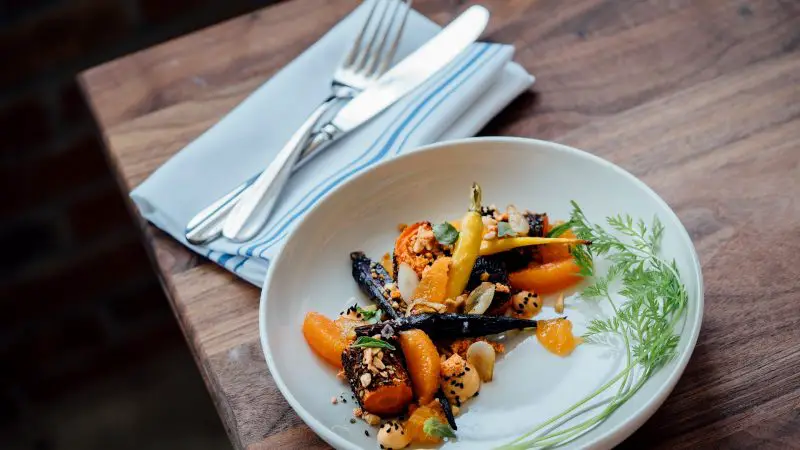
Food pictures look amazing if there is a lot going on in the frame. In such a way, they look realistic. Don’t be afraid to leave some flour on the table, if you are shooting baked goods. Salads and meat dishes sometimes need even more color and texture. Use garnishes, greens, and spices. Yes, maybe these things are not really in the recipe and you would want to take them out before starting to actually consume the dish, but for the sake of the photo, you can sometimes add even inedible elements that simply look good.
In case you are shooting a recipe, it’s a great idea to place some ingredients around the final result. You can’t see what exact spices the chef added in the dish, but if you use thyme and basil, for example, in the frame, then the viewer will have a clearer idea of the recipe (and the picture will simply look so much more appealing).
Don’t underestimate a simple grater! Or you can always crumble some ingredients on top of the final dish.
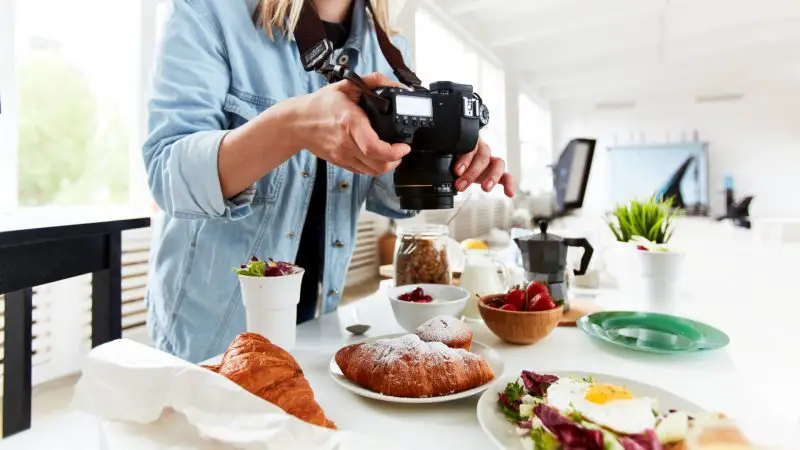
3. Learn Manual
Let’s get a bit more technical here. Unfortunately, the chances are high that you won’t be able to take stunning food pictures if you can’t use the manual mode that your DSLR has. In case you have a different camera, try shooting in ‘macro’ and skip this tip.
Use a high ISO, if you are shooting handheld. You can boost your ISO up to 1600 or even 3200 if you are taking shots indoors. However, be careful, as there might be too much noise in the picture. If you are using a tripod, then certainly do lower your ISO to get crisp and sharp results.
Want to focus on the dish and keep everything else a little blurry? Use a shallow depth of field. Shoot using the widest aperture.
Related: What Are The Ideal Camera Settings For Studio Photography?
4. Get a Tripod
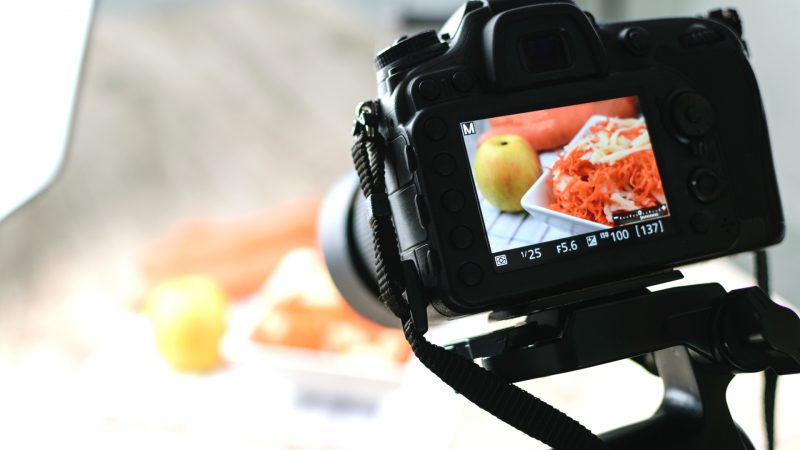
It is difficult to overestimate the importance of a good tripod when it comes to food photography. If you want to shoot a flat lay, for example, it would be incredibly difficult to get a sharp picture, if you are holding the camera. But in case you have a tripod, you can easily choose the best angle for your picture.
Different bowls, salads and the majority of meat dishes are the best shot from above. A burger will look incredible if you shoot it head on. However, you can always experiment with the angles to find the best ones.
A tripod will not only help eliminate the effect of ‘shaking hands’, but there also won’t be any human shadows in the frame that usually will ruin the whole picture. If you are interested in tripods check our list for best tripods for photography.
5. Invest in an Amazing Lens
But first, you have to decide, if you want to take close up shots of food or to photograph layouts. These are absolutely different purposes and you would certainly need at least two lenses to get everything right. However, a 50 mm lens can be used for both, close up shots and for the pictures taken from above.
You would want to invest in a fixed focal lens. To get the desired composition, you would simply need to change your position.
In a nutshell, if you are really serious about your food photography, then you should not be using the kit lens that you initially got with your camera. To see the best lenses for every camera brand check our recommended gear for photographers.
6. Have a Plan
Of course, the plan and schedule would depend on the type of food photography that you specialize in. If you like to take pictures of step-by-step recipes, then make sure that you have all the ingredients.
Before taking the shot, imagine what you want it to look like. Get the necessary accessories (backdrops, napkins, and silverware) and garnish. You can even try shooting the whole composition without the actual food to make sure that the colors look great and that the position is just perfect.
7. Add Color
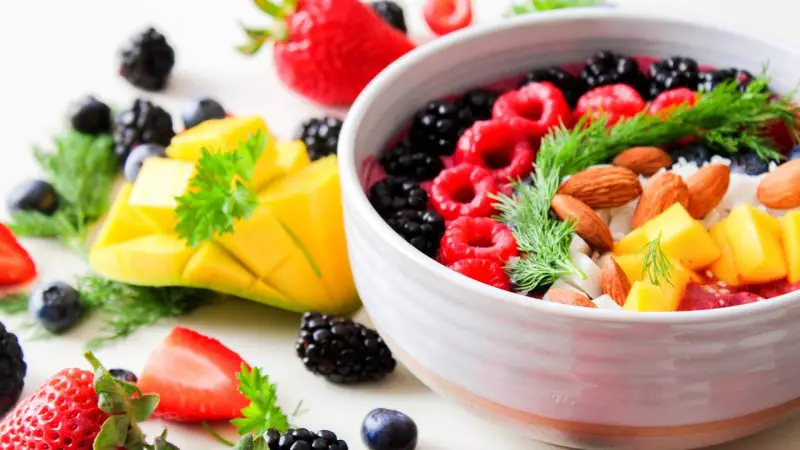
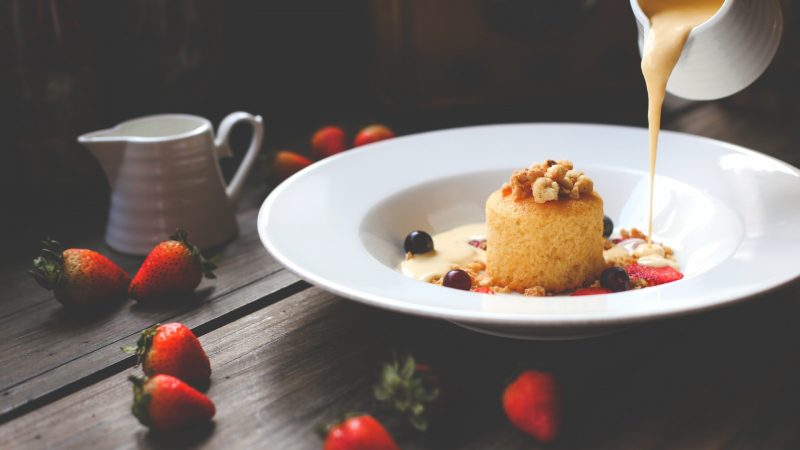
Let’s be honest, some dishes do not look appealing at all (even though they might be finger-licking good in real life). You might try adding color and texture with some garnish and greens that we have mentioned before. Vegetables and fruit are always a great eye-catcher, so you might want to consider adding these to the frame (maybe even next to the plate).
Moreover, don’t forget about the knives, forks, spoons and the actual plates. Those can be incredibly beautiful and help get the viewer’s attention.
8. Get Great Backdrops
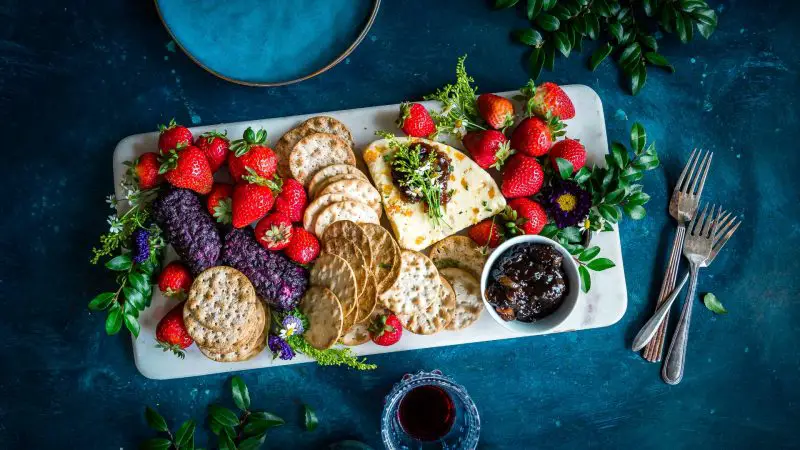
Backdrops are incredibly important for food photography. Especially, if you want to shoot layouts, recipes or photos for a food blog. Moreover, it is another great and easy way to add some color and texture to your composition.
The great news is that these backdrops don’t need to be expensive. Yes, a cool rustic or marble table looks really nice in the pictures. But you can always get foam boards or even scrapbook paper. You can also get different boards and paint them in bright colors. These ones are great because they are easy to move around so that you can find the perfect light.
9. Don’t Forget About Napkins
These are the small things that a lot of food photographers neglect. But napkins can easily make your shot look more finished and cute. Those can be colorful paper napkins or beautiful textile options. By the way, you wouldn’t need to splurge on these things, but they really do make a difference.
10. Have a Look at How Other Photographers Do It
Now, that does not mean that you need to copy the photographers that you like. But you can surely get inspired by some ideas, color combinations, and small tricks. Or if you know in advance that you would need to take a picture of mashed potatoes, for example, and you have absolutely no idea about how to make a bowl full of mashed potatoes look good, then we would totally recommend taking a peek at how other food photographers do that.
11. Get Creative!
Sometimes you don’t really need that pie or apple to look perfect. Take a bite! Mid-meal shots really are appealing to the viewer as they will see a delicious dish that you want to immediately devour, instead of an ideal cake that you are afraid to touch. You are adding some authenticity and that’s always great. Bear in mind that sometimes even dirty kitchenware looks amazing. As if you have just finished cooking and didn’t have time to clean up.
If you have such an opportunity, try adding some movement to your shot. For example, you can pour the sauce over a dish and take a shot while it is moving.
Related: 30 Creative Photography Ideas For Beginners: Get Creative With Different Photography Styles
Hope you have learned something new with our 11 food photography tips for beginners. Remember to stay hungry for new ideas, but don’t forget to eat well!
Also, check out our basic tips for taking good photographs.