Quick answer: To take a good selfie even if you feel unphotogenic, shoot in soft, front-facing light (face a window), hold the camera slightly above eye level, turn a few degrees to your better side, push your chin slightly forward and down to define your jaw, relax into a genuine expression, and take lots of shots so you can pick the best one. “Not photogenic” is almost always a fixable matter of light, angle, and expression — not your face.

Table of Content
Why most people feel “not photogenic”

Here’s the honest truth: “not photogenic” usually just means you haven’t yet learned what works for your face. Part of it is the mere-exposure effect — you see your face flipped in the mirror every day, so the un-flipped, frozen version a camera captures can look subtly “off” to you, even though it looks perfectly normal to everyone else. A still photo also strips away the micro-expressions, movement, and warmth that make people like your face in real life. You’re not the problem. The static, single-angle selfie is.

So the fix isn’t to “become more photogenic.” It’s to learn the handful of techniques that professional portrait photographers use — and adapt them to selfies. By the end of this guide, you’ll have a repeatable formula for a selfie you actually like.
1. Find your angle (there’s a science to it)
We all have a side of our face that photographs better. Research published in the journal Laterality found that the left side of the face is consistently rated as more expressive and aesthetically pleasing — a phenomenon called the “left-cheek bias.” But your personal best angle depends on your facial asymmetry.
How to find it: hold your phone at eye level, slowly rotate your head from full left to full right while taking a burst of photos. Do this at three heights — eye level, slightly above, slightly below. Then review and star the angles where your jawline looks sharpest and your eyes look most open. That’s your angle. Repeat it every time.
2. Lighting is everything (and it’s free)
The single biggest difference between a good selfie and a bad one is light. Soft, diffused, front-facing light — an overcast sky, open shade, or a big window you’re facing — is the most flattering, because it wraps evenly around your face and fills in shadows. Harsh overhead light and backlighting do the opposite, carving hard shadows under your eyes and nose or turning you into a silhouette.
Rule of thumb: face a window during daylight. If you’re outside, stand in open shade — never direct midday sun. If you’re indoors at night, position a lamp with a white shade at face height, about 2-3 feet away. Avoid bathroom vanity lights directly overhead — they cast unflattering shadows downward.
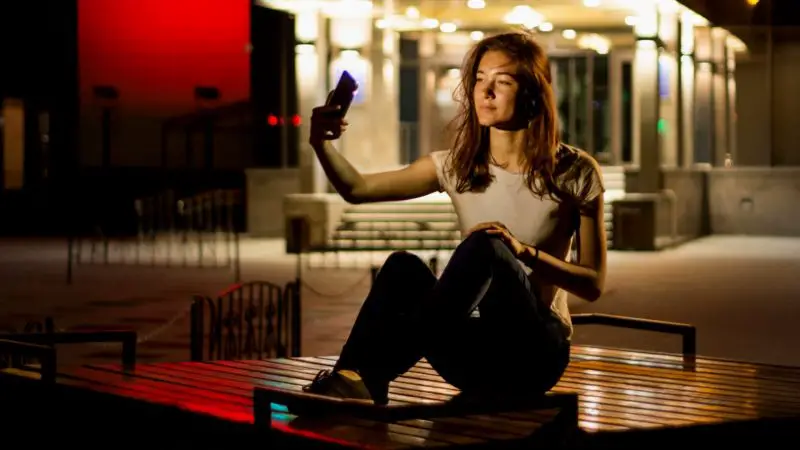
And don’t be afraid of flash — in outdoor daylight, a touch of fill flash can eliminate harsh shadows under your eyes and chin, creating a more even, professional look. Just avoid using flash as your only light source in the dark; it flattens features and creates red-eye.
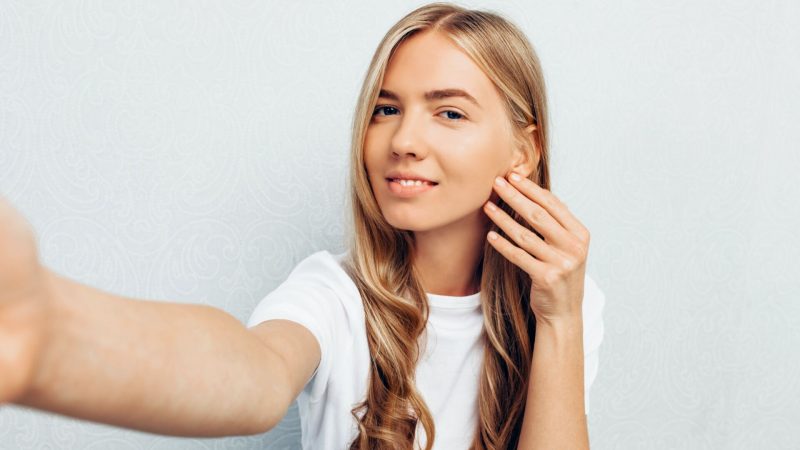
3. Prep your face (not a full beat, just the basics)
You don’t need a full face of makeup. But a matte finish matters. Phone cameras — especially the front-facing one — amplify shine. A quick blot with oil-absorbing sheets or a light dusting of translucent powder can make a visible difference in how the camera reads your skin texture. If you do nothing else: moisturize (hydrated skin reflects light more evenly), blot the T-zone, and define your brows slightly — they frame your face in every photo.
4. Use the rear camera, not the selfie camera
The front-facing camera on most phones has a wide-angle lens that subtly distorts facial features — your nose appears larger, your face narrower, and proportions shift. The rear camera is optically superior and produces a more natural, flattering image.
Yes, you can’t see yourself. The workaround: lean your phone against something stable, use a timer (3-10 seconds), and position a small mirror behind the phone so you can check your framing. Or invest in a phone tripod with a Bluetooth remote — they’re under $20.
For more ways to shoot solo, see our guide to taking Instagram photos by yourself.5. Hold the phone higher than you think
Holding the phone at or slightly above eye level and angling it down ~10-15 degrees is the most universally flattering selfie angle. It elongates your face, opens your eyes, and minimizes under-eye shadows. Holding the phone below your face — the classic “myspace angle” — does the opposite, emphasizing the underside of your jaw and nostrils.
6. Elongate your neck (the instant jawline trick)
Portrait photographers call this “the turtle” — push your forehead slightly forward and down toward the camera. It feels ridiculous, but it extends your neck, sharpens your jawline, and eliminates the double-chin effect that happens when you tuck your chin. Practice in a mirror: forehead forward, chin slightly down, neck extended. The difference is immediate.
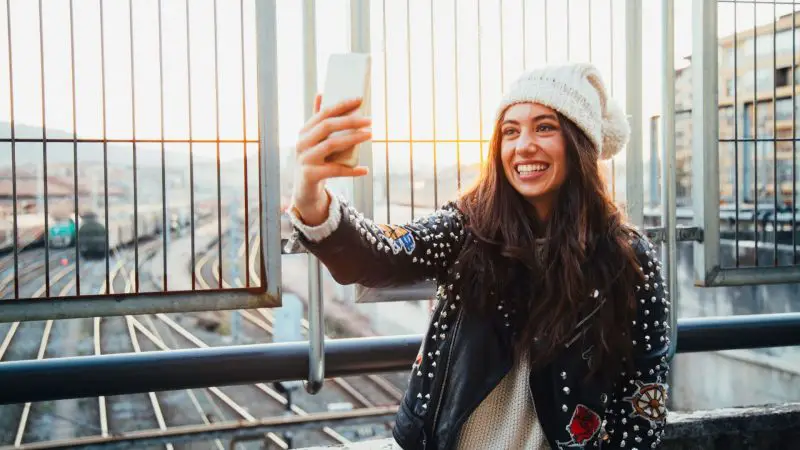
7. Stop forcing a smile — find your signature expression instead

A forced smile tenses your jaw and eyes in ways the camera picks up instantly. Instead, try the “laughing just after the joke” expression — think of something genuinely funny, let the laugh half-escape, and snap the photo at the moment your face relaxes into a natural smile. This engages your eyes (the Duchenne smile) and reads as authentic.
Another trick: slightly part your lips and exhale gently as you take the shot. A closed, tense mouth reads as uncomfortable on camera; a softly open mouth looks relaxed and natural.
Over time, develop your “signature face” — the one expression you know works every time. For some people it’s a slight smirk, for others it’s a soft, closed-mouth smile, and for others it’s full-on laughing. Test different expressions in front of the camera and find the one that feels the most you. Once you have it, you can default to it whenever you need a reliable shot.
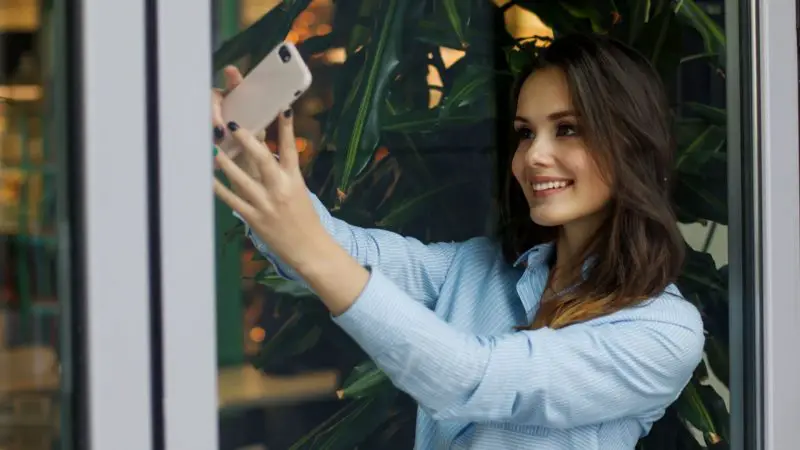
8. Work the background as much as your face
A cluttered background distracts from your face and makes the photo feel chaotic. A clean, simple background — a plain wall, a blurred outdoor scene, an interesting texture like brick or foliage — puts the focus back on you. If you can’t find a clean background, use portrait mode to blur it. Position your face slightly off-center for a more dynamic composition.
9. Take a lot of photos — then delete 90% of them
Professional models don’t get the shot in one take. They take hundreds. The difference is they only show you the good ones. Give yourself permission to take 50-100 photos in a session, changing your angle, expression, and lighting slightly with each. Then ruthlessly delete everything except the 2-3 you genuinely like. This isn’t cheating — it’s how every good photo you’ve ever seen was made.
10. Edit with restraint

The goal is to look like yourself on your best day, not a different person. Use your phone’s built-in editing tools: slightly increase exposure (+0.3 to +0.5), reduce contrast a touch for softer skin, and warm the white balance slightly. If you use a retouching app, limit yourself to the blemish removal tool and a subtle skin smoothing preset — nothing that changes your facial structure.
What to do when nothing is working
If you’ve tried all of the above and still hate every photo, try this reset: put the phone down for 10 minutes. Do something that makes you feel good — listen to a song, stretch, pet your dog. Your mood shows in your face. Then try again with the rear camera, window light, and the “laughing after the joke” expression. The technical side of a good selfie is learnable; the emotional side is remembering that you’re photographing a person, not a product.
Frequently Asked Questions
Why do I look better in the mirror than in photos?
Because of the mere-exposure effect: you see your face flipped in the mirror every day, so you’re used to that reversed version. A photo shows the un-flipped view in a single frozen moment with no movement or expression, which can look unfamiliar and therefore “worse” to you — even though that’s how everyone else sees you all the time, and they think you look fine.
What is the best angle for a selfie?
Hold the camera slightly above eye level and tilt your chin down a touch to flatter the jawline and open the eyes. Turn your head a few degrees rather than facing dead-on, and try both sides of your face — most people have a “better side,” often the left, thanks to the left-cheek bias.
What lighting is best for selfies?
Soft, diffused, front-facing light is the most flattering. Face a large window, step into open shade, or shoot on an overcast day. Avoid harsh overhead light and backlighting, which cast hard shadows or turn you into a silhouette.
How do you smile naturally in photos?
Smile with your eyes, not just your mouth — a genuine smile crinkles slightly at the eyes. Think of something actually funny just before the shot, and take a quick burst so you catch the split second your smile looks most natural rather than held and stiff.
Is being unphotogenic a real thing?
Not really. “Not photogenic” almost always means you haven’t yet found the light, angle, and expression that suit your face — all of which are learnable. A camera’s single frozen frame, plus lens distortion when the phone is held close, flattens your features, but small adjustments fix it.