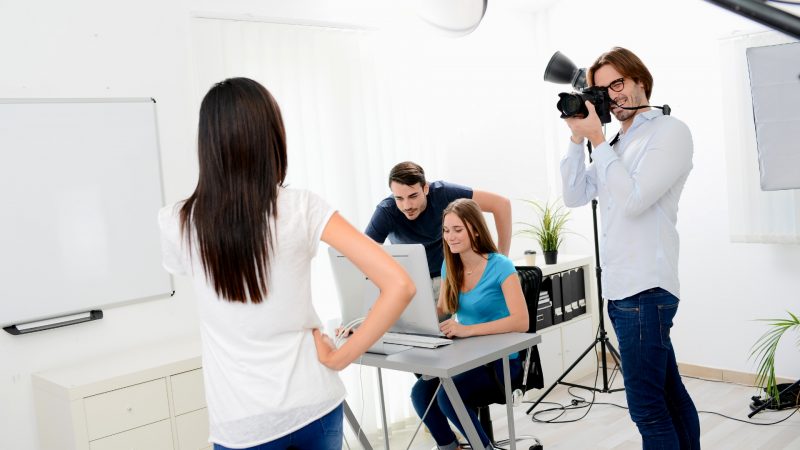
If you’re a professional photographer, you’ve had a chance to participate in a studio photo shooting session. Quite frankly, this one can be really exhausting since the quality of the photo depends solely on a photographer.
On top of that, the photo you’ve taken can drastically influence the look of the person on the photo! This mainly depends on the camera settings that a photographer will use. So, what are the ideal camera settings for studio photography?
If you’re in doubt over which settings to use for your studio photo shoot, we’re here to make your life a bit easier. Before we dive into the specifics, let’s take a look at the different types of studio photography and the importance of ISO settings for each type.
Table of Content
Introduction to Studio Photography
When outdoors, you mostly depend on the weather conditions and time of the day. If it’s cloudy outside, there’s nothing you can do about it, except for waiting another day.
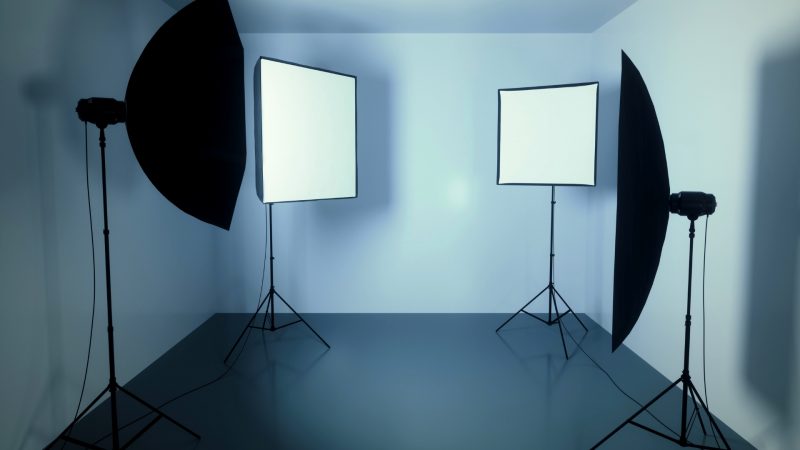
However, a studio is an environment prone to changes. Those changes can, of course, be induced by the photographer himself. The beauty of the photography studio is that you can control every single thing! You can use a reflector or use a softbox – it’s all your choice. This allows for versatile photos but also comes with plenty of camera settings to work with.
Types of Studio Photography
Before we dive into the ideal camera settings, let’s explore the different types of studio photography and the importance of ISO settings for each type. ISO settings play a crucial role in determining the quality of your photos. For most types of studio photography, it’s best to use lower ISO settings like 100 or 200 to avoid grainy photos.
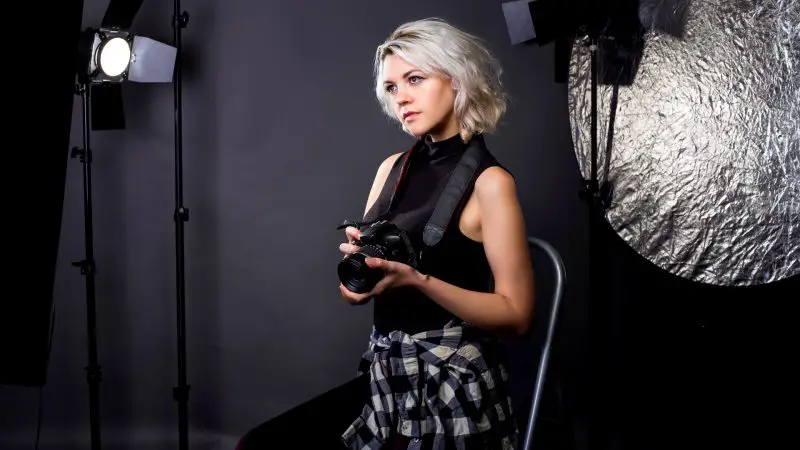
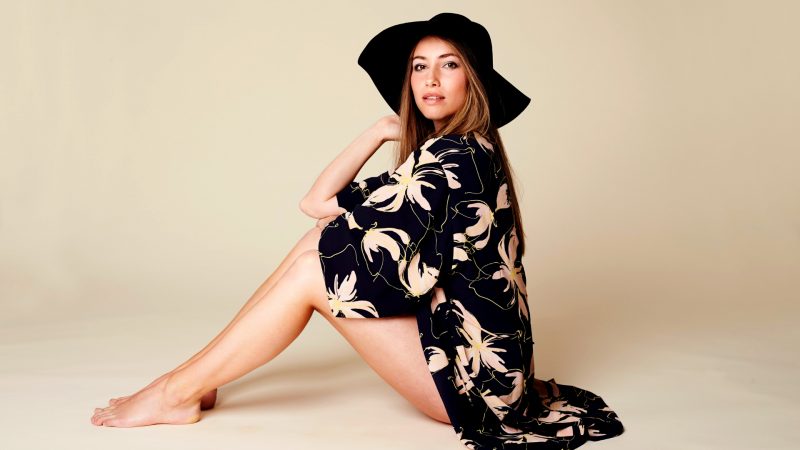
Portrait Photography
Portrait photography is the most common type of studio photography. All you need for this kind of photography is a person willing to pose for you. Of course, there are other things such as equipment, but we’ll talk about it later.
Also, the photos used in portrait photography are rarely used for making money. Since it isn’t commercial photography, the photos you’ve taken aren’t sold to anyone, at least not on your behalf. Portrait photography requires some serious dedication and knowledge to be done right.
To avoid some common mistakes done by most portrait photographers check our Portrait Photography Tutorial to make sure you are doing portrait photography the right way. For portrait photography, it’s recommended to use an ISO setting of 100 or 200.
Product Photography
Product photography is an umbrella term for photography where the photos are used for selling purposes. Simply put, this photography niche is all about commercial purposes. While it doesn’t have any particular standards for subjects, it’s very hard to pinpoint the exact settings that are best for it.
A subject may be a car, a boat, some food or even a person! These photos are usually used to promote or sell a product and these photos are often seen in advertisements or magazines.
To be able to do such photography, you need to get a request from a customer, making it a bit hard to work with. Also, I suggest reading our list of the best websites to sell your photos. For product photography, the ideal aperture range is between f/1.8 and f/5.6.
Fashion/Editorial Photography
Are you reading a lot of magazine and newspapers? If so, you’ve already seen some photos that came from this industry. Fashion photography is all about illustrating what’s written in words. For example, if an article is about a new fashion trend, a photo should perfectly illustrate what’s been written.
This kind of photography is a bit more complex since it needs to perfectly encapsulate the written word, yet try to invoke some kind of emotion in the reader. You can think of editorial photography as of fashion photography, as they are almost the same. For fashion/editorial photography, it’s best to use an ISO setting of 100 or 400, but don’t go higher than that.
Food Photography
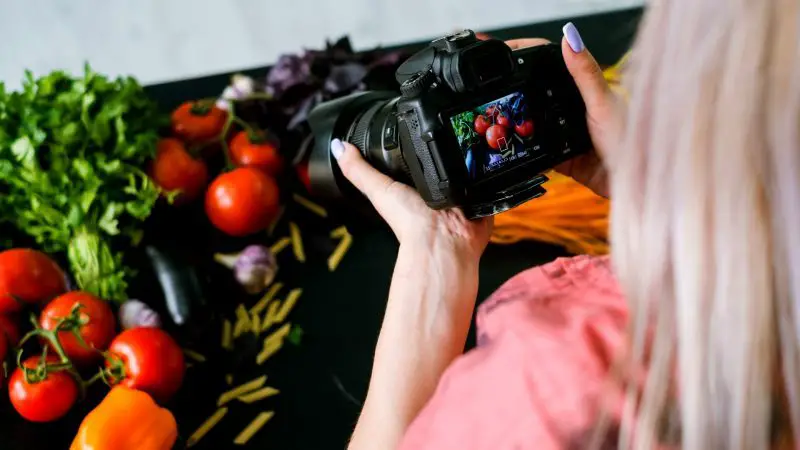
Food photography is one of those photography niches that make our saliva run from our mouth. While it’s comfortable being around good and colorful food, it’s always important to capture the right details. Since many food photos appear in food blogs or even food magazines, it’s important that these photos scream quality. For food photography, the ideal focal length is between 50mm and 100mm.
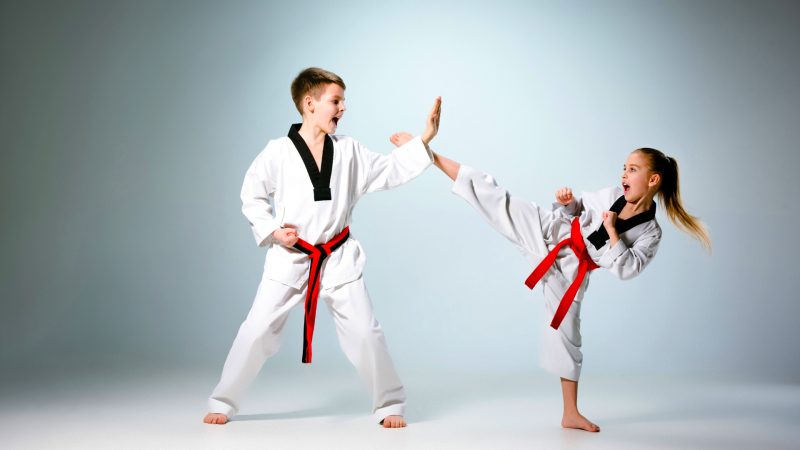
Action Photography
In the studio, you can shoot action shots as well! And you know what? These can be very good if you have a bit of experience. Action photography is all about capturing the moving subject at the perfect moment, which can sometimes be quite exhausting. For action photography, it’s recommended to use a flash power set at half of the power.
Setting Up a Studio Photography Session
Here’s a step-by-step guide to setting up a studio photography session: 1. Choose a location for your studio. 2. Set up your equipment, including your camera, lights, and reflectors. 3. Prepare your subject, whether it’s a person, product, or food. 4. Experiment with different camera settings and lighting conditions.
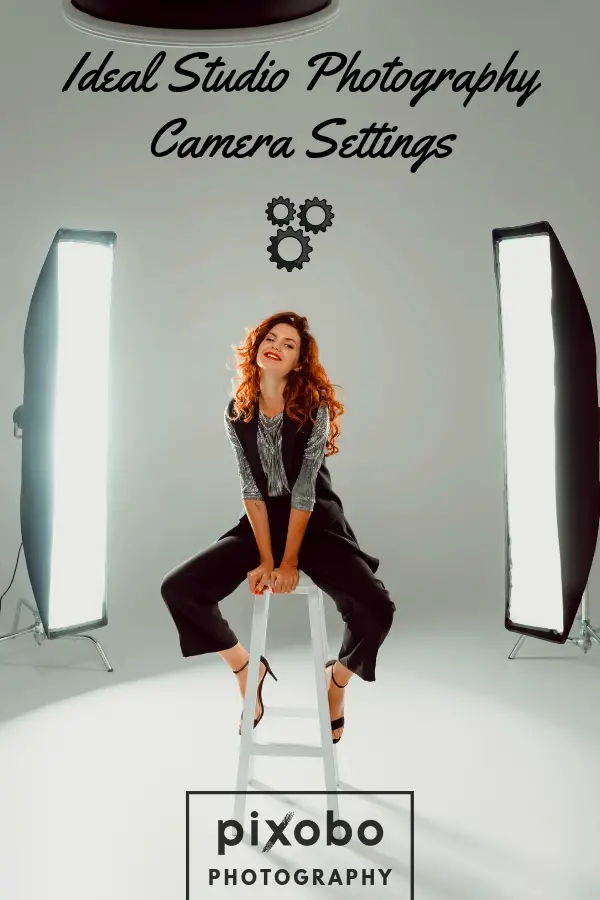
What are the Ideal Camera Settings for Studio Photography?
Since you got properly introduced to studio photography, I think it’s time to see the best camera settings for each of them.
Portrait Photography
In portrait photography, it’s all about the lighting. If the lighting is good, you’ll be able to get all of those facial details required to capture an award-winning photo. First of all, you’ll need to buy a light meter or use a built-in color chart on your camera. This chart will allow you to improve your color and lighting accuracy.

Set your camera to Manual Mode.
Use lower ISO settings like 100 or 200 to avoid grainy photos.
Set the shutter speed to 1/125. Alternatively, you can use 1/60 or 1/30. Just be sure not to use a shutter speed that’s too low.
For aperture settings, experiment with anywhere from f/8 to f/18. An ideal setting would be f/8 or even f/11.
The ideal setting for focal length is 200mm or less as you’re close to your subject.
You also need to experiment with the flash power. Ideally, you want to set it to the half of your camera’s power.
After this, you can experiment with the flash power and focal length to see what works best for you.
Product Photography
Commercial photography is where it starts to get a bit tricky. This is a versatile photography niche that requires different settings for different occasions. Let’s see what you should opt for.
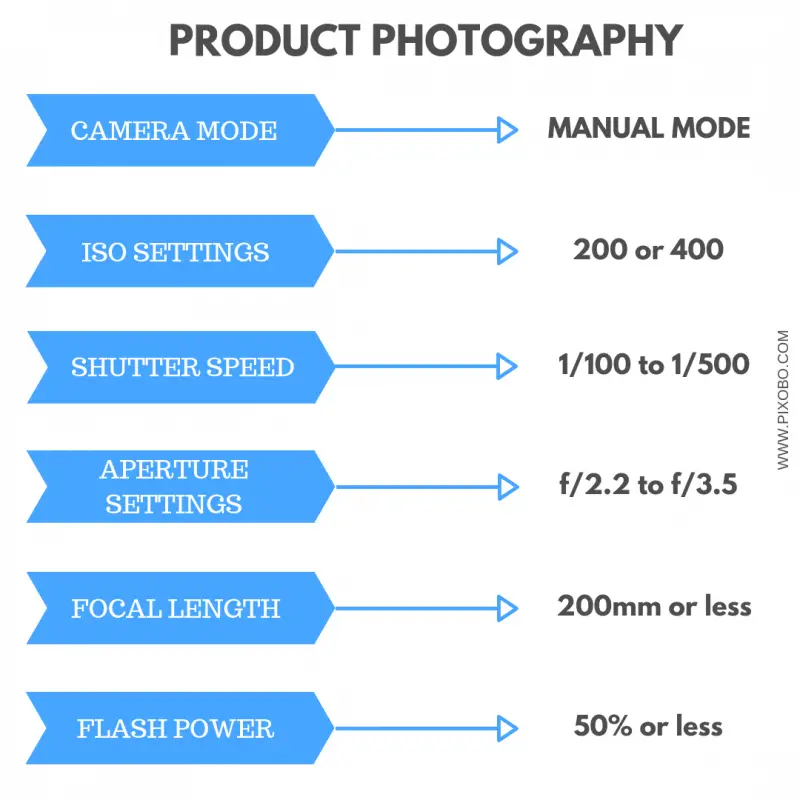
Set your ISO anywhere between 200 and 400. 100 is also usable, but I prefer going a tad higher.
The ideal shutter speed for this kind of photography doesn’t exist. However, a great option is to set it to 1/200 for the beginning. Anywhere between 1/100 and 1/500 is perfect for commercial photography, the first one is for producing brighter photos and the second one for darker photos.
Using SLOWER shutter speeds like 1/60 or 1/30 isn’t a great option.
When it comes to the aperture settings, use anything between f/1.8 and f/5.6. An ideal setting would be from f/2.2 to f/3.5
Set your focal length to 200mm or less to avoid perspective distortion.
The flash power should also be at half. Be sure to experiment with it, but never go with full power.
Fashion/Editorial Photography
Editorial photography is one of the most lucrative photography niches. With that in mind, you need to know what settings to use in order to achieve the desired results. Remember – these photos are going to be in magazines and newspaper!
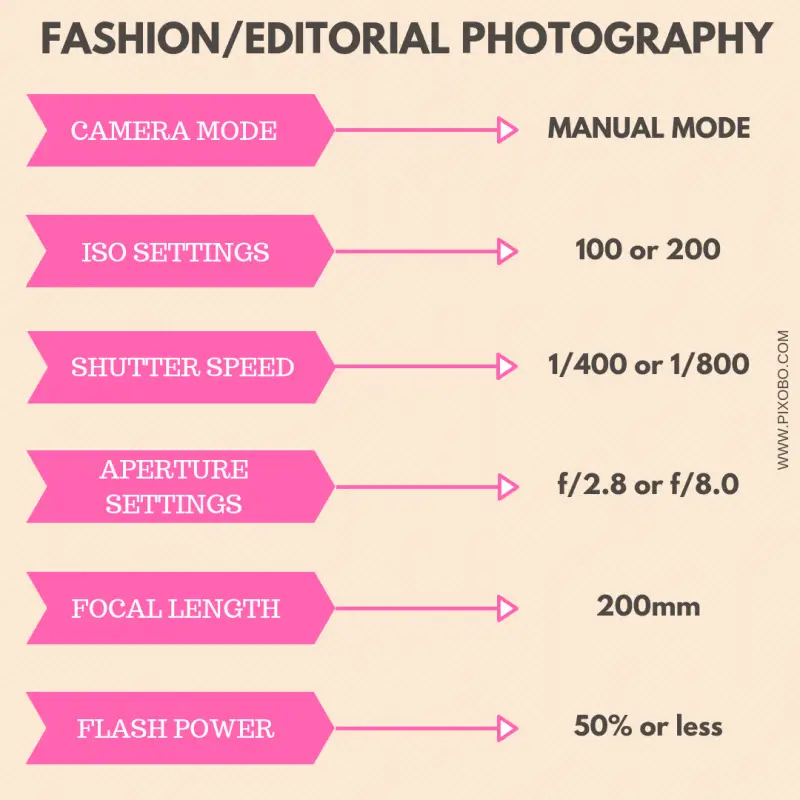
Use lower ISO speeds like ISO100 or even ISO400, but don’t go higher than that.
Use higher shutter speeds like 1/400 or 1/800. Anything higher than that will result in a blurry photo and that’s not what we want, especially in this photography niche.
The aperture settings can differ, but not much. Ideally, you don’t want it to go over f/10 or under f/1.8. Settings like f/2.8 and f/8.0 will produce the best results.
Don’t go too extreme with your focal length. Again, 200mm should be more than good, but you can go lower, depending on the distance between you and the subject.
The flash is mandatory, but not at its full power. Instead, set it to a half or even less.
Food Photography
In food photography, it’s all about those tiny details and angles. Snapping a food at a right angle is crucial, but those camera settings are more important. Let’s see what you should think about.
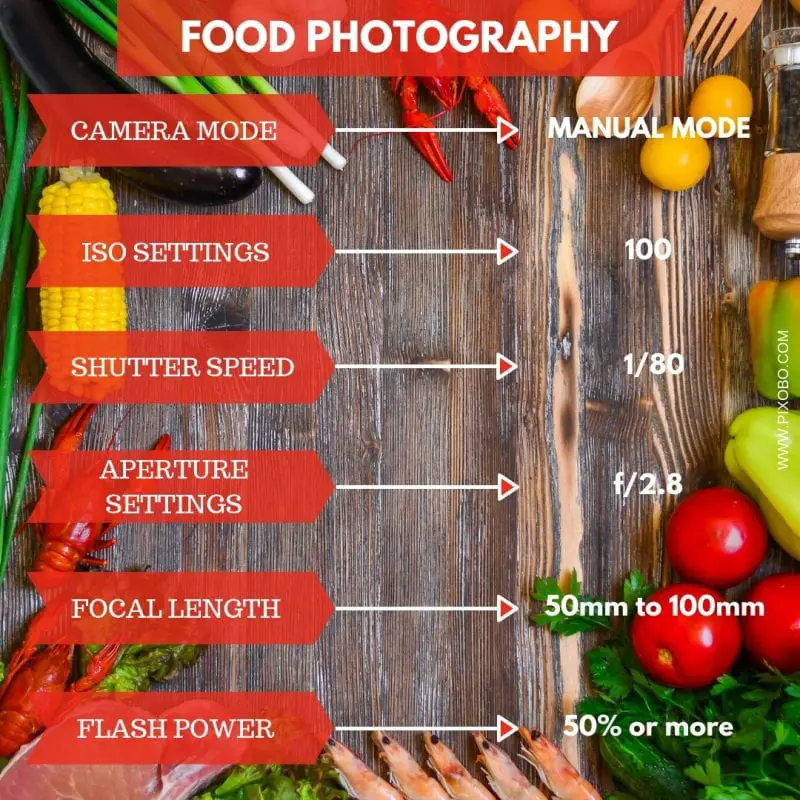
Set your ISO speed to 100. This is the perfect setting for food photography, given the proper light. Alternatively, you can bump it to 200, but 100 is still a bit better.
The shutter speed isn’t that important here, but using a bit lower speed is preferable. Set your shutter speed to 1/80, as this setting is proven to give the best results for this kind of photography.
Aperture settings should include a lower F-stop number. Ideally, you want to keep it under f/3.5. Set it to f/2.8 if you want to catch those nice details.
Focal length should be 50mm to 100mm, depending on the distance. As you usually capture food from the close range, you can easily set it to 50mm.
Don’t go too low with the flash power. Set it to half or even more.
Action Photography
If you have to shoot a moving subject, especially a subject that’s moving at a high speed, your camera settings are going to be extremely different from the other studio photography types. This one requires different settings, which we’ll mention below.
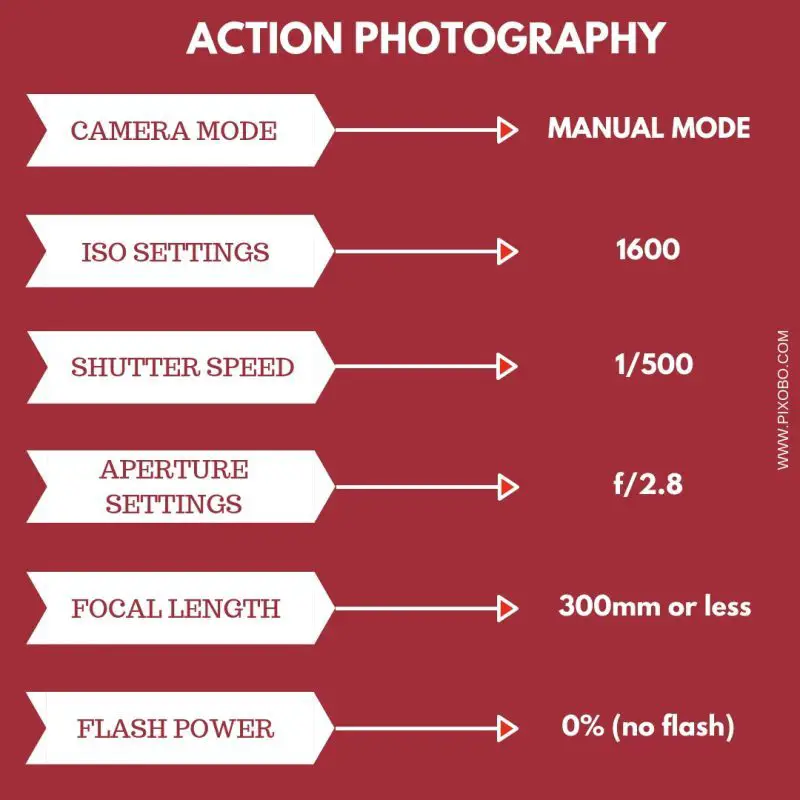
To capture fast-moving targets, you should increase your ISO…drastically! Everything above ISO2000 will do great, depending on the light. In a studio, you can always have perfect lighting conditions, so you can use ISO1600 setting. That’s an ideal setting to start with.
As for the shutter speed, you must go high. Set your speed to 1/500 of a second. That’s the ideal option for a studio photo shoot. Higher than that will give you some blur.
The ideal aperture setting is anywhere between f/2.8 to f/5.6. Ideally, you want your aperture to have a lower F-stop number and the best number to start is f/2.8.
Focal length should be 300mm or less depending on the scene.
Don’t always use your flash. If you’re far from the subject, it’s practically useless. If you use it, set it at half of the power.
Tips and Tricks for Studio Photography
Here are some additional tips and tricks for studio photography:
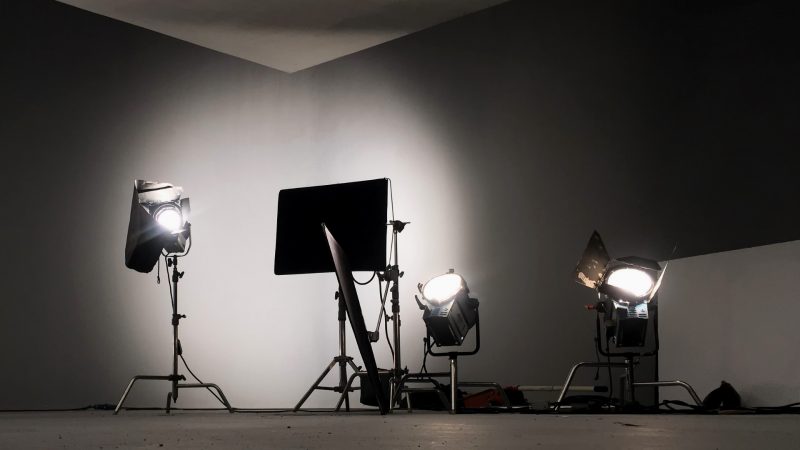
Use Additional Lighting Sources
Use a diffuser. It has a purpose that’s very important for indoor photographs and that’s evenly spreading the light. From there, we have two variants of diffusers – softbox and umbrella diffuser.
A softbox is usually the most used solution, producing the best results overall. It’s also quite bigger than an umbrella diffuser, but with much better light diffusion, thanks to a reflecting silver layer.
On the contrary, this is a more expensive option and to put it to best use, you should have two of them. Umbrella diffuser is less robust, it’s easier to carry around, and still does a decent job. It works in a whole different way. The light is pointed towards the inner side of the umbrella, reflecting back of the inner side.
Since the light has the freedom to “move” outside of the umbrella, the amount of light scattered is increased. You can, however, compensate for it by bringing it closer to the subject.
Use Remote Flash Triggers
Many professional photographers use wireless flash triggers and for a reason. It’s much more reliable and decreases the chance of physical obstructions preventing it from working properly. Just connect your transmitter to the flash shoe on your camera and your receiver to the studio flash.
Use Reflectors
Having to shoot your photos without the reflector is like having to drink a hot beer. You can still drink it, but the taste is just awful. Reflectors are vastly used in studios around the world and they are here to brighten up the shadows.
Furthermore, photographers use it to reflect the light onto the subject, which can also be a handy option. The main thing is that there are tons of different reflectors, varying in shape, size, and color. Still, buying a few of them shouldn’t be an expensive investment. And they are important for making the best use of the light.
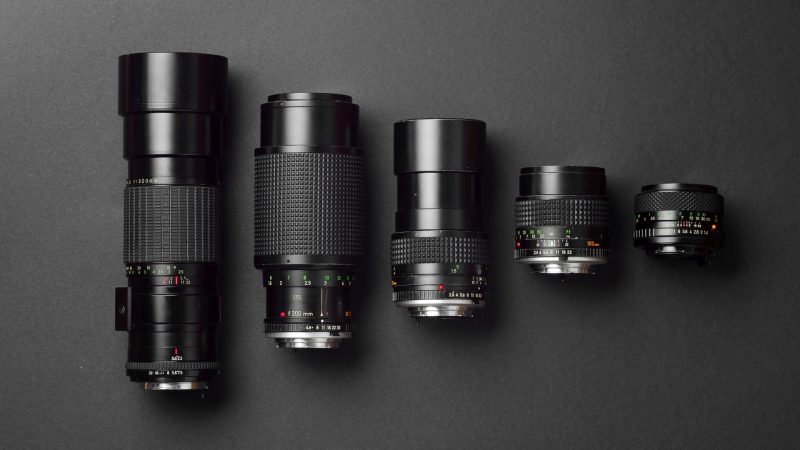
Get the Right Lens
If you have a DSLR or a mirrorless camera, swapping lenses is easier than saying “cheese”. Well, there are tons of lenses out there, each of them having a significant impact on the quality of your studio shots. For example, a wide-angle lens (20mm) is great for capturing a wide angle of view.
On the contrary, there is a telephoto lens which can go up to 100mm, and this one captures a narrow field of view. But, what lens is perfect for studio photography? (On our website you can find lists of the best lenses for Nikon, Canon, Sony and Olympus cameras) In my experience, the best option is everything between 50mm and 200mm (check Recommended Gear page for all options depending on your camera brand).
As you see it all depends on the studio photography type. For action photography, you need to go even higher 300mm or less. There is no ideal lens that you can buy it all depends on what type of studio photography you specialize in.
Experiment
You can’t always get a perfect shot the moment you grab a camera. Experimenting with various lighting conditions, camera settings, environments or even subjects can help you a lot.
The conditions aren’t always perfect, but you can make them perfect by experimenting and improvising, which are some of the reasons I like photography.
Here are some specific examples for experimenting with camera settings: * Try using different aperture settings to see how they affect the depth of field. * Experiment with different shutter speeds to capture motion or freeze time. * Use different lighting conditions to create unique effects. The more mistakes you make, the better photographer you’ll be – simple as that!

Working with Models in Studio Photography
Here are some tips for working with models in studio photography: 1. Communicate clearly with your model about the concept and theme of the shoot. 2. Make sure your model is comfortable and relaxed during the shoot. 3. Provide guidance and direction to help your model pose and express themselves.
Post-Processing Techniques for Studio Photography
Here are some post-processing techniques to enhance your studio photos: 1. Adjust the exposure and contrast to enhance the overall look of the photo. 2. Use the curves tool to adjust the tone and brightness of the photo. 3. Apply a preset or filter to give the photo a unique look.
Troubleshooting Common Issues in Studio Photography
Here are some common issues that may arise in studio photography and how to troubleshoot them:
1. Poor lighting: Check your lighting equipment and make sure it’s set up correctly.
2. Incorrect camera settings: Double-check your camera settings to ensure they’re set correctly for the type of photography you’re doing.
3. Uncomfortable model: Make sure your model is comfortable and relaxed during the shoot.
Glossary of Studio Photography Terms
Here’s a glossary of common studio photography terms:
1. Aperture: The opening of the camera lens that controls the amount of light that enters the camera.
2. Shutter speed: The length of time the camera’s shutter is open, measured in seconds or fractions of a second.
3. ISO: The sensitivity of the camera’s sensor to light. I hope you’ve learned something new because working in a studio can sometimes be a devil’s business.
However, with a bit of experience and lots of effort, you can easily get a hold of how and when to use particular settings. Practice, practice, and more of practice creates perfection.
Related: Top 6 Best Portable Photo Studio Boxes In 2019 | Photo Light Boxes