
Welcome to our comprehensive guide on how to take a good photo. Whether you are just picking up a camera for the first time or you have been snapping pictures for a while, the journey from a simple snapshot to a compelling photograph is not a straight line. It requires practice, curiosity, and a solid set of foundational habits. Below you will find everything you need to start shooting better images right away.
Table of Content
Quick 5‑Step Guide to Start Shooting Better Photos
-
Visualise your shot: Spend a few seconds forming a clear picture in your mind before you press the shutter.
-
Check your lighting: Look for soft, directional light and avoid harsh direct flash whenever possible.
-
Compose deliberately: Use the rule of thirds or leading lines to place your subject.
-
Adjust exposure settings: Set aperture, shutter speed, and ISO to match the scene.
-
Review and edit: After the shoot, crop, balance exposure, adjust white‑balance, and fine‑tune contrast.
How to Take a Good Photo – Visual Planning (A Mental Picture)
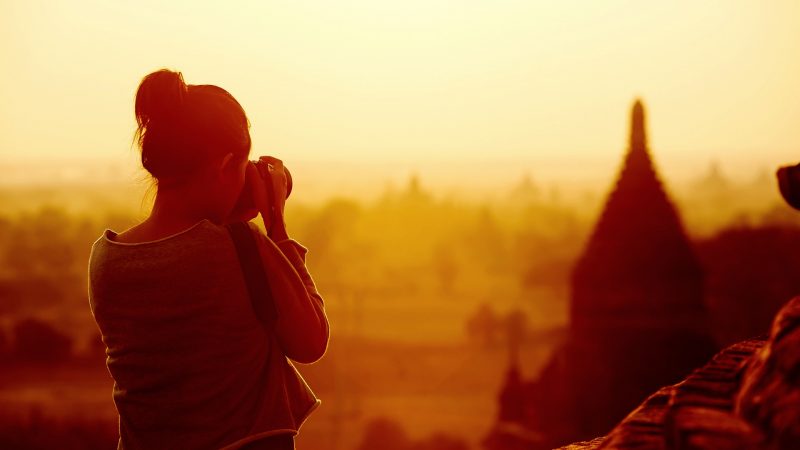
Every strong photograph begins with a clear mental image. Before you lift the camera, spend a moment visualising the final picture: the subject, the background, the lighting, and the emotion you want to convey. This process, sometimes called visual planning, replaces vague references to “meditation” with a concrete step that anyone can practice.
Think of it as a short storyboard in your head. For example, imagine a street vendor at golden hour; you can already sense the warm glow, the texture of the produce, and the angle that will highlight the vendor’s expression. By rehearsing this image, you give yourself a roadmap that guides composition, lighting choices, and camera settings.
Consistently exposing yourself to high‑quality photography – whether through books, online galleries, or tutorials – expands your visual vocabulary. If you need inspiration, read this guide on how can you learn photography on your own. The more diverse images you study, the richer your mental library becomes, and the easier it is to conjure original ideas on the spot.
Example: Before photographing a child playing in a park, picture the child’s smile, the dappled sunlight through the trees, and the low angle that will make the child appear larger than life.
Related: If You Get These 11 Questions Wrong, You Will Have Hard Time With Your Photography Business
How to Take a Good Photo – Creative Composition
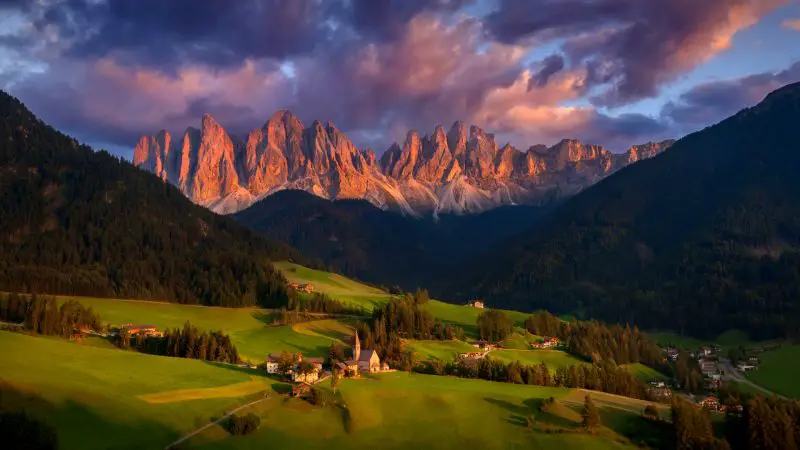
Composition is the arrangement of visual elements within the frame. A well‑composed image guides the viewer’s eye and tells a clear story. Start with the rule of thirds: imagine a grid of two vertical and two horizontal lines dividing the frame into nine equal parts. Place key subjects along these lines or at their intersections for balanced, dynamic shots.
Beyond the rule of thirds, consider leading lines, framing, symmetry, and negative space. For instance, a winding path can lead the eye toward a distant mountain, while a simple background can make a portrait stand out.
Depth of field – the zone of sharp focus extending in front of and behind the subject – also influences composition. A shallow depth of field (background blurred) isolates the subject; a deep depth of field keeps everything sharp, useful for landscapes.
Example: When photographing a coffee cup on a table, place the cup at a third‑line intersection and let the steam act as a leading line toward the top‑right corner.
For a deeper dive into compositional elements, explore what are the elements and principles of photography. Also, read about the difference between shape and form in photography.
How to Take a Good Photo – Perfect Lighting

Lighting is arguably the most decisive factor in a photograph’s quality. Soft, directional light adds dimension and reduces harsh shadows, while flat lighting can make a scene look dull. Whenever possible, shoot during the “golden hour” – roughly one hour after sunrise or one hour before sunset – when light is warm and diffused.
For indoor work, avoid the built‑in flash because it flattens the scene and can cause red‑eye. Instead, use an indirect flash or bounce the light off a white ceiling or reflector. This creates a more natural illumination and preserves detail.
Example: While photographing a product on a table, position a softbox at a 45‑degree angle to the right; the gentle shadows will reveal texture without overwhelming the subject.
Remember, good lighting is the foundation that lets all other elements shine.
How to Take a Good Photo – Right Exposure Settings
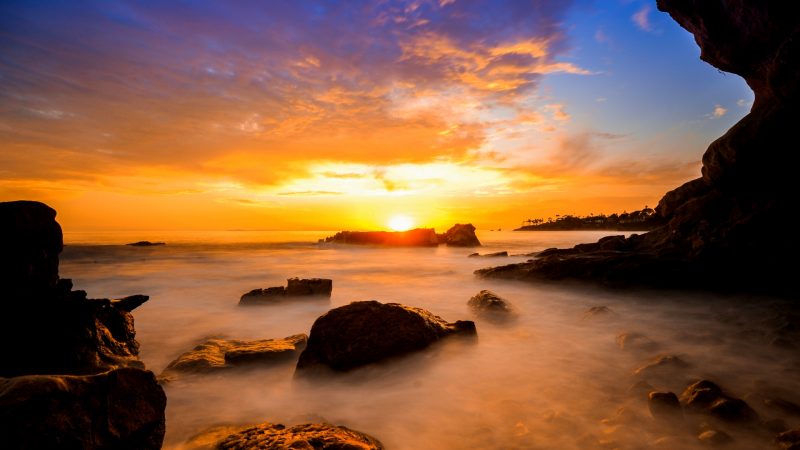
Exposure determines how light or dark an image appears. It is controlled by three inter‑related settings:
-
Aperture: The opening in the lens that regulates light flow. Expressed as an f‑number (e.g., f/2.8). A lower f‑number yields a wider opening, more light, and a shallower depth of field.
-
Shutter speed: The length of time the sensor is exposed to light, measured in fractions of a second (e.g., 1/250 s). Faster speeds freeze motion; slower speeds capture motion blur.
-
ISO: The sensor’s sensitivity to light. Lower ISO (e.g., 100) produces cleaner images; higher ISO (e.g., 1600) adds noise but allows shooting in dim conditions.
Balancing these three elements—often called the “exposure triangle”—lets you achieve the desired brightness while controlling depth of field and motion.
Example: For a portrait in soft daylight, you might choose f/2.0 (shallow depth), 1/200 s (to avoid hand‑shake), and ISO 100 (clean image).
Related: shutter speed and ISO articles provide deeper insight. Also see ISO In Photography: Fake Or The Real Deal?.
How to Take a Good Photo – Do the Dirty Work
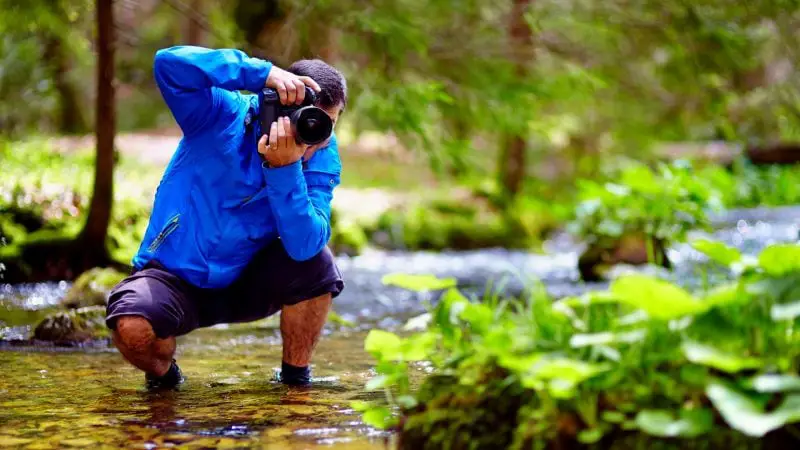
Great photos often require you to get out of your comfort zone and physically position yourself for the optimal angle. Here are three concrete actions you can take:
-
Kneel or crouch: Lower your eye level when shooting children, pets, or low‑lying subjects to create a more intimate perspective.
-
Lie on the ground: For dramatic foreground interest (e.g., a flower field), lying flat lets you capture the scene from a unique, eye‑level viewpoint.
-
Use a ladder or step stool: When you need a higher viewpoint—such as photographing a crowd from above—climbing safely gives you that elevated angle without compromising stability.
These physical adjustments are often more effective than digital cropping later. They also demonstrate professionalism to clients who expect you to go the extra mile for the perfect shot.
Beyond positioning, consider joining local or online photography clubs. Volunteering to help with gear, lighting, or logistics accelerates learning and expands your network. For mentorship opportunities, read find your perfect photography mentor.
How to Take a Good Photo – Get Close to Your Subject
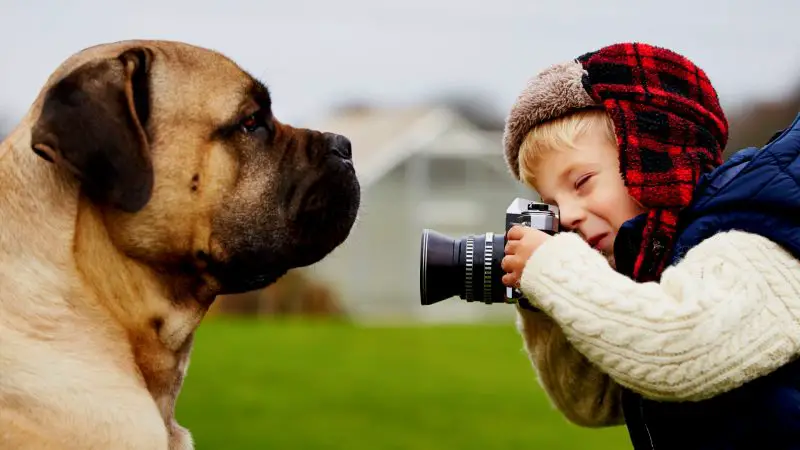
Physical proximity often yields more detail, stronger connection, and better use of your lens’s capabilities. Instead of relying solely on zoom, move closer whenever the situation permits. This reduces reliance on digital zoom, which can degrade image quality.
For portrait work, stepping within a few feet of the subject allows you to capture subtle facial expressions and textures. In wildlife or sports photography, approach only when safety and ethics allow; otherwise, use a longer focal length.
Example: When photographing a vintage car, walk up to the hood to capture the grille’s intricate design rather than pulling back and zooming.
How to Take a Good Photo – Clarity and Focus
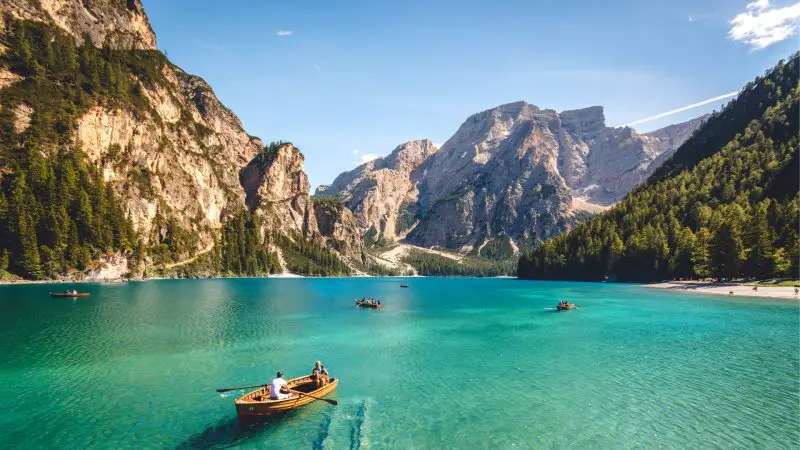
Sharpness is essential; a blurry image rarely conveys professionalism. Ensure the camera’s focus point is on the most important part of the scene—usually the eyes in a portrait or the primary subject in a still life.
Common causes of softness include camera shake, incorrect focus mode, and low shutter speeds. Use a tripod for stability, select single‑point autofocus for precise control, and keep shutter speeds at least as fast as the reciprocal of your focal length (e.g., 1/200 s for a 200 mm lens).
Example: When shooting a flower, lock focus on the petal’s edge; a shallow depth of field will render the background creamy while keeping the petal razor‑sharp.
How to Take a Good Photo – Gear and Equipment
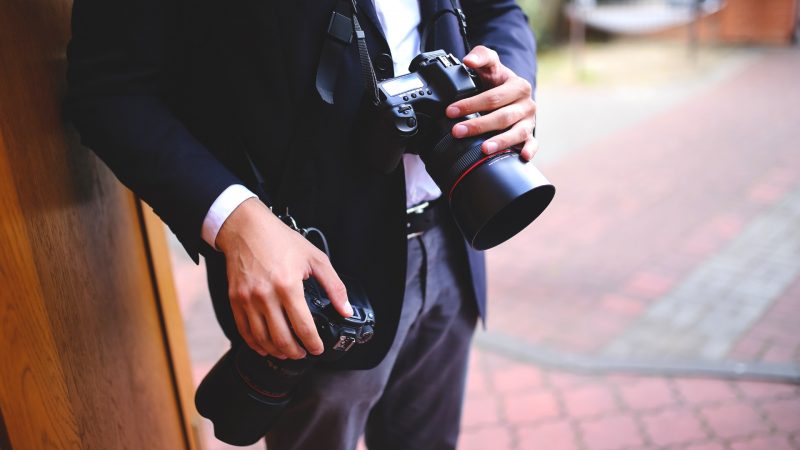
Understanding your gear inside‑out is a cornerstone of confidence. Know how to change aperture, shutter speed, ISO, and shooting mode without looking at the manual. Practice setting up your camera in low‑light conditions so you can do it by feel.
A sturdy tripod is indispensable for low‑light, landscape, and macro work. It eliminates camera shake and allows you to use slower shutter speeds without compromising sharpness. For a curated list of reliable options, see our article on best tripods for photography.
If budget permits, upgrade to a lens with a wider maximum aperture (e.g., f/1.8) for better low‑light performance and shallower depth of field.
Related: What A Photographer Needs To Get Started?
How to Take a Good Photo – Mind the Background

The background can either enhance or ruin an otherwise great subject. Before you shoot, scan the scene for distracting elements such as poles, trash, or stray animals. Simple adjustments—shifting your angle, changing your distance, or using a shallow depth of field—can eliminate unwanted clutter.
Example: While photographing a model on a beach, move a few steps left to exclude a bright beach umbrella that competes for attention.
For more on common pitfalls, read most common phone camera mistakes everyone does.
How to Take a Good Photo – Avoid Motion Blur
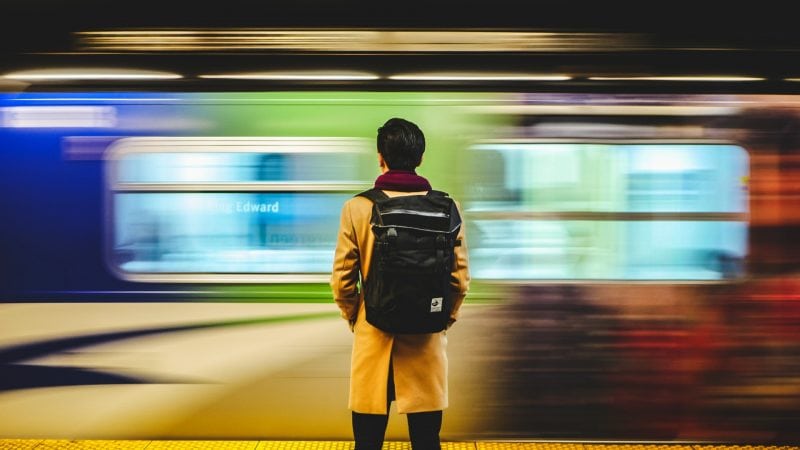
Motion blur occurs when either the subject or the camera moves during exposure. To freeze motion, use a fast shutter speed that is at least the reciprocal of the focal length (e.g., 1/200 s for a 200 mm lens). If your lens has image stabilization (OS, VC, VR, IS), enable it to compensate for small hand movements.
When shooting fast‑moving subjects like athletes, aim for shutter speeds of 1/1000 s or faster. For intentional creative blur, slow the shutter and use a tripod.
Example: To capture a sprinter’s stride, set the shutter speed to 1/2500 s and focus on the runner’s leading foot.
Related resource: Motion blur and set the shutter speed.
How to Take a Good Photo – Shoot Lots of Images
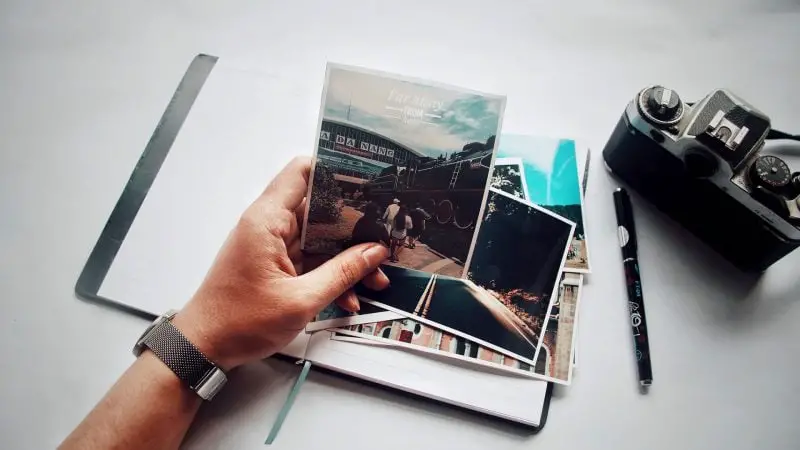
Practice is the engine of improvement. Aim to capture at least thirty images each day, experimenting with different angles, lighting conditions, and subjects. Carry your camera everywhere—whether you’re waiting for a bus or strolling through a market—so you never miss a spontaneous moment.
Review your shots regularly. Identify patterns in what works and what doesn’t, then adjust your technique accordingly.
<span data-mce-type=”bookmark” style=”display: inline-block; width: 0px; overflow: hidden; line-height: 0;” class=”mce_SELRES_start”></span>
How to Take a Good Photo – Edit with Care

Post‑processing transforms a good raw capture into a great final image. Follow this basic editing checklist:
-
Crop: Remove distracting edges and improve composition.
-
Adjust exposure: Fine‑tune brightness and contrast to reveal details.
-
Set white balance: Ensure colors look natural; correct any color casts.
-
Enhance contrast and clarity: Add depth and make textures pop.
-
Sharpen selectively: Apply sharpening to the main subject while protecting the background.
Start by shooting in the RAW format to retain maximum data. RAW files give you latitude to adjust exposure, white balance, and color without degrading image quality. For beginners, tutorials on shooting in RAW for beginners are invaluable.
If you prefer a professional touch, consider a photo‑retouching service. However, learning the basics in software like Photoshop will empower you to make quick adjustments yourself.
Related: do photographers edit their photos and Outsourcing Photo Editing Services For Photographers Debunked.
Finally, print your best work at a size that allows viewers to explore fine details; large prints often make a stronger visual impact.
How to Take a Good Photo – Photograph People Confidently
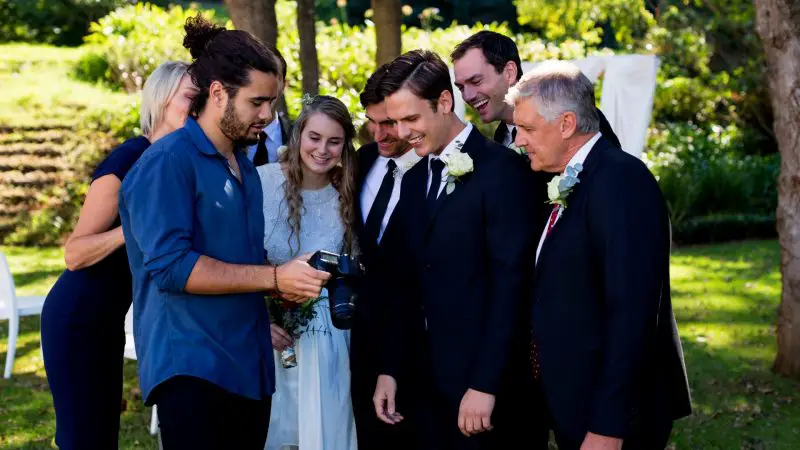
People photography introduces variables such as movement, expression, and unpredictable lighting. Build rapport quickly, give clear directions, and be ready to capture candid moments. When shooting on the street, respect privacy and be unobtrusive.
Explore different genres—travel, night, or creative styles—by checking out travel photography, night photography, and our creative photograph styles.
Example: While photographing a street performer, use a fast shutter speed (1/1000 s) to freeze motion, and a slightly wide aperture (f/2.8) to blur the bustling background.
Key Takeaways
-
Visual planning before you shoot creates a clear roadmap for composition and lighting.
-
Master the exposure triangle (aperture, shutter speed, ISO) to control brightness and depth of field.
-
Good lighting—natural or well‑controlled artificial—makes the difference between a flat and a vibrant image.
-
Physical positioning (kneeling, lying down, using a ladder) often yields the most compelling angles.
-
Post‑process with a systematic workflow: crop, adjust exposure, set white balance, enhance contrast, and sharpen.
Conclusion – The Top Five Tips to Remember
When you are short on time, focus on these five core principles to consistently improve your photography:
-
Visual Planning: Form a mental picture before you shoot.
-
Composition: Use the rule of thirds and manage depth of field.
-
Lighting: Seek soft, directional light and avoid harsh flash.
-
Exposure: Balance aperture, shutter speed, and ISO for the right brightness.
-
Post‑Processing: Follow a clear editing checklist to polish your RAW files.
Apply these fundamentals, practice daily, and you will see measurable progress in the quality of your photographs.
FAQ
Q: How can I improve lighting when shooting indoors without expensive equipment?
A: Use natural light from windows, diffuse it with a white sheet or curtain, and bounce any supplemental flash off a ceiling or reflector.
Q: What is the best way to learn the rule of thirds?
A: Enable the grid overlay on your camera or smartphone, then practice placing subjects at the intersecting points until it becomes instinctive.
Q: When should I use a high ISO versus a slower shutter speed?
A: Increase ISO when you cannot open the aperture further and need to maintain a fast shutter speed to avoid blur. Use slower shutter speeds for static subjects with a tripod.
Q: Is it necessary to edit every photo I take?
A: Not every image needs heavy editing, but a quick crop and exposure tweak can often elevate a good shot to great.
Glossary
-
Aperture: The opening in a lens that controls how much light reaches the sensor; expressed as f‑numbers.
-
Shutter Speed: The duration the camera’s sensor is exposed to light; faster speeds freeze motion.
-
ISO: The sensor’s sensitivity to light; higher ISO adds brightness but can introduce noise.
-
Depth of Field: The range of distance within a photo that appears acceptably sharp.
-
RAW Format: An uncompressed image file that retains all data captured by the sensor, allowing extensive post‑processing.
-
White Balance: Adjustment that ensures colors appear natural under different lighting conditions.
Now that you have a solid toolbox of tips, it’s time to put them into practice. Grab your camera, step outside, and start shooting. Remember, the best way to improve is to keep shooting, reviewing, and refining.
Photography is an awesome art. It blends science and creativity. Your mistakes are simply stepping stones toward mastery. Keep practicing, keep learning, and most importantly, keep capturing the moments that matter to you.
Go take that picture!