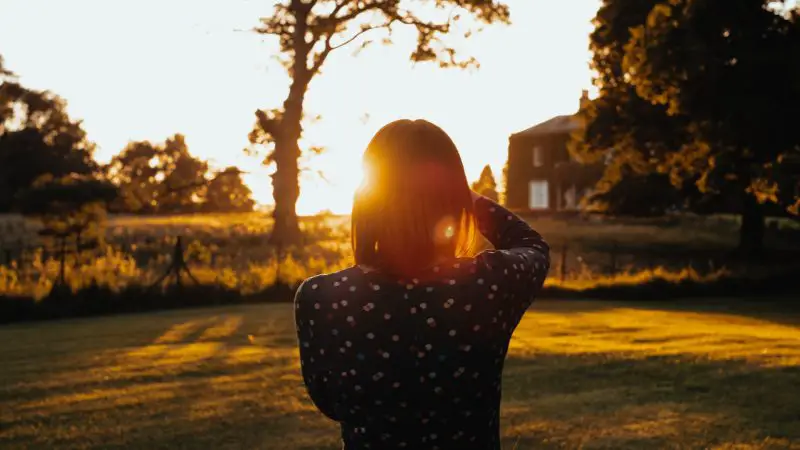
Perfect lighting with the right composition skills can create wonders in photography. The professional photographers try to use natural light as much as they can in their photoshoots for magical and outstanding results. If you want to capture an image like a professional using natural light, you need to have a clear understanding of the perfect intensity and angle of natural light.
We cannot control the natural light in the outdoor shoot and that’s why there is a need to select the perfect time and place to get brilliant outcomes. The photographer calls this time the golden hour or magic hour of photography.
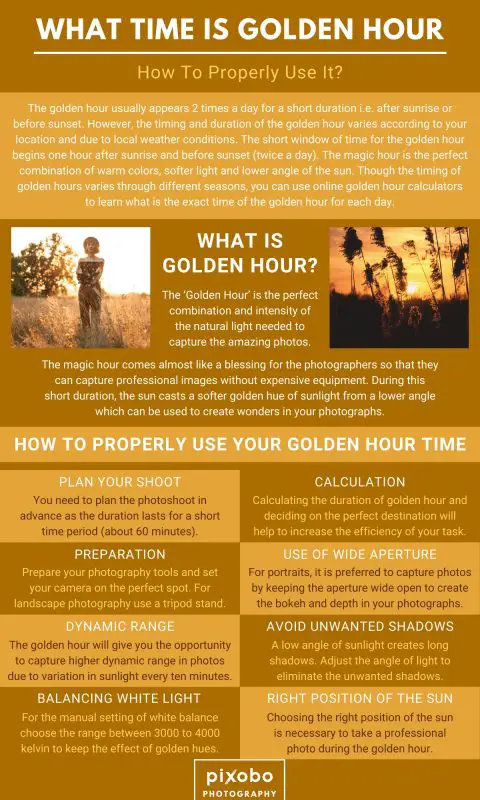
What time is golden hour? The golden hour usually appears 2 times a day for a short duration i.e. after sunrise or before sunset. However, the timing and duration of the golden hour varies according to your location and due to local weather conditions. The short window of time for the golden hour begins one hour after sunrise and before sunset (twice a day). The magic hour is the perfect combination of warm colors, softer light and lower angle of the sun. Though the timing of golden hours varies through different seasons, you can use online golden hour calculators to learn what is the exact time of the golden hour for each day.
Some places show exceptionally long sunrises or sunsets due to their distance from the equator. Plan your photoshoot in advance according to your destination if you want outstanding results.
Deciding what is the perfect position of the sun around the subject will help you to produce the desired light effect aligned with your desired photography theme.
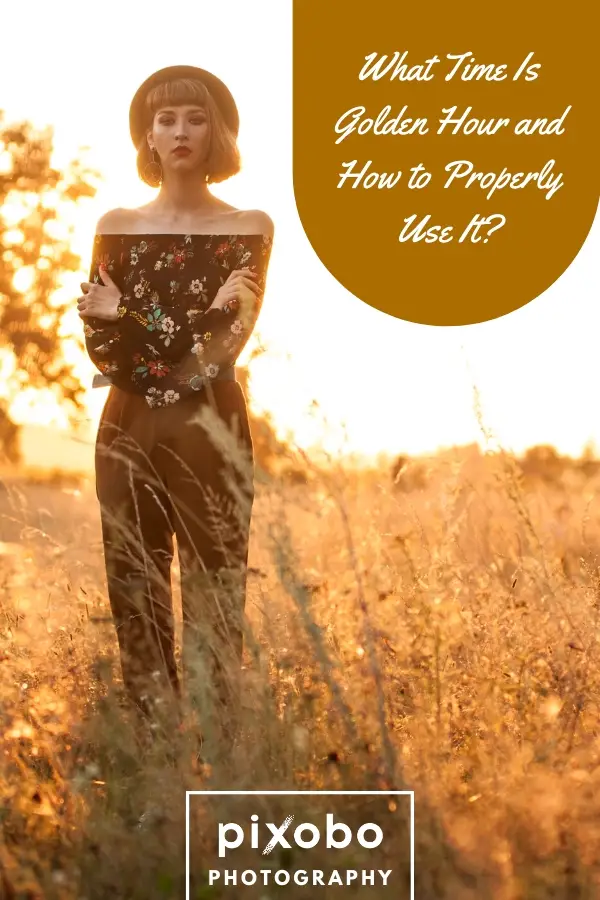
In the following sections, we have given you a detailed guide about photography during the golden hour, how to use it and we also provided some pro tips about photography in combination with the golden hour. Further, we will show you how to also fake golden hour (yes even that is possible). Let’s begin!
Table of Content
What is Golden Hour?
No doubt the outdoor photoshoots can be a challenging task for you if you do not know how to use natural light in your photography. This does not mean you can’t take a spectacular photograph using natural light but it is certainly harder if you don’t use the golden hour.
Nature has given us a gift in the form of the golden hour which is also the most magical hour for photographers with the perfect characteristics of light that are necessary to take amazing photographs.
So, what is golden hour? The ‘Golden Hour’ is the perfect combination and intensity of the natural light needed to capture the amazing photos. The magic hour comes almost like a blessing for the photographers so that they can capture professional images without expensive equipment. During this short duration, the sun casts a softer golden hue of sunlight from a lower angle which can be used to create wonders in your photographs.
You can play with different ideas by using the low horizon directional sunlight to create something extraordinary. Practice a lot and capture photographs from different angles for outstanding results.
The timings and the duration of the golden hour depend on your location and weather conditions. Usually, the duration of the golden hour is around one hour (the first hour after the sunrise and the last hour before the sunset). The duration of the golden hour will be shorter if your location is closer to the equator and vice versa.
Characteristics of Natural Light in Golden Hour
No doubt the golden hour is perfect for photography for both professionals and beginners due to its amazing characters and impeccable properties. But what makes it so perfect?
• Softer or Diffused Light
The greatest perk of the golden hour is the superb intensity of that light that the sun casts for a short duration during this one hour time period. At this time, sunlight is not harsh and nature provides innate filters or diffusers to create a softer light effect on the subject and also eliminates the dark shadows. The harsher sunlight will blow away the details and focal points of your photographs.
• Perfect Position of the Sun
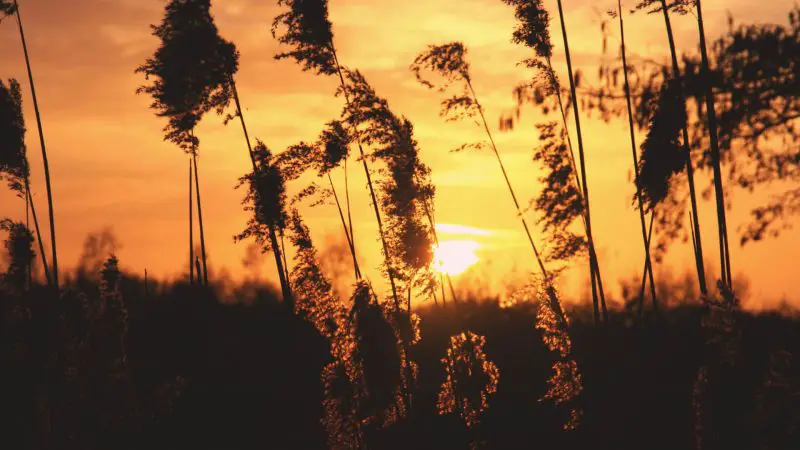
During the golden hour of photography, the sun is at a lower angle, a few degrees above the horizon which produces the softer light effect and long shadows. The light tends to scatter in different colors (in yellow and orange color spectrum ranges) when it passes through the atmosphere.
You will record the magical warm glow of orange, yellow and red colors in your photographs. The magic hour of photography is called the golden hour due to this yellow range of temperature that the sun emits on the subject during dawn and dusk.
• Directional Sunlight
Due to the lower angle of the sunlight, the light falls on the subject from either side i.e. from the front, back or sides. You can adjust the direction of the sunlight, according to the theme of your photoshoot.
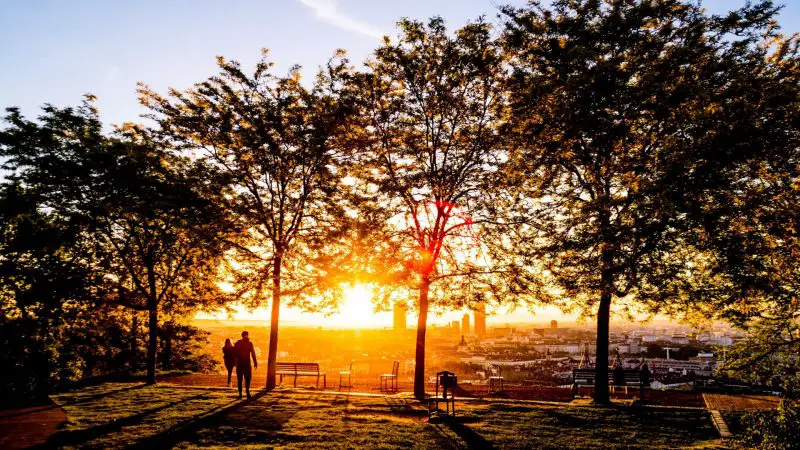
• Softer Shadows
The diffused and softer light will help you to create softer and longer shadows. With the long shadows in your photographs, you can produce a three-dimensional effect to your images. This gives a depth, vibrancy, beautiful texture and a warmer expression to your photographs.
When Is Golden Hour? | Golden Hour Calculator
We cannot determine the exact golden hour time and duration as it varies with the weather conditions, location or with your time zone. The easiest way to calculate the golden hour of your location is the online golden hour calculator.
You can also check the local time of sunset or sunrise and weather conditions to plan your outdoor photoshoot. The duration of the golden hour lasts roughly for an hour before sunset and after sunrise.
When Should You Use the Golden Hour Photography?
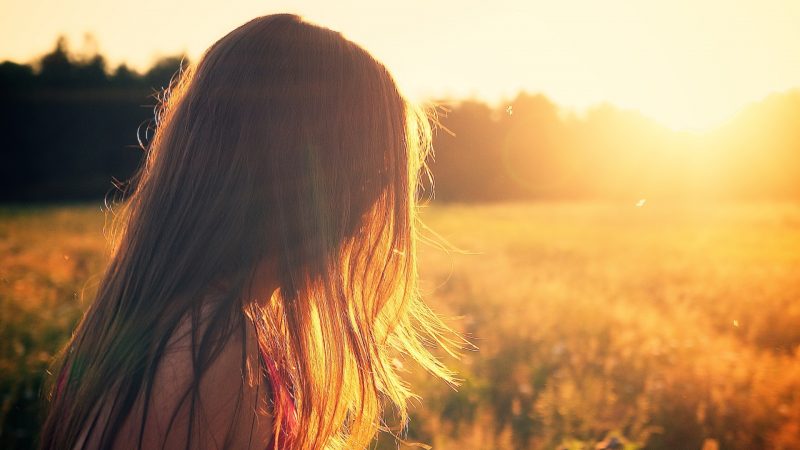
The golden hour photography is considered the best and the most economical option for professional photography. It is highly recommended if you want to cover landscapes or if you are planning to take portraits or still life photos.
The warmer and softer effect of the sunlight will give depth and vibrancy to your photographs. You can also use the magic sunlight coming from a window to take good golden hour selfies.
How to Properly Use Your Golden Hour Time: Instructions
There are some steps that you should keep in mind when doing a photoshoot during the golden hour photography.
Step 1 – Plan Your Shoot

If you are planning to take advantage of the golden hour for landscape or portrait photography, you need to plan the photoshoot in advance as the duration lasts for a short time period (about 60 minutes).
You may need to set up the camera and prepare the location or spot ahead of time to get the most out of it. Be well prepared and do proper planning to minimize the wasted time.
Step 2 – Calculate the Duration of the Golden Hour
Calculating the duration of golden hour and deciding on the perfect destination will help to increase the efficiency of your task. You can use online calculators and other tools to find the magic golden hours for your photoshoot.
After calculating time and location, plan the photoshoot in accordance to the available time. Keep in mind the duration of the golden hour can be longer or shorter depending on your distance from the equator.
Step 3 – Prepare Tools and Set Camera in Advance
After planning, prepare your photography tools and set your camera on the perfect spot. For landscape photography use a tripod stand (if you are planning to go for a long time exposure). If you want to use the magic of from the golden hour for an indoor shoot, use a large window for gorgeous light exposure on the subject.
The cameras have a built-in option of spot metering, which helps to determine the exposure settings of the scene. You can adjust the metering mode of your camera for the desired outcomes.
Step 4 – Use of Wide Aperture
It does not matter if you are a beginner or a professional photographer, the golden hour gives you the opportunity to capture impeccable photographs in either case. For portrait photography, it is preferred to capture photos by keeping the aperture wide open to create the bokeh and depth in your photograph.
If you are a beginner, you can set your camera in Aperture Priority mode to determine the best shutter speed for photography. You may need to narrow down your aperture to shoot landscapes or architecture images to capture details of the subject.
Step 5 – Dynamic Range of the Colour Spectrum
The golden hour will give you the opportunity to capture the dynamic range of images due to variation in sunlight every ten minutes. It also depicts that you need to keep an eye on the theme of your photographs and if you want a constant range.
Keep your shooting pace fast for multiple images at a similar range of hue or you can also take wonderful photographs with different light effects.
Step 6 – Avoid Unwanted Shadows
A low angle of sunlight creates long shadows. In portrait photography, you may be faced with the problem of unwanted long shadows of different objects. Adjust the angle of light to eliminate the unwanted shadows.
Step 7 – Balancing White Light
Adjust the white balance to avoid the neutralizing effect of white light with golden hues of sunlight. For the manual setting of white balance choose the range between 3000 to 4000 kelvin to keep the effect of golden hues in your photographs.
Taking raw photographs is the best option to avoid the problem of setting the wrong white balance. You can edit your raw images later for the desired results.
Step 8 – Choose the Right Position of the Sun
The right position of the sun is necessary to take a professional photo in the golden hour.
• Side Light

The sidelight is preferred for portrait photography. The side light falling on the subject will create a dreamy effect, beautiful depth and well-defined texture. Due to the softer light, the shadows will not be harsh when seen in the photo.
• Front Light and Backlight
For taking photographs other than portrait mode, sunlight should fall on the subject from the front side. You can use the backlight to give a magical glow and an artistic effect to your photographs. The bright lighting in the dark background is used to create a halo effect around the subject.
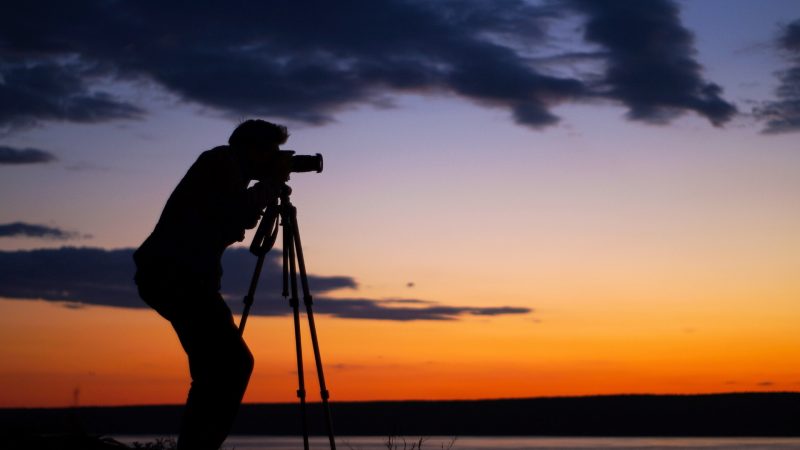
• Silhouette
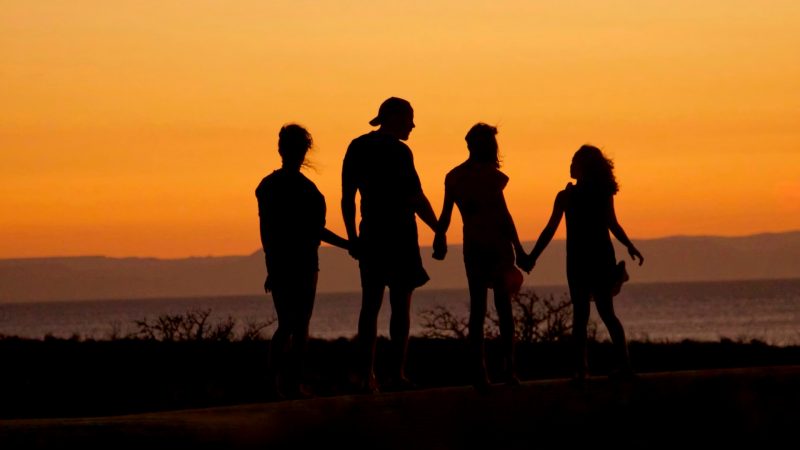
The golden hour can be effectively used to create impeccable silhouettes. The effect is created when there is a dark subject and an illuminated background with a golden hue.
It gives a beautiful depth and a dreamy look to your photographs. To capture a silhouette keep the focus on the subject and adjust the exposure for a brighter background.
• Flare
In your photographs, you can also create flares for a refreshing rainbow-like effect and other deep effects. The flares are produced in your image when light directly hits your lens. You can use them for experimentation and for creating an interesting factor in your photographs.
How to Fake Golden Hour?
The golden hour is an excellent gift of nature for photographers. However, if you cannot take advantage of this magic hour due to poor weather conditions or other inevitable reasons. Then we have pleasant news for you because you can also fake golden hour in your photos.
Photographers can use different camera supports like flashes, gels, diffusers or reflectors to create desired effects in the photographs. You can also take raw images and then you may edit (post-processing) them using different software and create a golden hour effect.
Summary
The golden hour is the best time to take photos because it creates a magical and dreamy effect in your photos. The golden hour or magic hour in photography is the time duration one hour before the sunset and after the sunrise. However, the duration and the exact time of the golden hour vary according to your location, weather conditions and time zone.
Different apps and online calculators are available online to measure the exact golden hour time of a specific location. Whether you are a professional or a beginner, it is recommended to take landscape and portrait photoshoots during golden hours.
It will create depth, beautiful texture, vibrancy and a dreamy effect in your photos. You need to plan in advance to use the short duration of this magic hour effectively to capture gorgeous photos.
The soft light, low sun angle and warm temperature will help you take the best photos of your life. You can also play with the light effects by adjusting the position of sunlight according to your desired theme.
However, if you do not get the opportunity to shoot in the golden hour due to weather conditions or other unavoidable reasons. In that case, you can fake the effect of the golden hour by using the different camera accessories or post-processing software to edit raw photographs.
We hope our guide and tips have helped you to understand golden hour photography and how to use it to your advantage. If you liked our content please keep following our site for more photography related content!