Creative beach photography is both fun and challenging. Aside from having lots of options for the subject, you can also experiment with your camera using different strategies. On the other hand, the weather will challenge your creativity and patience.
So without further ado, here are 15 helpful tips when taking photos on a beach.
Table of Content
15 Creative Beach Photography Tips
1. Bring Different Kinds of Lenses
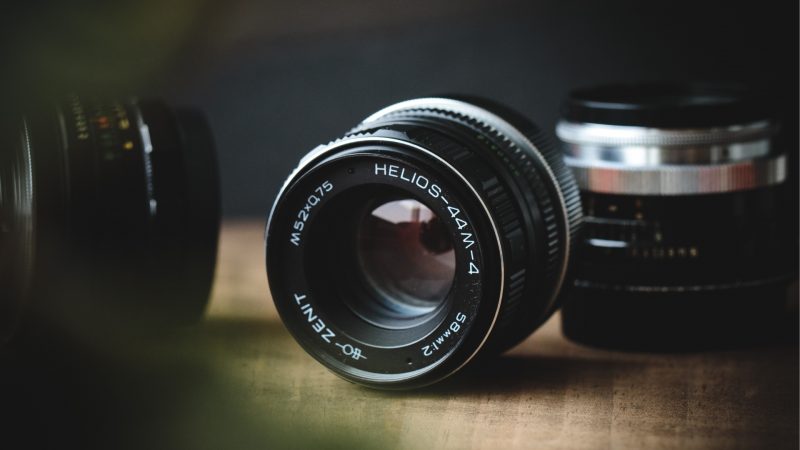
Beach photography does not limit your creativity and imagination. Therefore, don’t hesitate to bring different kinds of camera lenses, as long as you know their uses.
The two ideal lenses for taking photos on a beach, especially with strong tides, are as follows:
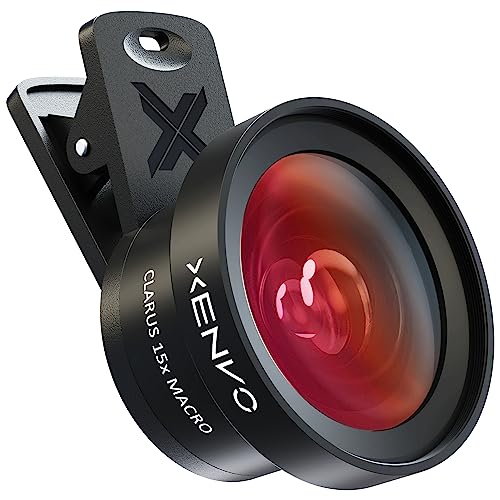
- ✔ COMPATIBLE WITH ALL SMARTPHONES, TABLETS, and LAPTOPS including ALL iPhone models, Samsung Galaxy and Note, Google Pixel, Huawei and more. CONTENTS INCLUDE: TruView 0.45x Wide Angle Lens, Clarus 15x Macro Lens, TruGrip Lens Clip, GlowClip Mini Rechargeable LED Light + Charging Cable, Quick-Release Lanyard, DuraCase, EasyClip, and Cleaning Cloth.
- ✔ TRUVIEW 0.45x WIDE ANGLE LENS - CAPTURE 45% MORE PICTURE WITH EVERY SNAP: Shoot stunning photos of people, pets, travel scenery, landscapes, architecture, selfies and more. NO DARK CORNERS (vignetting) like cheaper lenses. Crafted from aircraft-grade aluminum and premium optical glass for durability and clarity. Multi-element, coated glass lenses minimize ghosting, reflections, lens flare, and other artifacts. Xenvo cell phone lens attachment is ideal for hobbyists and photography pros alike.
- ✔ CLARUS 15x MACRO LENS - MARVEL YOUR SENSES. MAGNIFY NEARBY SUBJECTS FOR BREATHTAKING, SUPER CLOSE-UP PHOTOS: Capture all the intricacies and details with precision-focus for razor crisp macro photos every time. (For best results, position macro lens approximately 1/2 inch from subject. Not designed for zooming in on distant subjects.) THE TRUGRIP LENS CLIP offers SUPERIOR GRIPPING POWER to fasten your lenses to your cell phone when you're in action mode, framing your next perfect shot.
If you prefer shooting landscapes or mountains, use a wide-angle lens so that the foreground will look bigger. Meanwhile, a fisheye lens can bring a new perspective to your images.

- High Power Telephoto Lens - Achieve superior image quality with our 500mm/1000mm f/8 manual telephoto lens for Canon DSLR cameras. The high index, low dispersion multi-coated optical glass assures clear, sharp photos every time.
- EF-Mount Compatibility - Compatible with EF-Mount, this 500mm lens secures to your DSLR with ease, maximizing camera-lens integration for superior picture quality. This feature ensures sharp, detailed shots every time.
- Exceptional Magnification - The 2X Teleconverter doubles the lens power to a groundbreaking 1000mm. Whether you're capturing elusive wildlife, distant landscapes, or celestial wonders, this lens brings your subjects closer than you ever thought possible.
A telephoto lens allows you to capture abstract images and compress the elements of your subject. This means that you can magnify your subject and make it look closer to your camera without disturbing the moment.
Related: How Do Different Camera Lenses Affect Photo Quality
2. Bring Your Lens Hood
Lens hood is very important if you want to take pictures of the sun or have a very strong source of light in front of your lens.
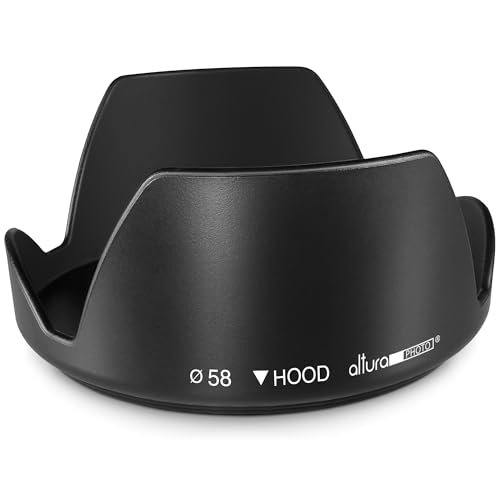
- Screw-Mount Lens Hood for a Secure, Rattle-Free Fit: Unlike clip-on hoods that rely on a separate ring mechanism, this 58mm lens hood threads directly onto your lens for a single-piece connection with no wobbling and no cross-threading. Locked in place, it stays put through active shooting. Events, wildlife, and travel photographers can count on it to stay secure where a shifting hood is not an option.
- Tulip Lens Hood with 360 Rear Locking Ring: Camera lens hood features a built-in rear locking ring that lets you rotate to any position and lock exactly where you need it. Shading control is fully adjustable for any light condition. Most competing hoods clip into a fixed position with no rotation adjustment, making this a meaningful upgrade for shooting in mixed or directional light.
- Tulip Flower Shape Blocks Stray Light Without Vignetting: Lens hood for canon photographers rely on for reliable flare control. The flower petal shape is engineered for standard and zoom lenses, blocking unwanted light while maintaining full frame coverage with zero vignetting. Hard rubber construction adds a layer of protection, absorbing minor impacts and shielding the front element from accidental bumps and scratches during outdoor shooting.
Its main purpose is to block the stray light coming onto your lens. It will also improve the color and the overall contract of your photo. Therefore, you can bring out the best of all the important details of your subject.
Lens hood is also ideal if you want to take photos on the beach at night because of the strong presence of stray light from the moonlight. A lens hood can also protect the front of your lens. If you accidentally hit something as you move around while taking photos, the lens hood will break first, not your lens.
3. Use a High-Quality Tripod
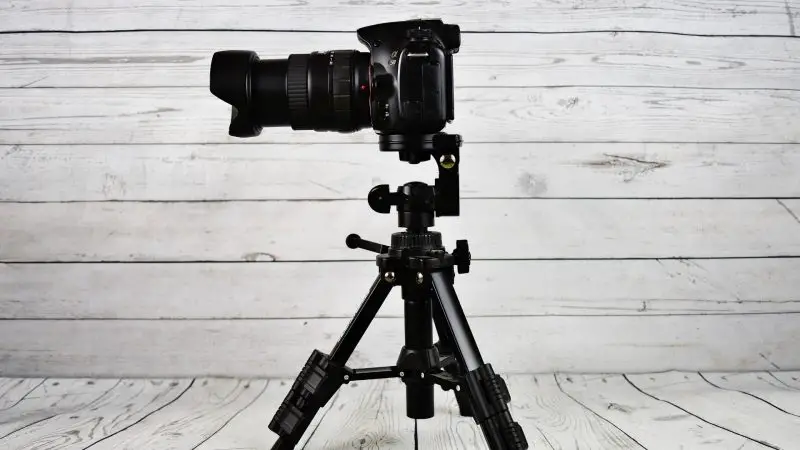
Tripods provide more stability when taking photos. This great addition in photography is useful for longer exposures. Also, the weight of the camera is no longer in your hands. But most of all, it will increase the quality of your photos by keeping the camera ISO as low as possible. This is very important in beach photography and landscapes as well.
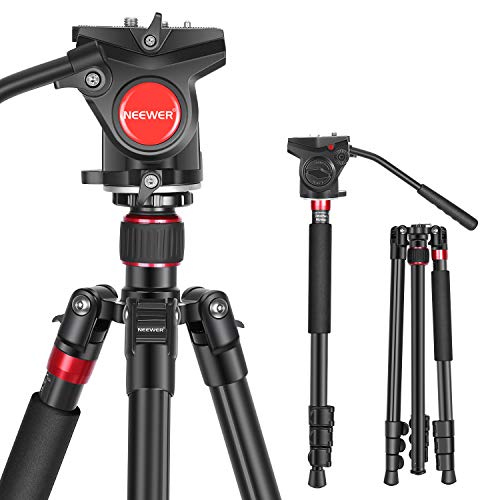
- 【Tripod/Monopod Combo】 The Neewer N555 tripod has a removable leg for use as a monopod with the fluid tripod head. The monopod is adjustable from 20" to 56.7" (20" to 56.7") for flexible camera positioning, and the center column can be reversed for cross-plunge shots
- 【Adjustable Tripod Feet】 The 4-section tripod legs can extend from 62 to 181 cm (24.4 inch to 71.2 inch) and stand on various terrain with stability. With the toggle locks, you can adjust and secure the legs in seconds. It is suitable for all occasions including weddings, parties, portraits, nature, sports and can hold devices up to 26.5 lbs (12 kg)
- 【Versatile Fluid Head】 The fluid head with a 360° pan base and tilt drag from -70° to 90° allows you to shoot from any perspective. The quick release plate with a 1/4" and 3/8" screw mounts your camera instantly, and a bubble level helps with accurate composition. 3/8"-1/4" screw adapter makes this fluid head compatible with all tripods and camera sliders
A bonus benefit of using tripods is that you can do self-portraits (or with someone) with a camera timer. However, not all tripods are the same. Use a tripod that can hold or support at least 1.5 times heavier than the total weight of your camera, including your lens. The height should also match your height; it should be durable.
Related: Best Tripods for Photography in 2021
4. Take Advantage of the Golden Hour
When it comes to photography, the period immediately following sunrise or before sunset. So, if you are taking photos on a beach, these two scenarios are the best subjects.
Also called the “magical hour,” the sun is low on the horizon, and the air is filled with a gratifying golden hue. No one will disagree that results are picture-perfect.
If you are a beginner in photography or new to working with light, you should pay attention to the position of the sun so that you can take advantage of the golden hour. Note that the sunrise light is different from the sunset light. To obtain the magical glow, put the sun behind the subject. Also, there are more people during sunset than at sunrise.
Related: What Time Is Golden Hour and How to Properly Use It
5. Try Night Photography
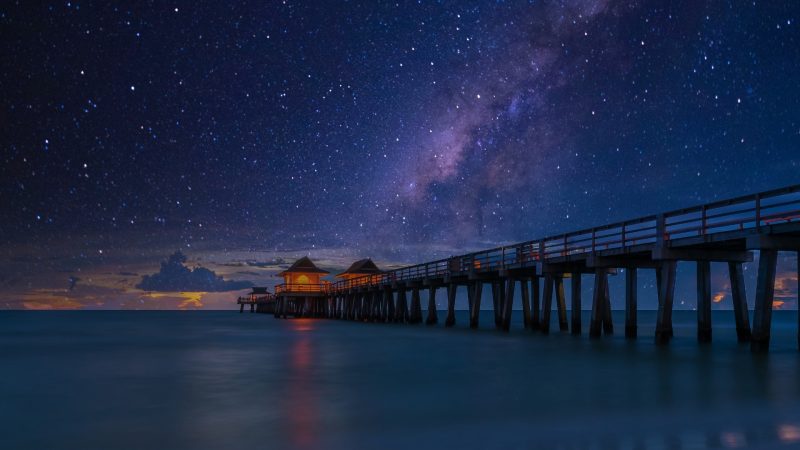
Contrary to what some photographers believe, taking photos on a beach is not only better during daylight. Moonlight is also a very interesting subject. If there’s no light from the moon, the shining stars in the Milky Way can tempt you to take panorama shots. Likewise, the soft waves of the sea can also be a fulfilling subject.
When taking photos at night on a beach, you may have to use an external flash or a handheld torch. There could also be some noise, so avoid increasing the ISO to a very high value.
For your safety, take care of your valuable camera and gadgets, especially if you are alone. Make sure no potential robber is following you from the dark.
Related: The Ultimate Night Photography Guide for Beginners
6. Include People
The wonderful scenery of the beach can truly be an ideal subject. However, you can still elevate it by including people as your focal point in your photos.
You have to choose the ideal person (or persons) for some background. They should also be wearing the right clothes with the right colors. And of course, they should have a perfect smile.
If you don’t have someone with you, you can politely request some random people to throw their enchanting, natural smiles in front of your camera. Just make sure they approve your request and don’t act like a stalker. In terms of art, candid photos or spontaneous shots look more interesting, especially with children smiling genuinely.
7. Explore Other Focal Points
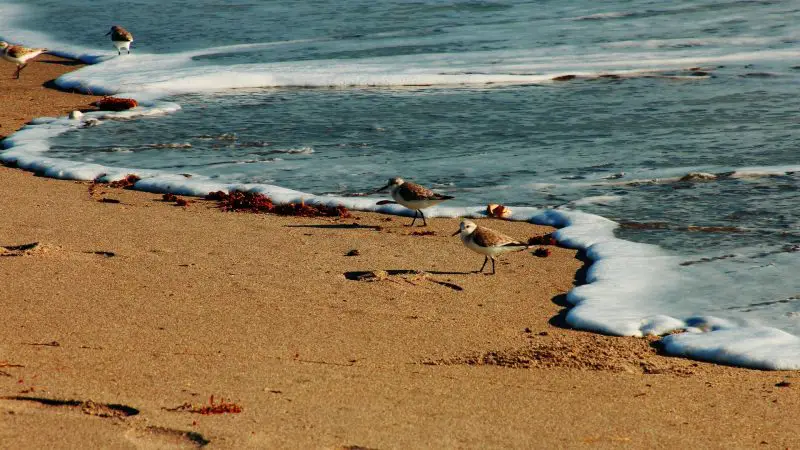
People are not the only ones you can use as a focal point in beach photography. The following are some focal points you may use:
- You can use a small boat or tall coconut trees while taking sunset photos.
- If you choose colorful seashells, interesting stones, or footprints, emphasize the texture of the subject, especially in close-up shots. A blurry sand background can also add mystery.
- You can also look for starfish, crawling crabs, some birds nesting on a tree branch, and other creatures that could be partially hidden in rocks or under the sand.
- If you are lucky enough, you may also witness a murmuration (hundreds or even thousands of starlings flying together). This rare scene is short so make sure your camera is always ready.
8. Convey a Message
The beach sand is not only for your feet and the water. Although the sand may not be white, you can still use it as your photo subject to convey a message.
You can write an inspiring message, draw your favorite cartoon character, or a simple heart. The figure doesn’t need to be perfect, as long as it is appealing and can make the viewers smile.
On the other hand, you can create your message-in-a-bottle image. Just make sure that the message (or important part of the message) on the paper has an attractive font. The bottle should also be clean and big enough, and that you roll the paper properly before putting it inside the bottle. Your message may also be an event invitation.
9. Capture a Sunstar or Silhouettes

In photography, a Sunstar is when you capture a photo of the sun being partially blocked by an object. You can do it on a beach in broad daylight, sunrise, or sunset.
To capture a Sunstar perfectly, manually adjust your aperture between f/16 and f/22. To make it look sharper, use a hard edge such as rock or wall and remove any filter.
On the other hand, a silhouette can be created when the subject is blocking the sun completely. To do this, don’t use a flash during sunrise or sunset, and keep your ISO as low as possible. A silhouette image reduces distractions on the subject, such as patterns and facial expressions. This way, viewers can see the photo differently.
Related: What is The Best Time for Outdoor Photography?
10. Change the White Balance (WB)
In layman’s terms, white balance in photography means adjusting or removing some colors so that the image will look more natural. Therefore, you can choose the kind of mood you desire by playing with the colors of your photo. While changing the white balance, the colors will not be affected by the color of the light source of your scenery.
To change the white balance on your beach photos, you may do it through your camera or editing software. Here, you can make the scene cooler or warmer so that you can better express the emotion in the photo.
Fortunately, most cameras today have this white balance option, wherein you can manually adjust the settings. Try playing with it.
11. Use Exposure Bracketing
Exposure bracketing is a photography technique where you take three or more shots of a photo instead of once only.
In doing multiple shots, all of them are exposed slightly differently from each other. Later, you can choose the best exposure possible for your photos. As you probably have noticed, lighting in beach photography is challenging.
When shooting in Auto mode, your camera will do the adjustments for you. But in some cases, you can have better results if you switch to manual mode and adjust the exposure compensation function yourself. Then later, you can tweak some of the details on those photos using post-processing software such as Adobe Photoshop.
Related: Do Professional Photographers Shoot in Auto Mode?
12. Use Flash
Consider using a flash while taking photos on a sunny beach. In case you didn’t notice, most beach photos that you have taken without a flash have some distortion or shadows. Take a closer look at the nose, lips, chin, and eyebrows of your subject. This problem usually happens when the sunlight is at its peak height.
For creative beach photography, it’s better if you will use an external flash. You can rotate it or change its position so you can bounce the light.
As you most likely will notice, directing a flash towards your model or subject causes too much brightness. If you have no wall or surface to bounce the light, you will need to use a flash diffuser or reflector.
13. Choose the Right Shutter Speed
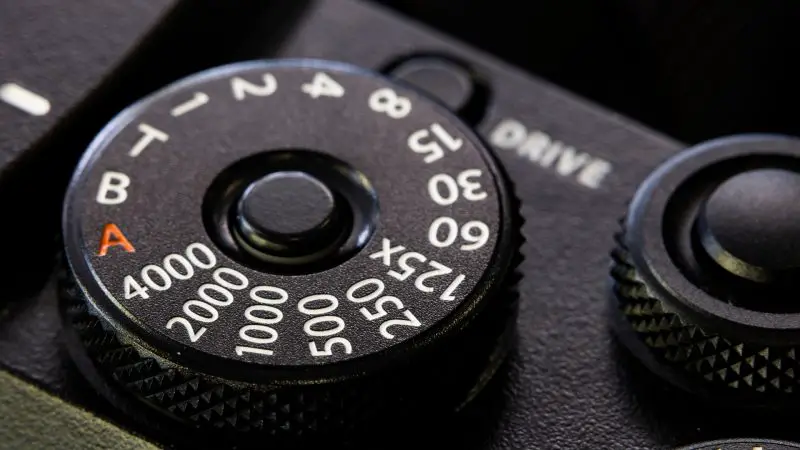
As the name suggests, shutter speed is the amount of time your shutter is open at a given setting.
On your camera, you can see the time measured in seconds or a fraction of a second. If the shutter speed is faster, the time the image sensor will be exposed to light is shorter. If it is slower, the exposure of the image sensor to light will be longer.
So, to capture the motion of your subject, such as children playing on the beach, use slower shutter speed. To freeze the action, use a faster shutter speed.
But if you want to get those surreal, silky effects in beach photos, use the long exposure technique. However, you should use a tripod for stability and an ND filter if the light is bright.
Related: What Is The Slowest Shutter Speed You Can Use Without Getting Camera Shake?
14. Always Shoot in Raw Format
While you may be more familiar with JPEG, the RAW format is better if you are into creative beach photography. As the name suggests, raw files are uncompressed, unprocessed, and uncooked.
If you shoot photos in JPEG format, your camera will run the raw file and will send it to the image processor until the final photo is produced.
But with RAW files, you will have full control over the developing process and post-processing, especially in changing the white balance. You can also easily recover other old details. However, they require a lot of storage space; therefore, slower to load. But then, RAW is ideal not only for professionals but for beginners, too.
Related: RAW Photography: Shooting in RAW for Beginners
15. Always Keep Your Horizon Line Straight
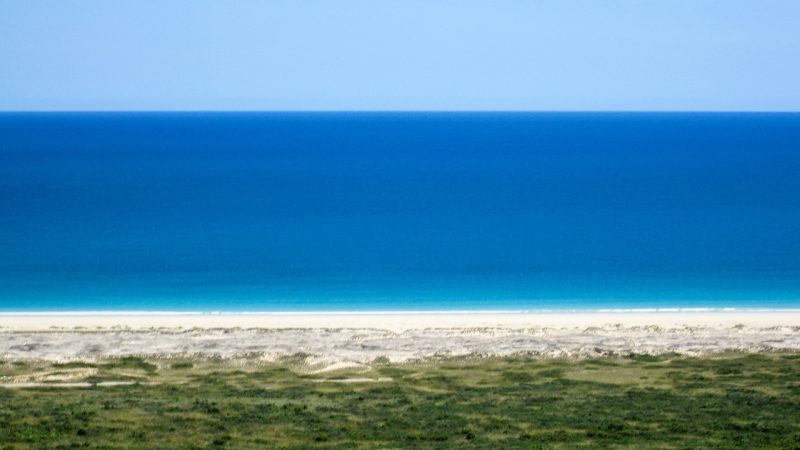
In photography, a horizon line is a straight line that separates the foreground from the sky. You can see it running from the left side of the frame to the right side.
If you are into landscape or beach photography, your horizon line must be straight. If it is crooked, even your viewers who are not photo-savvy can easily notice it.
To make a straight horizon line, make sure that your camera is straight. To do this, you can use the Electronic Viewfinder (EVF), the LCD grid lines, and other similar settings on your camera. If you fail to do so, you can still correct it later using photo editor software such as Lightroom. Nevertheless, it’s better if you can get it right in your camera.
