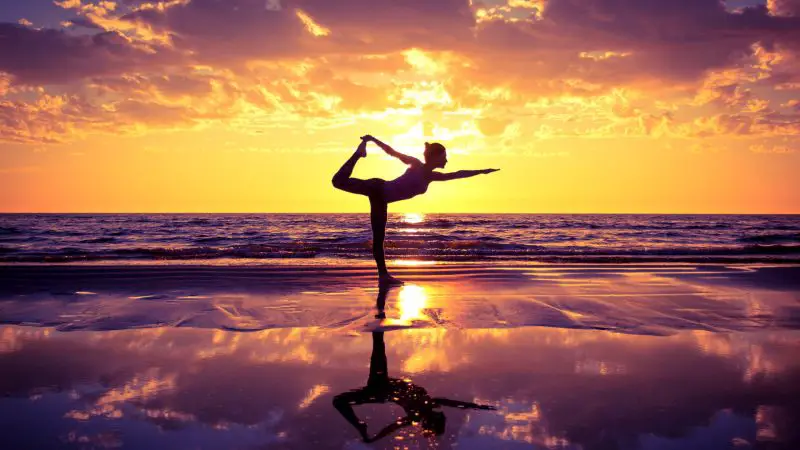
Yoga is a complete exercise of the body and mind. It not only shapes the body but also affects the brain in a positive way. Yoga was developed some 5000 years ago in India. People practice it to reach the peak of their physical health. It helps tone the body in a natural way by contractions and relaxation techniques. The yoga postures are inspired by natural things and living beings.

There are few important tips that one should keep in mind for yoga practice:
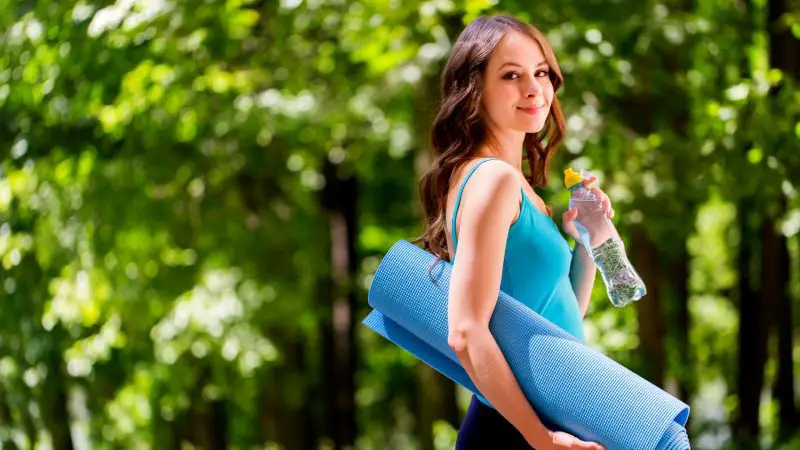
- Keep yourself hydrated by drinking sufficient water before a yoga session.
- Wear loose and convenient cloths because yoga involves stretching.
- Yoga is a natural exercise so one should breathe properly and thoroughly.
- Do not try to stretch longer than you can bear in the beginning stage.
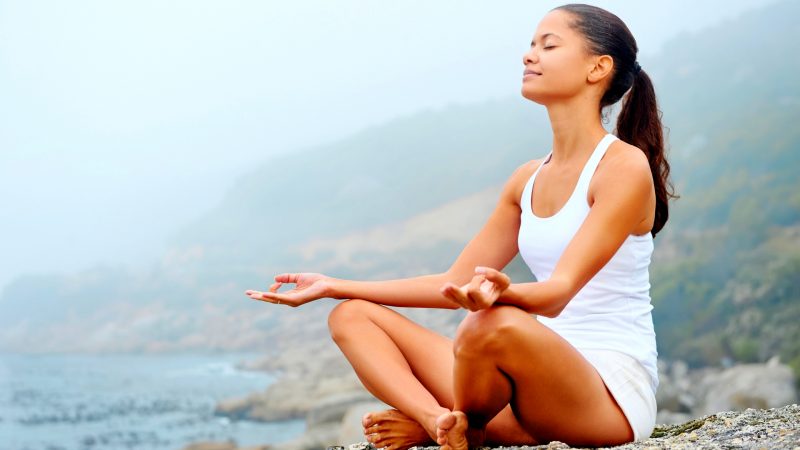
Yoga is a relaxing and stretching exercise, so there should be no hurry and pressure while doing it. It requires a focused mind and poised demeanor to successfully perform the postures.
Table of Content
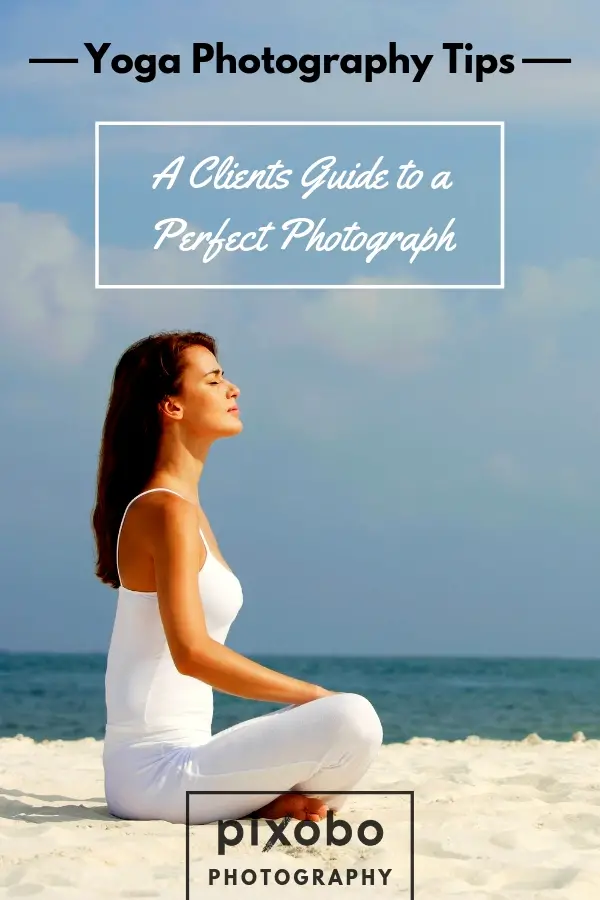
16 Yoga Photography Tips
Now, we’ll move ahead towards the yoga photography tips. It is fun capturing the yoga postures. You can also use these tips for your yoga blog. With pictures, you can teach students how to properly adopt the yoga postures. Reading the text only does not envision the posture as a picture can do. A picture is worth 1000 words is correct to say in this context. These tips are for the clients, how they should react to a photographer while he is taking pictures of them. From the stand point of a photographer, it is a simple photoshoot. The client needs to do most of the work, especially when it comes to posing. These tips can also have benefits for photographers. They can see how the client needs to behave and this can lead to some amazing photographs.
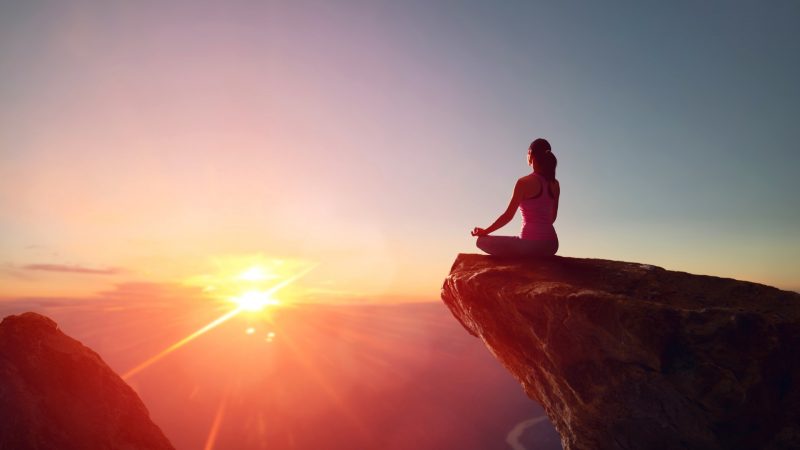
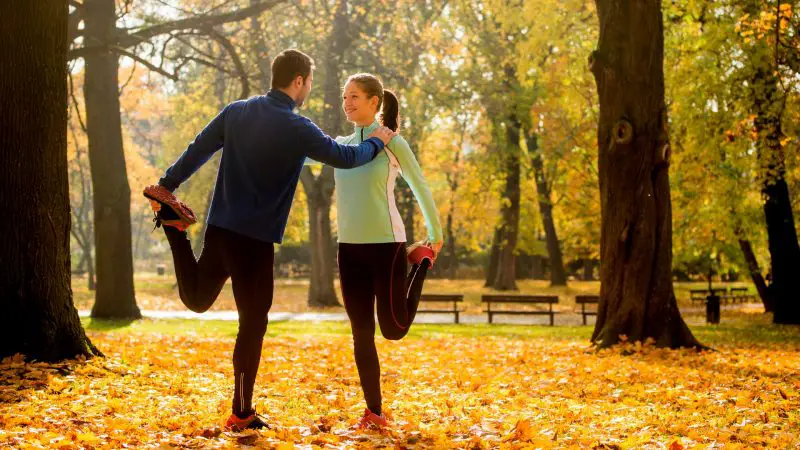
1. Don’t Worry About the Surroundings If You Are Planning to Do an Outdoor Photoshoot
It may seem awkward in the start but eventually, you’ll get used to it. People are going to stop and have a look at what you are actually trying to do, but you shouldn’t worry about it much. There are only 1% chances that you are going to see these people again. (Also, read what is the best time for outdoor photography)
2. Social Networks
Social networks are a great source of communication in today’s era and one can’t think of living without being present online. You can use social networking platforms for other purposes too. One tip is to subscribe to the pages and platforms related to yoga and keep yourself updated about the trends. You can save the images of yoga postures and use them later to negotiate with your photographer about your personal preferences in this regard.
Related: 13 Most Popular Types Of Instagram Photos That Will Get You More Likes And Followers
3. It Is Better to Have a Folder in Which You Have Saved Pictures of Yoga Postures
This folder can be in your smartphone, tablet or in print form if you prefer so. Carrying this folder to the photography session can be helpful. It can be a source of inspiration when you are clueless about what posture to adopt for the photoshoot. Keeping your folder with you can also save you the time if your photographer isn’t already knowledgeable about yoga.
4. An Interesting but Important Thing Is That You Don’t Need to Become a Copycat in This Matter
The purpose of keeping images of yoga postures with you should be an inspiration and guidance. Don’t try to copy, because you never know how much hours of practice the person in the picture worked to achieve that level. You should choose the postures which better suits your own physique and level of practice.
5. Communication with Your Photographer Should Be Smooth and Convenient
You should keep into account the location, price, time, clothes and list of postures while communicating with the photographer. You should divide the yoga photographs taken from the social media sites into different categories to bring variety into your own yoga photography session. The categories can be made into standing, sitting and arm balance postures, etc. If you have effective communication with the photographer, you can enjoy the whole process with ease.
6. Take Your Time and Experiment
It is better to be innovative and talk with your photographer to divide the photo-session into varied sections. You can ask him to take half body, full body, close-up photos, and photos including the background scenery.
7. Your Objective of Taking Photos Should Be Clear

Whether you want to upload the photos on the website, Instagram, frame them for displaying at home or include some text below the photo. Your planning of the session should correspond with the purpose. Deciding the required orientation in advance and communicating with your photographer can give you quality results saving much of your time.
8. You Should Keep in Mind That You’ll Need to Change Clothes to Bringing Innovation in the Photography Session
It is better to decide the place where you’ll change the cloths. Talking to a nearby local garments shop and asking the permission to use their change room is a good option or you can visit a nearby restaurant to use their change room in break time. If the setting is more of a natural environment then using a camp tent will be better.
9. Giving Yourself Enough Warm-Up Before the Actual Photography Session Is Essential
Yoga postures are demanding and hard to maintain if you are not ready for it. Do proper warm-up to make your body active and warm. Avoid any dangerous injury and keep the first-aid kit with you to take care of sudden injuries and bruises. Don’t let yourself sweat during the posture as it would affect the quality of the photo.
10. Understanding Your Body While Making Postures Is Important
Some yoga experts prefer doing hard postures at the start of the session while others prefer at the end of the session. It is better to do hard postures in the start when you are feeling fresh and strong. But it doesn’t hold true for all yoga persons. Some think that they won’t be able to continue after doing hard postures, so they prefer allocating time for them in the end as they are time taking too.
11. See the Photo After Each Posture
It is better if you ask your photographer to show you the photo after a posture, so he can retake the photo of the posture if needed. What is the use of the bulk of photos if you can hardly select any standard photo among them. So it is better to look at the picture after every posture to see if it needs any redoing. You should always ask the photographer if the position is well maintained based on a picture from your collection.
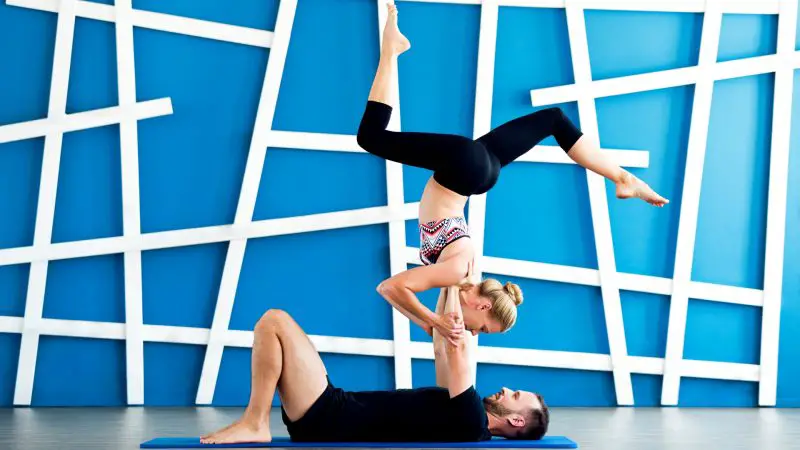
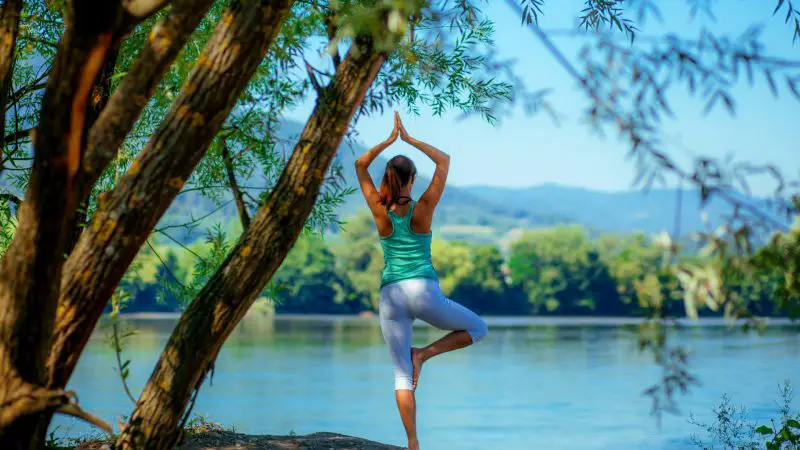
Here you can find many yoga poses that will inspire you:
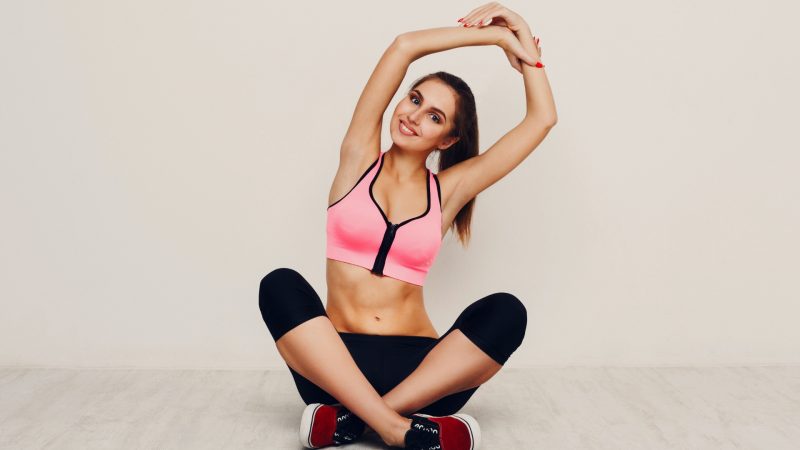
12. Commit Fully to the Pose You Are Holding

It makes a difference if you are not completely into the posture. You should keep your face normal avoiding any stressful expressions. Maintain your gaze and stretch your body parts outwards with freedom. The camera captures each and every aspect of your body so you’ll need to be conscious about every body part and its positioning.
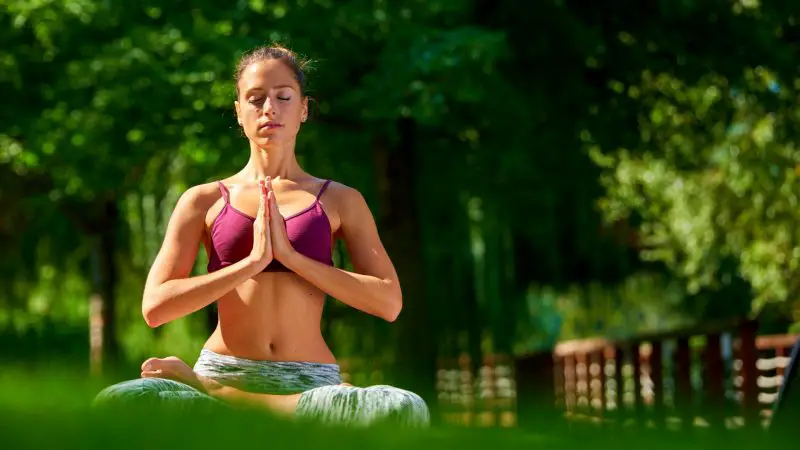
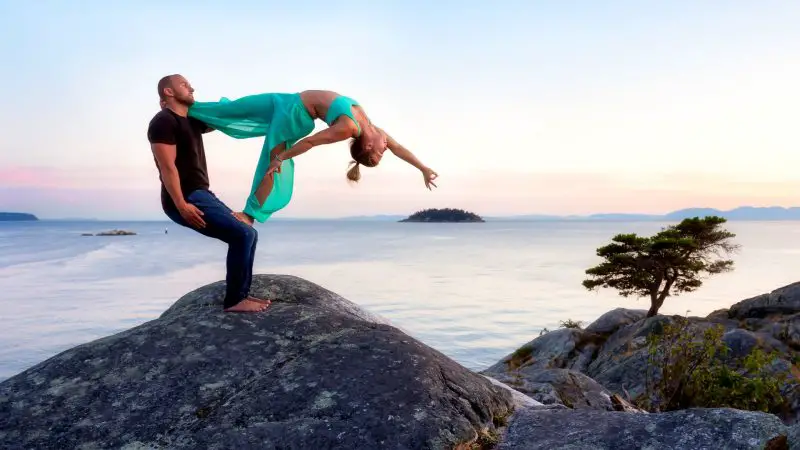
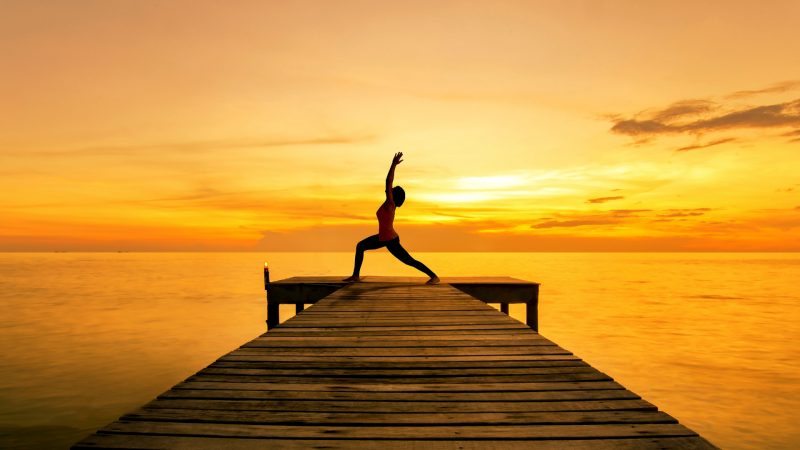
13. Take Care of the Background
The white background will be best for portfolio photoshoot. You can also consider a beach or a bright colored wall to bring some variety into your shot. You can think of more variety by using your creativity as there are no fix rules for it.
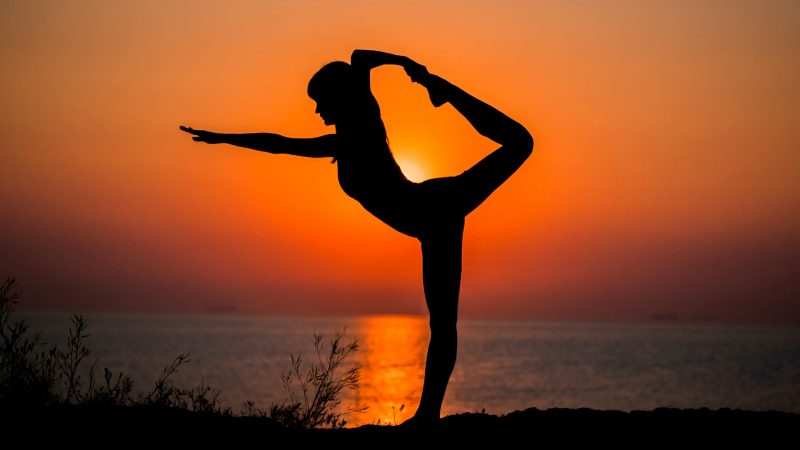
14. Make Use of the Light to Shoot Perfect Photos
Sunset and sunrise are the best times to shoot as the ambiance are normal that time, neither quite bright nor too much dark. It is preferable to avoid full sunlight and wait for the climate when it is a little foggy but not downright rainy or dark.
15. You Can Always Edit Your Photos Later to Match them up to Your Choice

You can edit them, crop, resize, brighten up and adjust the contrast to make them more appealing. There are plenty of other advanced options too provided by popular software. If you are not comfortable using Adobe Photoshop, you can also try Photoscape. If you are not good with editing you can give your photos to others so they can edit them for you. Read more about online photo editing service.
Related: Do Photographers Edit Their Photos?
16. Try Different Angles
It is appealing if you shoot the body from downward as it gives a more powerful message of growth. Taking photos from the ground level helps in focusing on the exact body dimension and throw more light on body positioning.
You can have fun while getting your pictures captured, the whole process should not be overwhelming for you. It is important to enjoy your time instead of feeling burdened by the demand of difficult postures. Do not go beyond your boundaries at once but stretch the canvas gradually. Trying to be perfect is not appreciable, so you should take one step at a time instead of climbing to 10th step only to get disappointed at the end. Take your yoga photo session on the next level each time and learn from your mistakes. We hope that these tips will assist you in achieving your true potential.