Photographer or not, who would not be hypnotized by the magic brought by the magnificent sunrise? But as a photographer, you would always want to capture that magical moment. So, how can you be sure that your images have captured the same magic?
To help you out, here are some useful tips on how to take good sunrise photos.
Table of Content
What Makes Sunrise Beautiful and Magical for Photography?
First of all, saying that sunrise is beautiful is an understatement. Magical is the better word to describe it. But what makes sunrise magical, that causes photographers to get up so early, so they don’t miss it? For sunrise fanatics, they will say it’s because of the light, color, and clouds.
As you can see, sunlight produces a wide spectrum of colors. This includes red, blue, yellow, violet, and orange hues. During the day, blue light is scattered in the air in many directions. Furthermore, because it travels in smaller, shorter waves, it is scattered more than the other colors. This is why the sky is blue most of the time. But at sunrise and sunset, the sun is low on the horizon, and the blue light gets bumped out.
During these times, the sunlight travels a longer path through the atmosphere. Red, yellow, and orange lights now become visible and more dominant than blue. On the other hand, some types of clouds also add vibrancy to both the sunrise and sunset. However, because they are thin, only middle-level or high-level clouds are ideal.
Related: What is The Best Time for Outdoor Photography?
Why Is Sunrise Better Than Sunset in Photography?
When it comes to view, many people (especially lovers) prefer sunset over sunrise. First of all, who would want to wake up every early in the morning to have a glimpse of the sunrise when you can see almost the same stunning view at sunset? However, many photographers agree that sunrise is better than sunset. Here are some of the reasons:
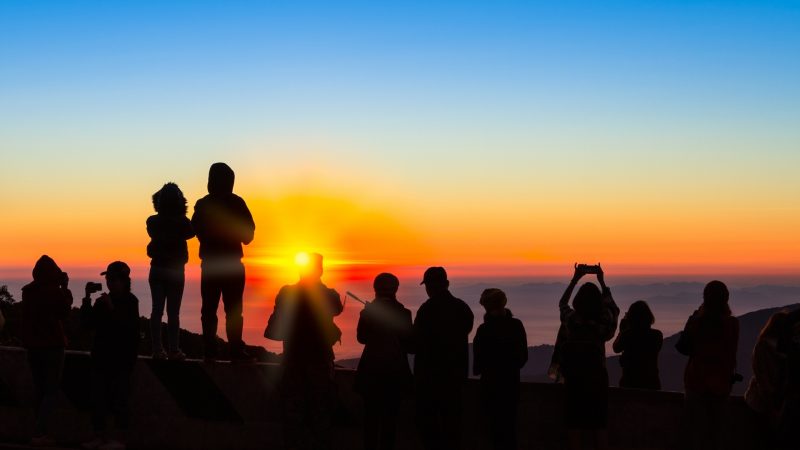
1. Lack of Crowd
Generally speaking, many people would prefer to sleep than to check the sunrise. This is because most of us stay awake at night. Those who get up early may be too preoccupied with getting ready for the day or exercising to appreciate the sunrise’s beauty. Therefore, why not use the lack of crowd as an advantage?
So, if you are an early bird, probably the only people that you will see are photographers like you. And because they will also be busy with their cameras, you can enjoy your privacy more. More significantly, you can quickly set up your camera without being obstructed by other people. In short, you can focus more on taking sunrise photos.
2. Less Pollution and Haze
As we all know, our atmosphere is filled with pollutants such as smoke and dust during the day. These small particles floating around in our environment will change the direction of the sun’s rays as the sun goes down. During sunset, you may see a great array of colors that looks like it is being dispersed in a haze or slightly obscured air.
Therefore, having fewer pollutants is another great advantage of taking photos of the sunrise. Also, the clean air in the morning has less haze, which can affect sunset photos. Although you can remove excessive haze during post-processing, you may not be able to eliminate them. This will not be a problem during sunrise.
3. Sunrise Is Better for the Health
Morning sunlight helps our body to produce Vitamin D. No wonder that pediatricians suggest that babies should enjoy the sunrise, especially for their sensitive skin. Waking up early in the morning also helps us to focus and be active all day. Studies also show that looking at the sunrise also helps us have better eyesight.
Also, being able to breathe the morning breeze is good for our lungs, especially if you are near the sea. If you get up early, you will have breakfast early as well. Chances are you will also eat lunch and dinner early, which can result in better food digestion. Not to mention, you will be forced to sleep early. Therefore, you’ll get enough sleep.
Essential Equipment for Sunrise Photography
1. Camera
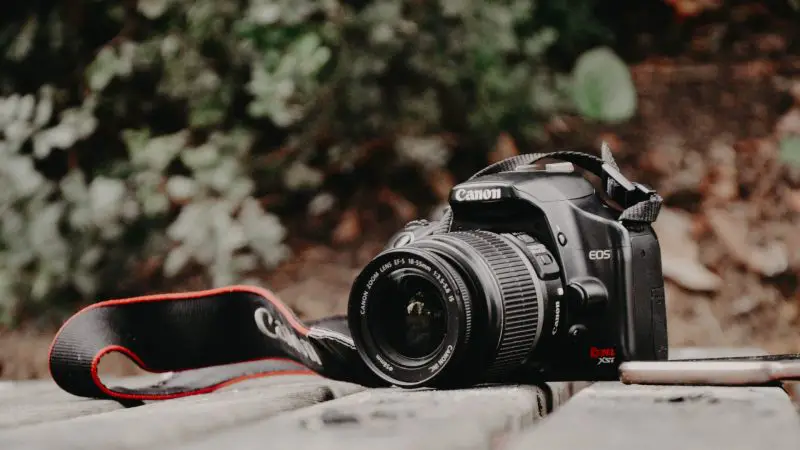
When it comes to sunrise photography, choose a lightweight and multi-function DSLR camera. Note that any lens can fit any camera as long as they belong to the same brand. This means that you cannot mount a Canon lens to a Nikon camera. Hence, Nikon lenses are not compatible with Canon cameras. Take note of the features as well.
You should also use a No products found. with a large memory card. Extra memory cards may also be required. It’s usually a good idea to have some back-ups. For the battery, make sure it is fully charged minutes before going to your location. Cold mornings can easily drain a battery, so you might also want to bring extra batteries.
Related: Best Entry-Level DSLR Cameras
2. Lens
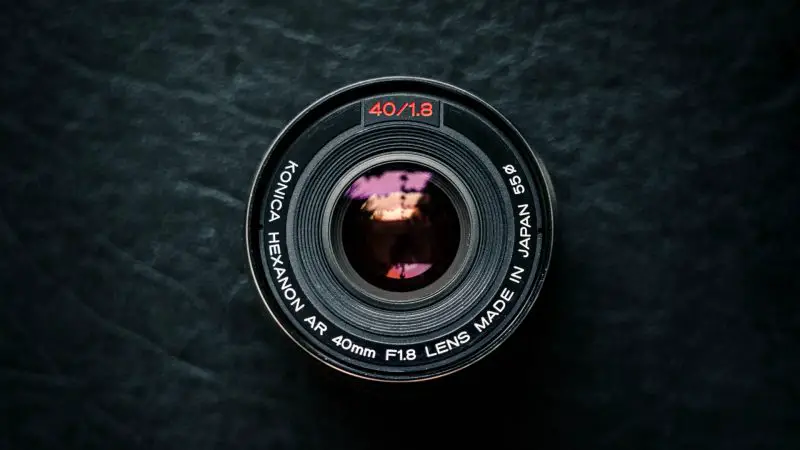
There are no specific rules about lenses for sunrise photography. But normally, sunrise photographers prefer using a 16-35 mm wide-angle lens or ultra-wide angle lens to capture spacious landscape images in tandem with the sky. More significantly, if you want to make the sun appear bigger, you can go low and closer to the ground.
But then, it’s better if you also have a mid-range zoom lens, so you won’t need to change the lens if necessary. Likewise, a 70-200 mm telephoto zoom lens allows you to shoot at longer focal lengths to provide a sense of intimacy with your subject. This will also make you feel the sun is closer to other elements that appear on the same frame.
Related: How Do Different Camera Lenses Affect Photo Quality
3. Graduated Neutral Density (GND) Filters
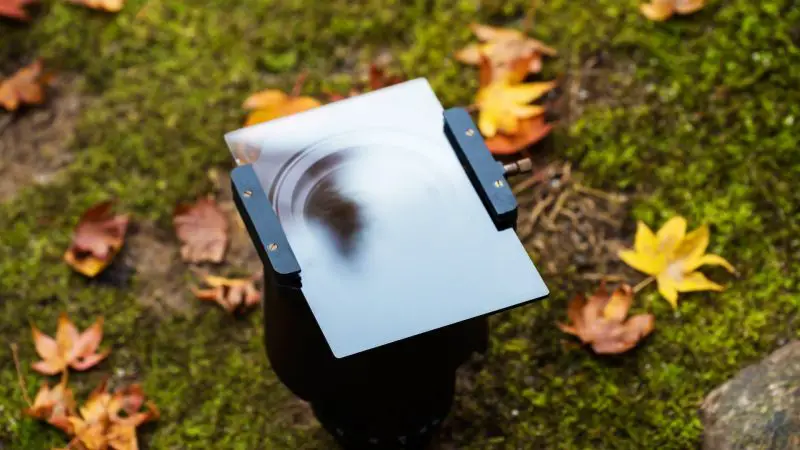
In photography, neutral density filters allow you to have more control in choosing shutter speed and aperture combinations in various conditions. These exceptionally handy ND filters shield the amount of light that enters your camera lens and then reaching your camera’s sensor. In short, it’s like your DSLR camera is wearing sunglasses.
But for sunrise photography, you would want to use graduated neutral density (GND) filters instead of ND filters. Unlike the ND filter that darkens the entire image, GND filters only darken a part of your image. Therefore, they will only reduce the light in the sky. You may start with a 3 or 4 stop soft-edge and then later switch to a 6-stop.
4. Tripod and Headlamp
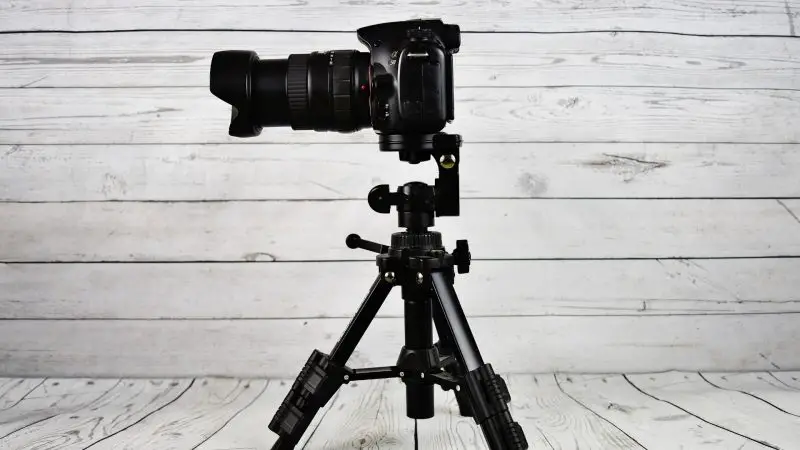
As you most likely know, a tripod helps you avoid having blurry images due to camera shake. Make sure your tripod is sturdy and has a steady base. Remember, your chosen location might not have a flat surface. Using a tripod also allows you to shoot within lower ISO ranges for the available ambient light. This will result in less-noise images.
On the other hand, a headlamp, flashlight, or torch is a must if you’re going to your location while it is still dark. You don’t want to hurt yourself in the dark, do you? Aside from that, you can also set up your camera on your tripod easily during pre-sunrise. Despite the darkness, a headlamp can help focus your camera on your subject.
Related: Best Tripods for Photography
Recommended Camera Settings for Sunrise Photography
If you’re an aspiring photographer, you should know about the terms ‘golden hour’ and the ‘blue hour.’ The golden hour happens immediately after sunrise and before sunset, whereas the blue hour occurs immediately before sunrise and after sunset. Both of them can last up to one hour. However, they usually only last 20-30 minutes, or even as little as 15 minutes.
This means that there are three different situations in sunrise (or sunset) photography – the blue hour, the actual sunrise, and the golden hour. Therefore, you should be able to adjust your camera for each of these situations so that you will have well-balanced exposures.
Below are the recommended camera settings for sunrise photography:
- Camera mode: Manual
- White Balance: Auto-off, Shaded or Cloudy
- Image Format: RAW
During the blue hour:
- ISO: 400
- Shutter speed: 1/400 – 1/2000
- Aperture: f/2.8
During sunrise:
- ISO: 100 (or lowest setting as possible)
- Shutter speed: 1/15 – 1/125
- Aperture: f/8 – f/11
During the golden hour:
- ISO: 100
- Shutter speed: 1/15 – 1/200
- Aperture: f/11 – f/16
Related: What Time Is Golden Hour and How to Properly Use It
How to Prepare for Sunrise Photography (Step-By-Step)
Sunrise is a magical moment, but you don’t have to be a magician to capture it on camera. As a photographer, you should be fully prepared because it happens too fast and you might miss some of the important details. But worst of all, your sunrise photos may look horrible. Here are some quick tips on how to prepare for sunrise photography.
Step 1: Plan the Location
Planning the location is not just about searching for the best location for your camera. Remember, the sun always rises in the East and sets in the West. However, the direction of light in some locations may be inconducive or not in favor of your desired result. If possible, know the sun’s phases and movements for your shooting location.
You should also know the weather in your chosen location during your sunrise shoot. Although it’s great to have clear skies with some clouds around, little fog and mist can also be an added attraction. Fortunately, there are several applications and websites that can help you in finding the ideal location these days. But as a start, you can search on Google Maps.
Step 2: Scout Your Location
Planning can be useless if you will not scout your location. It means that you should go to your chosen spot before your actual shooting day. This act is called pre-visualization. Here, you will have an idea of how to take good sunrise photos you always wanted. It’s better to do the scouting one day before the actual shooting day.
Scouting the location can also help you anticipate problems before they happen. Remember, the area is still dark during your shoot, and there could be some obstacles along the way or even in your chosen spot. Luckily, many apps can help you with pre-visualization. Most of them can also indicate your location so you can easily find it.
Step 3: Arrive One Hour Before Sunrise
As mentioned earlier, blue hour occurs at around 30 minutes before sunrise. Therefore, it’s best if you arrive at your spot at least one hour earlier. In doing so, you will not rush in setting up your camera, and you will have enough time to practice taking shots. You can also check if there will be large shadows to avoid so you can enjoy enough light.
Arriving one hour before the actual sunrise will also allow you to start creating long exposure photos. Here, you are likely to raise your ISO so you can maintain the right shutter speed and aperture. Remember also that the light at this point is very low, so you should find your spot at the start of the shoot. So, don’t be lazy waking up early.
Related: What is Auto Iso and How/When to Use It – A Complete Guide
Tips on How to Take Good Sunrise Photos
- Bracket your images. This means that you take multiple shots while changing your camera settings. It will help you a lot during post-processing.
- Take as many photos as possible. Grab this rare chance, and don’t waste your time. Again, sunrise is very short and very fast.
- Take photos away from the sun. If the sunrise colors are in the opposite direction in the sky, it will decrease the shadows in the foreground.
- Create a starburst effect. To do this, block the sun behind something dark and use a smaller aperture. Make sure your lens is very clean.
- Don’t leave early. Leaving too early will be your biggest regret. Note that the sun’s colors can still appear even if the sun is already above the horizon.
