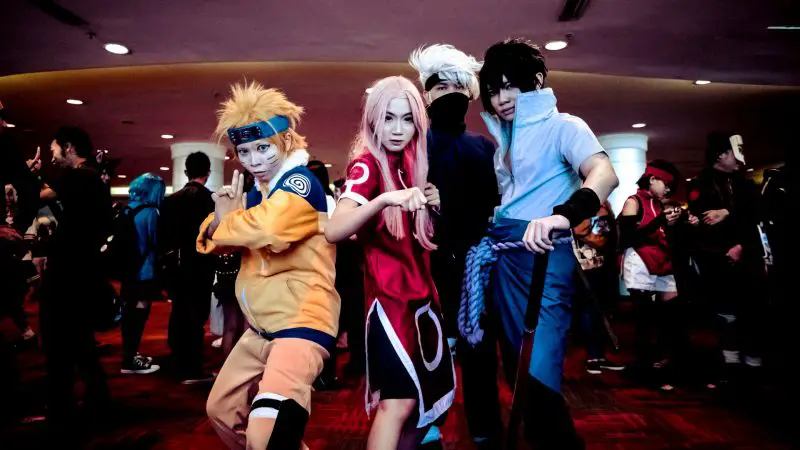
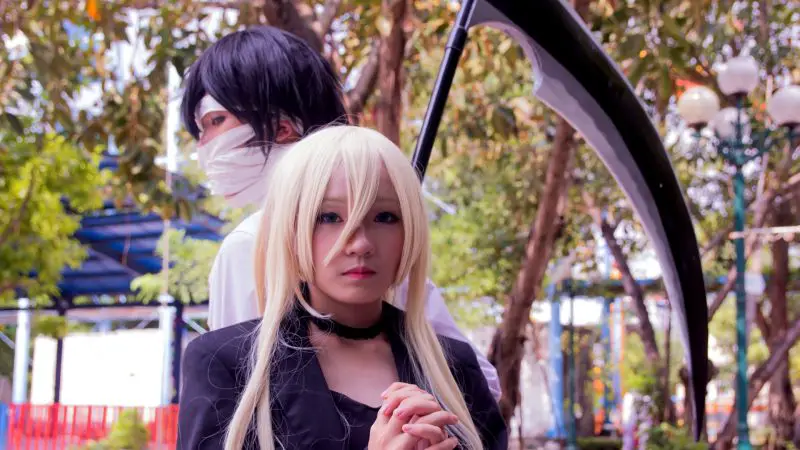
Cosplay photography is something that wasn’t really popular just a decade ago. Nowadays, costume play (cosplay) is everywhere, thanks to the overwhelming number of video games and movies. In most cases, we’re talking about characters from video games such as League of legends, Wow, Overwatch, Mortal Kombat, and similar. Numerous events are being held around the world and many cosplay fans gather to share their experiences, as well as to see some of the best examples of cosplay out there.
Whether you’re a fan of video games, books, movies, anime, TV shows, and cartoons, your favorite character can be portrayed via cosplay. But, cosplay photographers are very important for a good cosplay photo. The lighting, environment, costume, and all of those nit-picky factors contribute to a great photo.
Having all of that in mind, let’s see how can you improve your cosplay photography skills!
Table of Content
Cosplay Tips and Tricks for Photographers
-
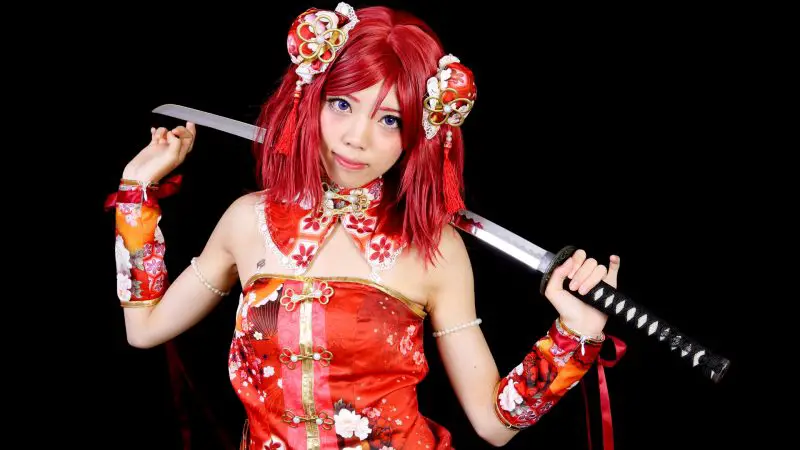
Be Familiar with the Character You’re Shooting
Being a cosplay photographer doesn’t mean you need to know every character out there. We’re all humans and we can’t know everything. If you’re passionate about games, for example, you probably know a plethora of characters from certain games. Knowing the character you want your model to portray is crucial. It will allow you to replicate the particular character almost perfectly. Furthermore, it will also let you choose the best poses for the photo, as every character has its own distinctive pose and posture.
This way, you can carefully choose the right model to get the job done. Having a cosplay photo that badly resembles the character isn’t going to cut it. Cosplay is known to be one of the most demanding photography niches where everything has to be perfect.
Related: How To Deal With Difficult Photography Clients?
-
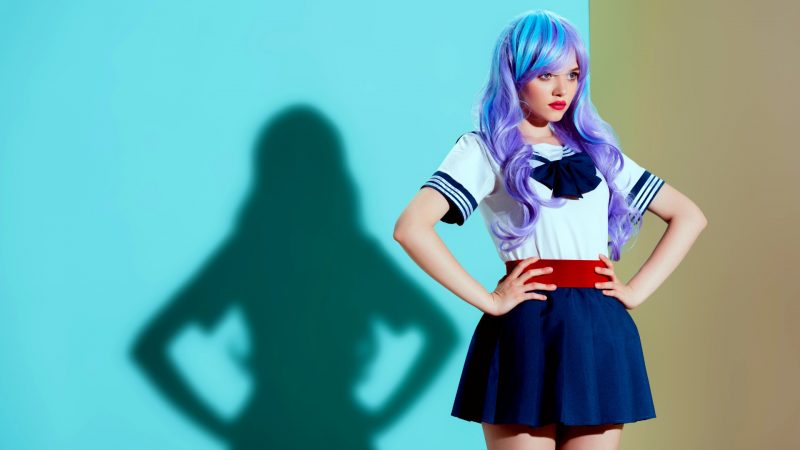
Cooperate with the Subject
When attending various cosplay events around the world, you’ll see a lot of cosplay models. But, this doesn’t mean that you need to snap the photos whenever you want. Instead, you need to cooperate with those models to get a perfect shot. Some of them may not be ready to pose and you’ll get a bland and uninspired photo. Cooperating with the cosplay model is crucial, as it will allow you to set the perfect scene and perfect pose to execute a photo. Communication is of the utmost importance. Both you and the model need to know what you want from him and vice versa.
This also applies to private cosplay photo sessions. Let your subject dress, hit some test poses, and communicate about the things that you both want. Remember that your subject also needs a successful photo. The photo album should contain a combination of your and his/her ideas.
Related: 6 Reasons Why Your Photography Clients Hate You
-
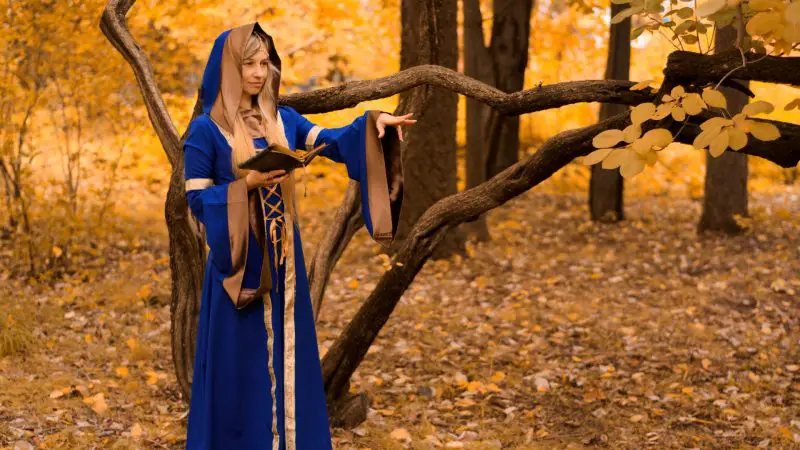
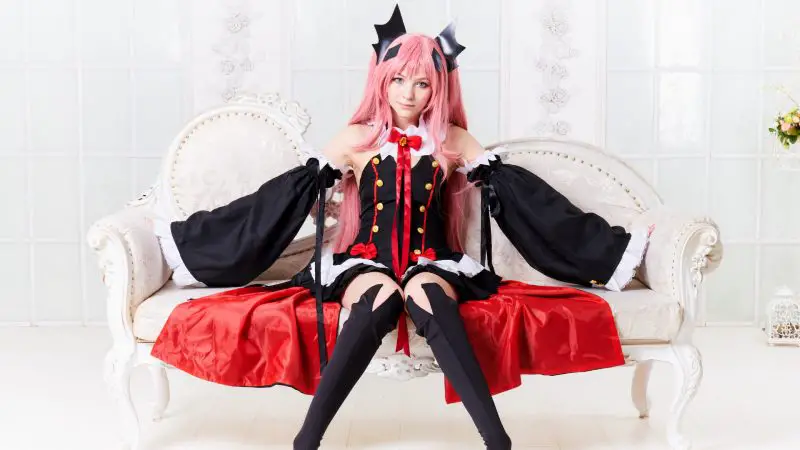
Choose the Right Background
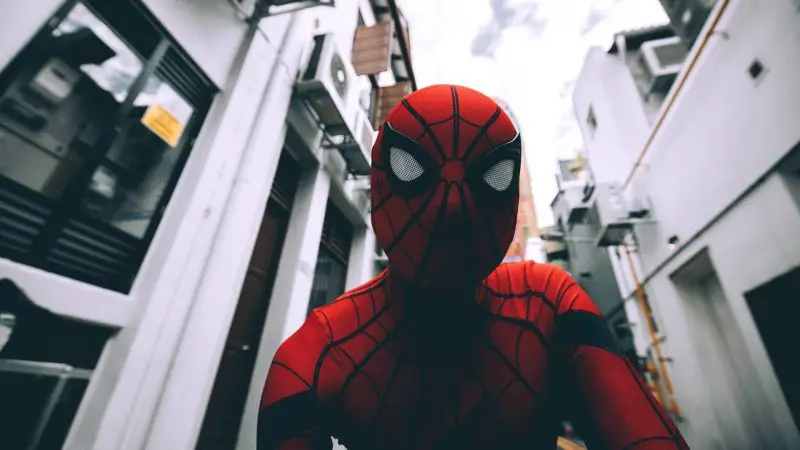
This one is very important. I mean, really, really important. Imagine having to capture a subject dressed as Geralt of Rivia. You know, that Witcher game that everyone knows about? Since it’s a medieval game, you can’t put the subject in the center of your city or next to a stunning Lamborghini. Instead, you should go to a nearby forest, catch a glimpse of the sun, maybe capture a photo next to a horse or a beautiful tree. See what I’m trying to say? The background is very important for your cosplay subject to shine and replicate the scene from a game or whatever it is.
The background can be literally anything. Characters from medieval scenery might be a little easier to capture, while characters like Spiderman or Batman can be a bit tricky to capture. Spiderman usually hangs on tall buildings or in a city. This means that you’ll need to organize your photo session on one of those places. Considering the volatility of the urban environment, it can definitely be a tricky thing to do.
-
Focus on the Natural Lighting
Natural lighting is almost always the best solution, regardless of the type of photography. In cosplay photography, it’s VERY important that your subject look as natural as possible. To make the subject look natural, simply find a source of natural lighting. This means that shooting in the night isn’t a viable choice. On the other hand, rainy and cloudy days can also interfere with the photo quality. When shooting inside, you can take advantage of doorways and windows. The built-in flash on your camera also isn’t going to do the trick.
If you really need to use the flash, choosing a quality external flash is the best option. External flashes usually come with flash diffusers or softboxes and are an excellent option for minimizing shadows.
-
Shoot from Various Angles
If you really know the character that you’re shooting, you’ll probably know which angle to use. This is why we first mentioned that you need to know the character very well. Knowing which angle to use means that you’ll accentuate the most important parts of the character. For some characters, it’s a certain pose. For some, it may be a certain feature, eyes, legs, head, etc. Before you start shooting, try capturing the photo from different angles and see what works best for the given character.
For example, we mentioned Spiderman. Just think about its most important features for a second. Is it his head? Sure. Is it his arms or legs? Yup – definitely. In that case, you should go for an angle that doesn’t exclude these parts and on top of that, it should give a clear view of them. I know, this sounds complicated but it isn’t all that much unless you don’t know the character you’re working with. You can always refuse to take a photo of him – it’s simple!
-
Exchange the Lighting Equipment and Number of Light Sources
If you’re shooting inside, it’s very important that you experiment with the lighting and light sources. Changing the lighting can alter the perspective of the photo completely. Sometimes, you’ll need to cast the light directly on the subject and sometimes, you’ll need to fire an external flash. Of course, you’ll need to combine these two and reflect the light with a white reflector. All of this should be done according to the environment and surroundings. Remember that lighting, type of lighting, and a number of light sources play a huge role in the outcome of the photo.
What about the number of light sources, then? Well, there’s a huge difference here. One light source can be positioned wherever you want and the possibilities are endless. When there are two light sources, possibilities are even greater and you’ll need some experimentation. Both the position and number of light sources are very important and can alter the perspective of the photo.
Lighting Equipment for Cosplay Photography
When it comes to the lighting equipment, here are some examples and differences:
1. Built-In Camera Flash
The built-in camera flash functions as a direct flash that’s emitted from the flash unit and cast directly on the subject. This type of lighting doesn’t spread evenly and as a result, only a partial area of the photo is illuminated. Obviously, this isn’t the best option for cosplay photography and has a different function. This type of flash is usually used behind the subject, to bring the outline of the body through lumination.
2. Shoot-Through Umbrella
When using a shoot-through umbrella, you can expect the light to spread more widely than any other light source. It’s even better than a strip softbox, which we’ll mention in just a second. The light emitted from the shoot-through umbrella is even able to reach the background and it produces a very soft light. We can say with confidence that this is the softest light you’ll get with a piece of equipment.
3. Strip Softbox
The strip softbox works in a similar way to the aforementioned piece of gear. The difference is that the strip softbox resembles a rectangular shape that’s taller than it is wide. As such, this piece of equipment is used to cast some light on the narrow area – for example, your or subject’s body. If you want to capture the subject’s body altogether, there isn’t a better light source than strip softbox.
4. Beauty Dish
Once again, the beauty dish is here to cast the light on a limited area. Thanks to the useful addition in the shape of a honeycomb grid, you can narrow the area even further. The beauty dish is used for giving an impression of a dimly-light location. For example, inside of a cave or in a dimly-lit room.
Cosplay photography is an evolving photography niche that’s easy to get into, yet hard to master. Since there are thousands of different characters from books, movies, TV series, and games, possibilities are endless. Given that every character requires special care when it comes to attention, lighting, and the right environment, cosplay photography is by no means easy.
With our tips, you should be able to grasp a good portion of how this photography niche works. Experiment with the lighting, use the high-quality gear and know your character very well. These are the crucial thing to know before you get into cosplay photography. Best of luck!