Learning how to compose a good image is a must if you are serious about photography. And in case you are not aware, the term “composition” applies to all kinds of arts, including painting, literature, music, and dance.
To help you learn this technique, here is a complete guide on how to make a good composition in photography.
Table of Content
What Exactly Is Composition in Photography?

In a nutshell, composition in photography is a very deep personal relationship between you as a photographer and your subject. It’s how you put all the visual elements of your subject together to create an image based on what you have envisioned. You don’t need lots of technical knowledge about photography to achieve your goal.
Consequently, composition in photography is also guiding your viewers towards the most important elements of your creation. Because it doesn’t involve most of the technical aspects of photography, you may not be able to fix a bad composition during the post-processing. Therefore, composing an image is about having a creative mind.
Another great advantage of mastering composition is that you can convert even the most boring subject or a simple environment into a masterpiece. But to do this, your image should be able to influence your viewers. A photo of a bloody war may look terrifying, but with a good composition, it can also be a masterpiece.
Why Is Composition Very Important in Photography?
To start with, composition is everything in photography. Even ordinary photo viewers can easily recognize the difference between a good and bad composition. You can have the most sophisticated camera and lens in the world, but without applying the necessary composition techniques, your images may still end up dull and emotionless.
Contrary to what some photographers think, composing an image is not really about producing photos that are pleasing to the eyes. Rather, it is about expressing what the viewers should feel while they are looking at the image, based on your intention. It is also the reason why people want to look at a certain photo over and over again.
Techniques and Tips for Good Composition in Photography
Before you get too excited, you should realize that having a good composition in photography is not an easy skill to learn. Mastering composition is not rocket science but you will need a truckload of patience and lots of practice. Regardless of the type of photography you are into, you should establish a set of processes applicable to you.
As mentioned above, composition is more about personal rather than technical. Therefore, there are no specific rules in making a good composition. However, there are several important strategies that you can use as guides. To help you out, below are 12 effective composition techniques and tips that can help improve your photos:
1. Apply the Rule of Thirds

As the name suggests, the rule of thirds is simply the process of dividing a composition into thirds. To do so, divide your image into nine squares using two parallel horizontal lines and two parallel vertical lines. They are the gridlines you see on your camera screen. To open the grid option, go to the Settings menu on your camera or smartphone.
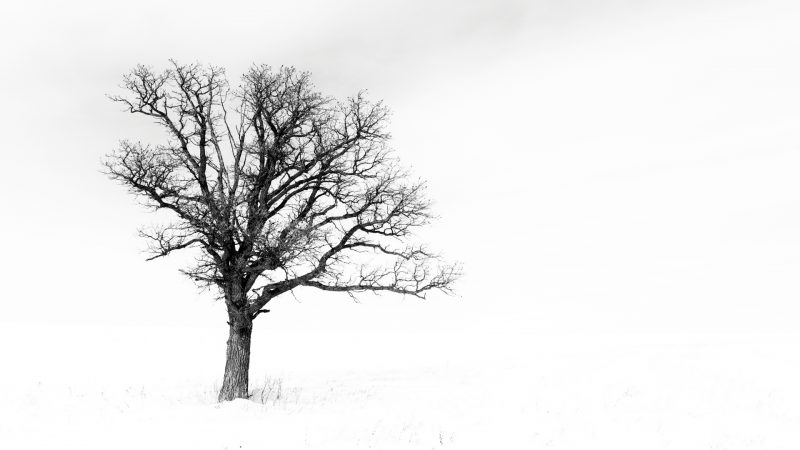
According to the rule, you should not focus your subject (or important elements) at the center. Instead, place it on of the lines or points. In landscape photography, placing the horizon along one of the horizontal lines can create a huge impact on your image. But more importantly, you will now view your image as a whole and not just your subject.
2. Centred Composition and Symmetry
In some cases where the rule of thirds is not applicable, you can always go back to the traditional centred composition and symmetry. Here, you will place your subject at the center of the frame. This technique is ideal if your subject has some symmetrical scenes. It will be useful in creating balance and a sense of harmony in your image.
There are four types of symmetry in photography – vertical, horizontal, radial, and reflective. Interestingly, symmetry photography does not necessarily mean that one side of the scene is the exact mirror image of the other side. However, the composition should be carefully structured, and that the focal points create interest to the viewers.
3. Use the Golden Ratio
First of all, there are several names for golden ratio such as Fibonacci spiral, Phi grid, golden spiral, and divine proportion. The golden ratio is around 1.618 to 1. But don’t worry; you don’t have to be good at mathematics to apply this technique in photography. In fact, the golden ratio is just a more advanced version of the Rule of Thirds.
To use the golden ratio in photography, imagine that there is a spiral flowing through your frame. But instead of dividing the frame into thirds with a ratio of 1:1:1, divide it into sections with a ratio of 1:0.618:1. If you are using a camera, you can use the golden ratio grid overlay via post-processing. For smartphones, use an app and go to Settings.
4. Use the Negative Space
Negative space in photography is an empty space surrounding your subject. It is usually white and used to create quiet images, such as in portraits. It can also be a pattern that doesn’t draw attention to the viewers. Therefore, the viewers of the photo can focus more on your subject. Negative space also allows your subject to breathe smoothly.
On the other hand, your subject is the positive space. However, a negative space does not necessarily be white or empty. In some cases, you can use colored scenes such as the blue sky or green grass. You can also add an object related to your subject. So to make a good composition, use the negative space to balance with the positive space.
5. Filling the Frame
Filling the frame with your subject is the direct opposite of having a negative space. Here, you will leave a very small space or no space at all within your frame. And because your subject is closer and looks bigger, there will be no more distractions, and your viewers can now focus even on the smallest detail of your subject.
There are two basic ways to fill the frame – go closer to the subject or use a zoom lens. Obviously, it’s not advisable to get closer to a wild animal or at the edge of a mountain cliff. On the other hand, moving closer to your subject will give you more opportunities to try different perspectives and angles. Just make sure there’s still enough spacing.
6. Include Foreground Interest to Create Depth

By nature, photographs are 2D art forms. To create depth, include some foreground interest in the scene. Go low and look for some interesting scenes or patterns that you can add to the frame to give your image a more 3D feeling. Although foreground interest works well with wide-angle lenses, you can also use this technique with longer lenses.
Look for anything related to all the elements in your scene. Nevertheless, you can also add composition interest in the middle and the background. Just make sure it can create depth and will not confuse your viewers. For the close foreground, using a smaller aperture can help you make a good composition, especially in landscape photography.
7. Look for Leading Lines
If you want your viewers to easily notice some important elements of your subject, look for leading lines and use them. They can be roads, fences, rivers, lamp posts, hallways, or any line patterns. Also, they can be horizontal, vertical, diagonal, angular, curved, intersecting each other, or even converging lines. In fact, they can also be multiple lines.
For maximum impact to your audience, choose the best angle so you can highlight these lines better. You can also incorporate this powerful composition tool to create flow throughout your composition. In landscape photography, you can also use these leading lines to create a 3D illusion. Just make sure they will not distract your viewers.
8. Use Implied Lines
In some cases, your subject may have no leading lines, or you cannot think of a way to use them. In that case, you can use implied lines as alternatives. There are lots of creative ways to add implied lines to your images. An ideal example of an implied line would be a pointing finger of a man showing a beautiful mountain to his girlfriend.
Interestingly, implied lines don’t necessarily be physically present in your image. An image of a hungry lion facing away from you and staring at a deer is a great example of an invisible implied line. A couple looking at a tall sculpture is another good example. After all, implied lines don’t need to be obvious. They just need to serve their purpose.
9. Frame Within the Frame
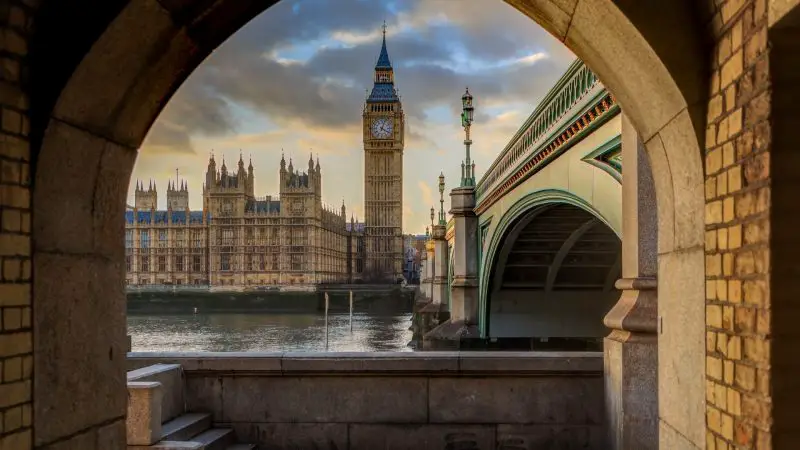
In photography, framing within a frame is simply positioning your main subject inside a frame. This composition technique may not be as common as the others, but it can be very effective in drawing attention to a particular focal point of your image. It can also add a sense of depth to your image while hiding some unwanted elements in the scene. For a closer look at this technique, read our full guide to framing in photography.
There are two methods on how to frame within a frame – background framing and foreground framing. Both of them are useful as long as you use the right frame. You can use a door, a window, a gate, an arch, or even an actual picture frame. To add mystery, you can also blur the frame if it is far from your main subject and the camera.
10. Create a Frame
In some cases, you may want to apply the frame technique but there is no frame available. Or perhaps there is a frame, but you have seen it in other photographs, and you want to be unique. So, using your creative imagination, why not create a frame? A frame does not always have to be a physical object; it can also be a light or a shadow.
If you are in portrait photography and you want to highlight the eyes of your model, ask them to make a frame using their fingers and place it near their face. A good frame does not always have to be of four sides. It can also have sides that are not similar to each other. A great example of this could be of two tall trees and a cloud.
11. Use a Juxtaposition Scene

Juxtaposition in photography means you can add two or more elements in your image that can either contrast or complement each other. In short, it can be referred to as the opposite of symmetry photography. However, those elements should have strong visual weight, so that they can add composition interest to your viewers and not confuse them.
A great juxtaposition scene should also allow your viewers to look at those elements at the same time and understand their purpose. The colors, shapes, and sizes of these elements may also be different from each other. Some of the examples are a black object with a white one, a human and a machine, lines and circles, and natural and man-made.
12. Understand the Emotions of Colors

Just like painters and fashion designers, you should know the meaning of each color and how to combine them while composing your image. According to the color theory, there are two types of colors – the warm and the cold. The warm colors are red, orange, and yellow. On the other hand, the cold colors are blue, green, and violet (indigo).
Warm colors are alive, active, and exciting, while cold colors are gentle, quiet, and calm. Although each color can create a huge impact in making a good composition in photography, combining them properly can enhance the effect. You can also use them as leading lines and negative space. But playing with colors can be challenging.
In-Depth Guides to These Techniques
Want to go deeper on any single technique? We have dedicated guides for the most important ones:
The Rule of Thirds — the 3×3 grid, why off-center works, and when to break it.
The Golden Ratio — the Phi grid and golden spiral, the rule of thirds’ elegant cousin.
Symmetry — the types of symmetry, reflections, and symmetry vs. the rule of thirds.
Negative Space — using empty space to isolate your subject and create a minimal mood.
Leading Lines — how lines guide the viewer’s eye through the frame.
Framing — using a frame within the frame to draw attention to your subject.
Filling the Frame — getting close so your subject dominates the shot and distractions fall outside the edges.
Implied Lines — the invisible lines — gaze, gesture, arrangement — that guide the eye through a photo.
Foreground & Depth — using foreground interest and layering to give a flat scene a real sense of depth.
Related: What Are The Elements and Principles of Photography?